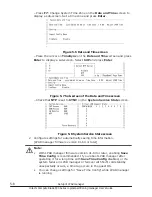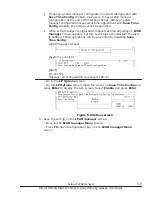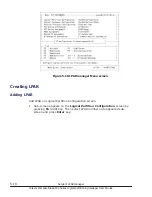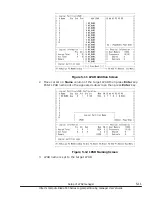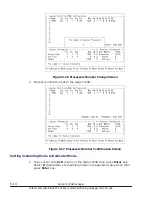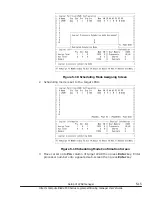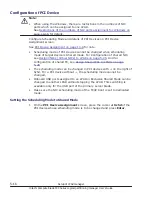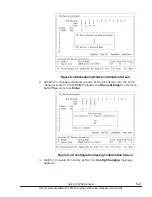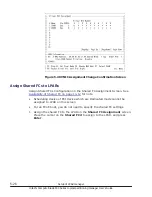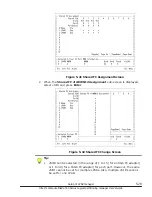
Figure 5-18 Scheduling Mode Assigning Screen
2
.
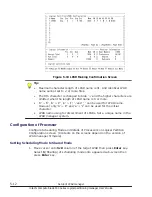
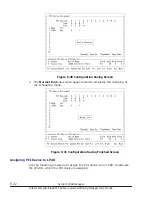
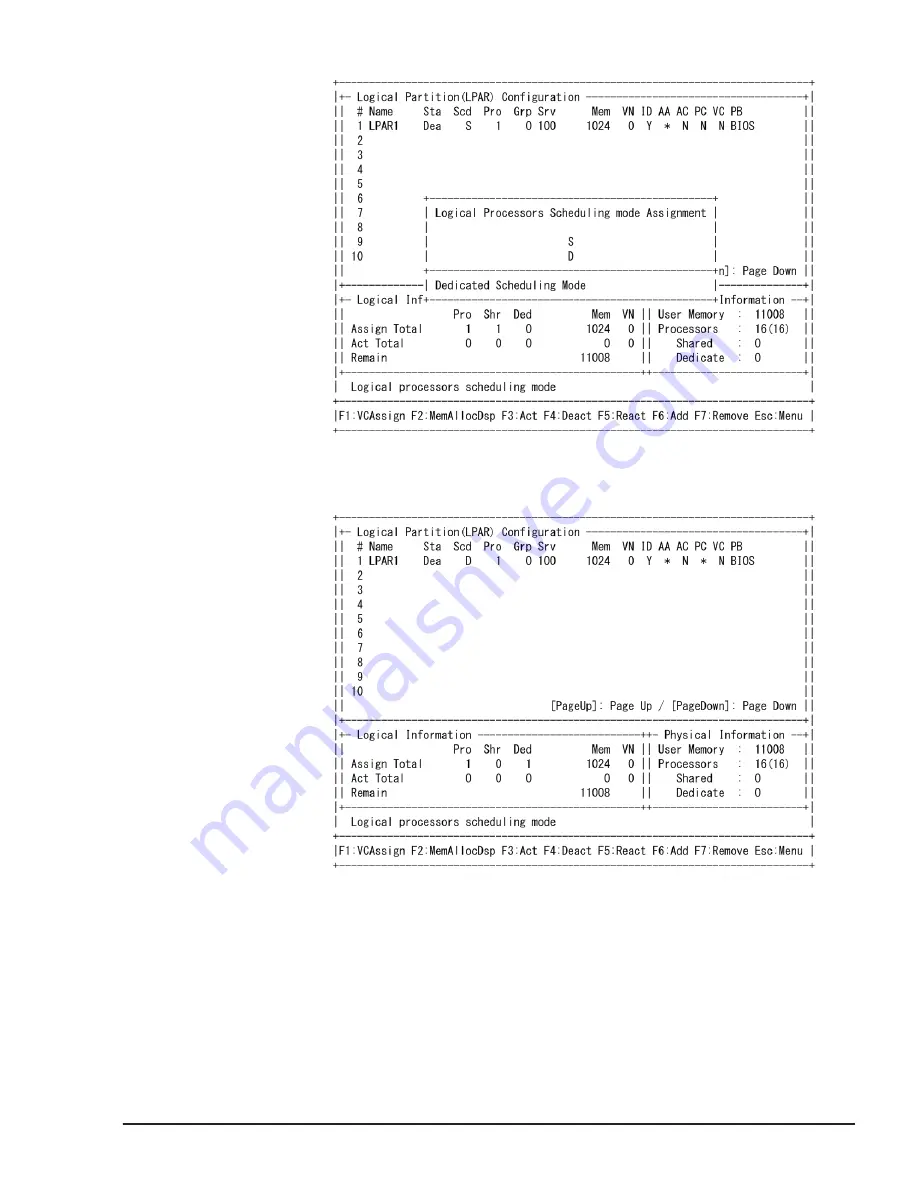
Scheduling mode is set to the target LPAR.
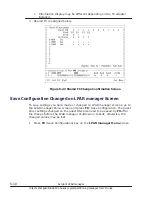
Figure 5-19 Scheduling Mode Confirmation Screen
3
.
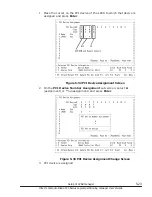
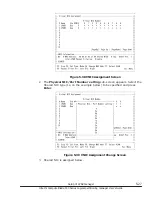
Move cursor onto Pro column of target LPAR then press Enter key. Enter
processor number onto appeared sub-screen then press Enter key.
Setup of LPAR manager
5-15
Hitachi Compute Blade 500 Series Logical partitioning manager User's Guide
Содержание CB 520A A1
Страница 238: ...6 6 LPAR manager backup Hitachi Compute Blade 500 Series Logical partitioning manager User s Guide ...
Страница 376: ...8 6 LPAR manager Dump Collection Hitachi Compute Blade 500 Series Logical partitioning manager User s Guide ...
Страница 530: ...C 4 Console Types Hitachi Compute Blade 500 Series Logical partitioning manager User s Guide ...
Страница 536: ...D 6 LPAR manager use Port numbers Hitachi Compute Blade 500 Series Logical partitioning manager User s Guide ...
Страница 542: ...E 6 System Configuration Hitachi Compute Blade 500 Series Logical partitioning manager User s Guide ...
Страница 557: ...Hitachi Compute Blade 500 Series Logical partitioning manager User s Guide ...

