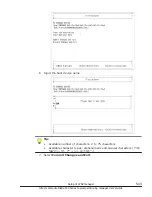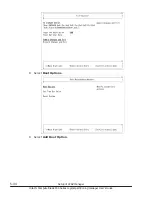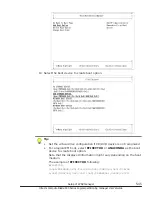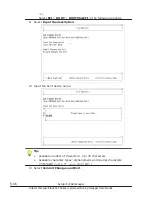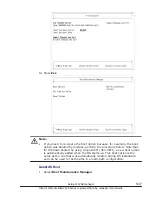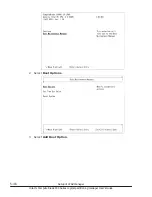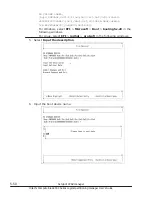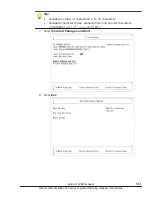
16
.
Return to EFI Shell by
exit
command.
17
.
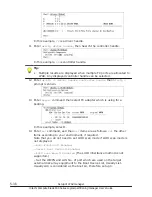
Execute
reconnect –r
command, then execute
map –r
command.
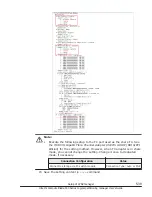
Display content depends on environment.
18
.
Enter
exit
command.
Creating boot option
Note:
•
After installing the OS, if you set up a multi-path configuration, create a
boot option for both paths. Note that, for a logical EFI (X64.UEFI), you
can use the boot option that was automatically created during OS
installation, for both paths in the multi-path configuration. In other words,
you do not need to create individual boot options for each path.
It is necessary to create the boot option according to the use. If the boot
option has been set already, you do not need the following procedure.
Table 5-5 Boot option
Boot device
Boot type
use
Logical BIOS
(IA32.UEFI)
Logical EFI
(X64.UEFI)
FC STORAGE DEVICE
•
NO VOLUME
LABEL
•
SYSTEM
(The displayed
information might
vary depending on the
boot medium.)
SAN boot
Boot guest OS
USB STORAGE DEVICE
•
EFISECTOR
•
ANACONDA
(The displayed
information might
vary depending on the
boot medium.)
CD/DVD boot
Use CD/DVD
NETWORK BOOT
DEVICE
Load File
Network boot
Use SC/DPM
5-40
Setup of LPAR manager
Hitachi Compute Blade 500 Series Logical partitioning manager User's Guide
Содержание CB 520A A1
Страница 238: ...6 6 LPAR manager backup Hitachi Compute Blade 500 Series Logical partitioning manager User s Guide ...
Страница 376: ...8 6 LPAR manager Dump Collection Hitachi Compute Blade 500 Series Logical partitioning manager User s Guide ...
Страница 530: ...C 4 Console Types Hitachi Compute Blade 500 Series Logical partitioning manager User s Guide ...
Страница 536: ...D 6 LPAR manager use Port numbers Hitachi Compute Blade 500 Series Logical partitioning manager User s Guide ...
Страница 542: ...E 6 System Configuration Hitachi Compute Blade 500 Series Logical partitioning manager User s Guide ...
Страница 557: ...Hitachi Compute Blade 500 Series Logical partitioning manager User s Guide ...


