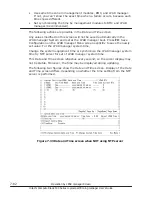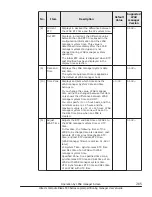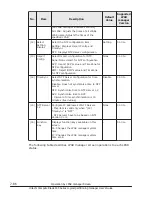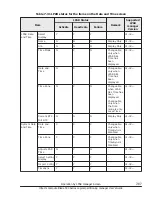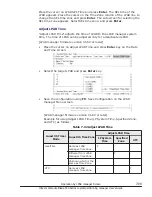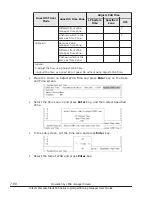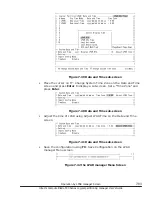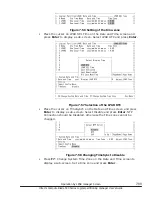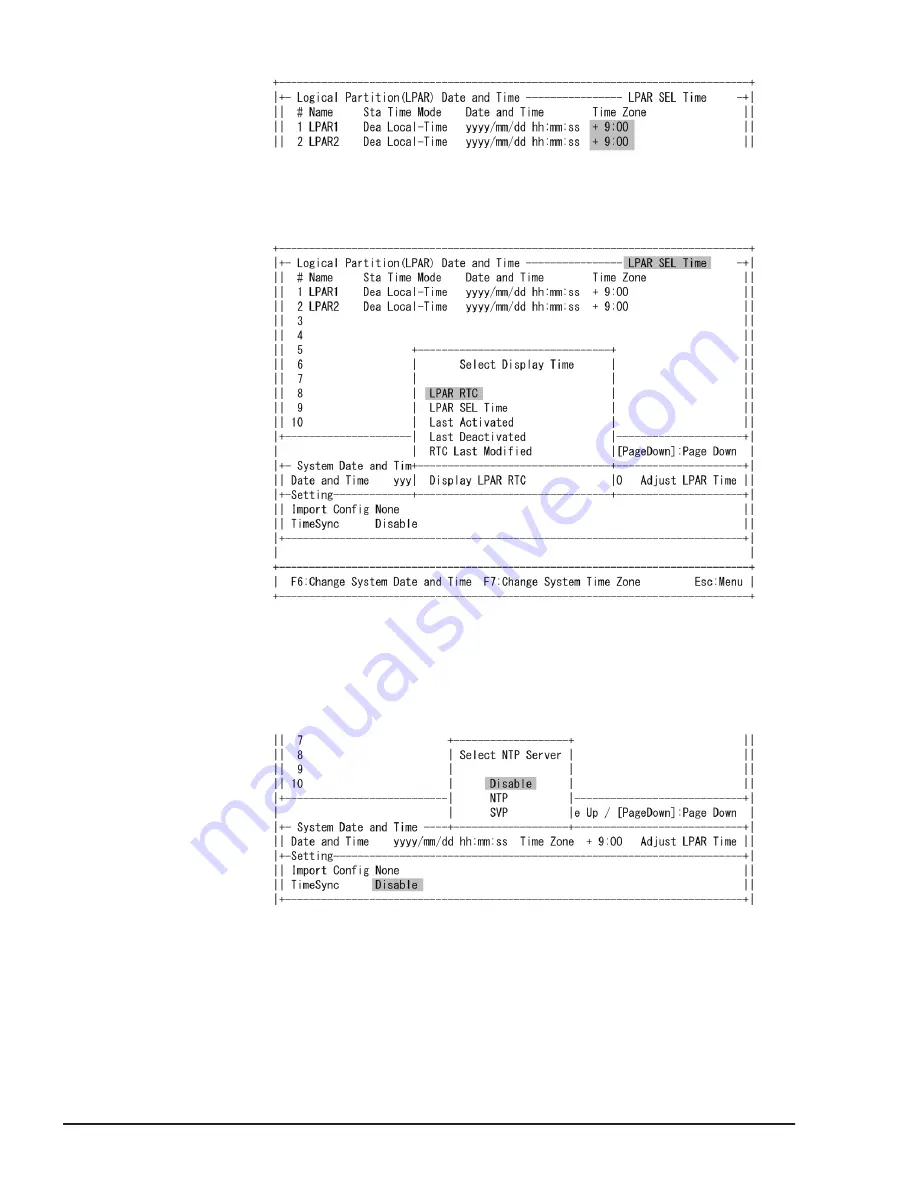
Figure 7-46 Setting of the Time-Zone
•
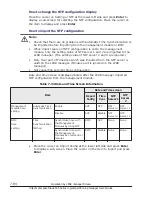
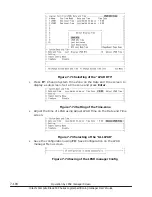
Place the cursor on LPAR SEL Time on the Date and Time screen and
press Enter to display a sub-screen. Select "LPAR RTC" and press Enter.
Figure 7-47 Set of the LPAR RTC
•
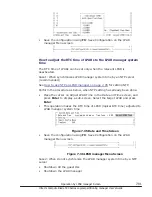
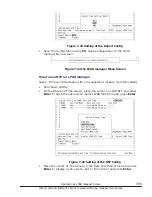
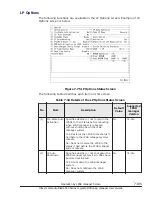
Place the cursor on TimeSynch on the Date and Time screen and press
Enter to display a sub-screen. Select "Disable" and press Enter. NTP
connection should be disabled, otherwise the timezone cannot be
changed.
Figure 7-48 Setting of the NTP Connection
•
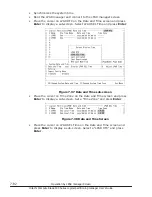
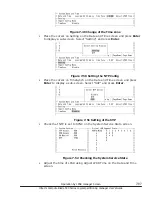
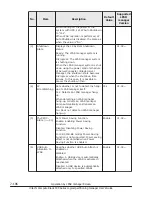
Press F7: Change System Time Zone on the Date and Time screen to
display a sub-screen. Set a time zone and press Enter.
7-96
Operation by LPAR manager Screen
Hitachi Compute Blade 500 Series Logical partitioning manager User's Guide
Содержание CB 520A A1
Страница 238: ...6 6 LPAR manager backup Hitachi Compute Blade 500 Series Logical partitioning manager User s Guide ...
Страница 376: ...8 6 LPAR manager Dump Collection Hitachi Compute Blade 500 Series Logical partitioning manager User s Guide ...
Страница 530: ...C 4 Console Types Hitachi Compute Blade 500 Series Logical partitioning manager User s Guide ...
Страница 536: ...D 6 LPAR manager use Port numbers Hitachi Compute Blade 500 Series Logical partitioning manager User s Guide ...
Страница 542: ...E 6 System Configuration Hitachi Compute Blade 500 Series Logical partitioning manager User s Guide ...
Страница 557: ...Hitachi Compute Blade 500 Series Logical partitioning manager User s Guide ...

