


260
Chapter 25:
Solving Printing and Registration Problems
7
Enter the Bleed amount in the text box.
8
Turn on the Bleed Cut On check box.
9
Enter the Bleed Cut amount (the distance to print beyond the edge of the thickness) in
the text box.
10
Click Continue.
Note: The Trapline Off button in the dialog box appears after a trapline is assigned and is used
to remove a trapline when Smart Editing.
Filling registration gaps with chokes and spreads
Choke/Spread in the Tools menu provides more control than some other methods when filling
the registration gap between two filled shapes which touch each other.
Choke/Spread extends a color under the color selected as the top color by the amount specified
in the Choke/Spread dialog box. This allows you to specify a very small amount (.010, for
example) which is enough to fill a registration gap without creating a Spectratone color with the
overprinting foils.
There are important rules, which must be followed when using Choke/Spread.
♦
If possible, select the darker color as the top color. The darker color will print over the
lighter color better.
♦
If both fills are not solid fills, or if the top color is not a solid fill, use a small
Choke/Spread amount to fill the registration gap (such as .010).
♦
The shapes must be filled. They cannot be cut-only shapes.
♦
The fill attributes in each shape must be different.
♦
Only two fills are allowed, but more than one shape with each fill can be selected.
♦
Selected shapes must be touching. One shape can enclose or surround another, or the
shapes can be overlapping or abutting.
♦
When Choke/Spread is used, all cutlines are removed.
To fill a registration gap with choke/spread
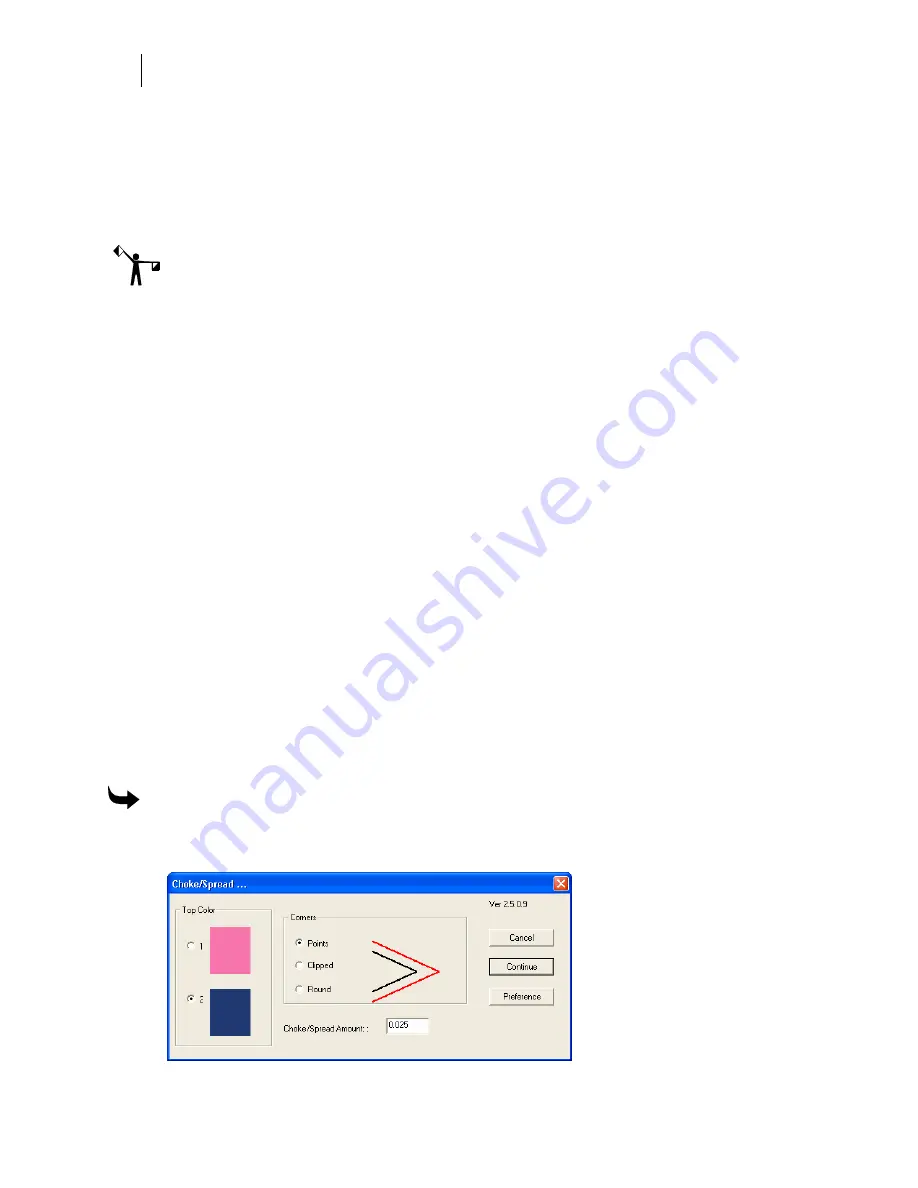
1
Select the shapes, then click Tools > Choke/Spread to open the Choke/Spread dialog
box.
Содержание OMEGA CP
Страница 16: ......
Страница 20: ......
Страница 36: ......
Страница 42: ...28 Chapter 4 Saving Files...
Страница 44: ......
Страница 68: ......
Страница 92: ......
Страница 96: ...82 Chapter 7 Selecting Elements of the Design...
Страница 98: ......
Страница 132: ......
Страница 146: ......
Страница 154: ......
Страница 162: ......
Страница 182: ......
Страница 188: ......
Страница 204: ......
Страница 234: ......
Страница 238: ......
Страница 244: ......
Страница 254: ...240 Chapter 22 Strokes Adding Print Thickness to the Outline of Objects...
Страница 256: ......
Страница 282: ......
Страница 320: ......
Страница 346: ......
Страница 358: ......
Страница 380: ......
Страница 386: ......
Страница 418: ......
Страница 422: ......
Страница 452: ......
Страница 462: ......
Страница 476: ......
Страница 512: ...498 Chapter 44 Creating Special Effects...
Страница 514: ......
Страница 520: ......
Страница 530: ......
Страница 540: ......
Страница 552: ......
Страница 564: ......
Страница 606: ......
Страница 614: ...600 Chapter 51 Sending the Job to a Plotter or Printer...
Страница 694: ......
Страница 700: ......
Страница 734: ......
Страница 748: ......
Страница 760: ...746...
Страница 776: ......
Страница 786: ......
Страница 790: ......
Страница 800: ...786 Chapter 74 CP320 Colorimeter Operations...


