Advanced Programming
3-13
April 2004
Entering User-Defined
Tables
To support user-defined functions, the Series 1 can hold up to five
tables (designated as A through E) of non-linear or empirical data.
Users can enter up to 16 X-Y pairs in each table. The user functions
can supply an X value with Tbl(). The meter then interpolates the Y
value for a given X, and substitutes it for Tbl (X) in the function. (The
results are extrapolated if the X value exceeds the bounds of the
table.)
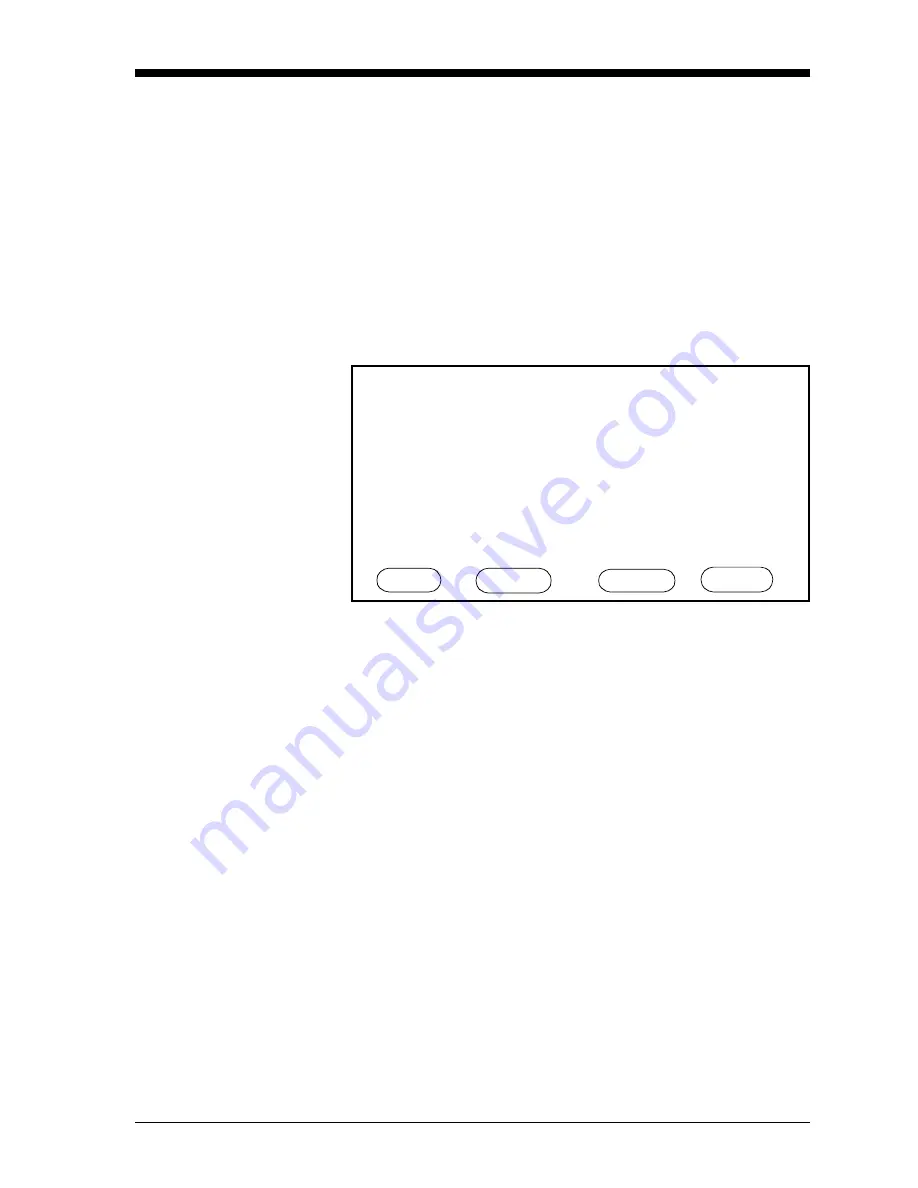
To enter the User Function Table Menu, first enter the User Function
Menu, and press the PAGE menu key until a screen similar to
Figure 3-7 appears. Press the TABLE menu key to scroll through the
five tables.
Figure 3-7: User Function Table Menu
1. The pointer starts at the ND (number of data points) line. Press
[YES]. Enter the number of data points desired, and press [YES]
to confirm the entry.
2. The pointer moves to the Title entry. Press [YES] and the Label
Entry Menu (shown in Chapter 2) appears.
Note:
The title is for information purposes, and does not appear
anywhere else.
3. A flashing select pointer appears in the upper left corner of the
character set. Use the NEXT ROW and PREV ROW keys to move
the pointer to the desired row. Then use the arrow keys to move
the pointer to the desired character. The upper left corner of the
character set contains the space character.
4. The pointer moves to the first row for X and Y data points. Press
[YES] and enter the data points desired.
5. Press [YES] to confirm each entry and proceed to the next point.
6. Repeat steps 4 and 5 until you have entered all the data points.
Then press the [DONE] menu key to return to the Option menu.
HELP TABLE PAGE DONE
A
USER TABLE Table
ND: Title:[No Title]
## X Y ## X Y
00 06
01 07
02 08
03 09
04 10
05 11
User Function Table Menu
Содержание Moisture Image 1 Series
Страница 2: ...Moisture Image Series 1 Hygrometer Programming Manual ...
Страница 7: ...Chapter 1 ...
Страница 18: ...Chapter 2 ...
Страница 61: ......
Страница 62: ...Your passcode is 2719 Please remove this page and put it in a safe place for future reference ...
Страница 63: ...Chapter 3 ...
Страница 97: ...Chapter 4 ...
Страница 101: ...Programming with PanaView 4 3 April 2004 Open the Meter Display Window cont Figure 4 1 The Meter Display Window ...
Страница 103: ...Programming with PanaView 4 5 April 2004 Change Meter Programming cont Figure 4 2 Matrix Display After Programming ...


