


April 2004
4-10
Programming with PanaView
Testing Recorder
Outputs
1. To test the recorder outputs, click on the [
Test
] button in the
“Recorder Properties” window (see Figure 4-5 on page 4-9). A
message appears: “This will suspend Recorder #[X] on Channel
[X]. Are you sure you want to test this recorder?” Click on
[
OK
]
to
continue.
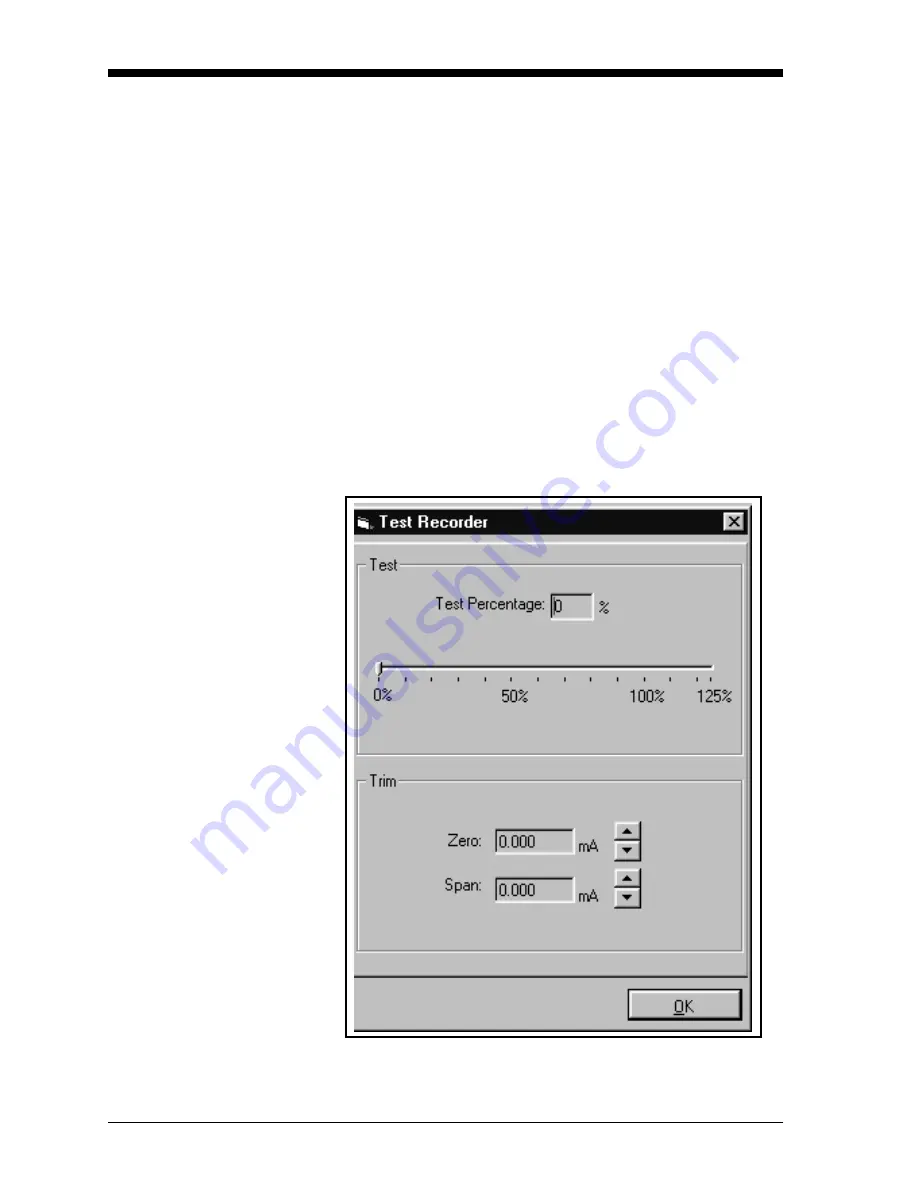
2. The “Test Recorder” window appears, as shown in Figure 4-6
below. At the top, slide the pointer to the desired percentage of the
full scale recorder range, and click on
[
OK
]
.
3. To trim the recorder outputs, scroll the arrows to the right of the
“Zero” and “Span” windows up or down until you reach the
desired values, and click on
[OK]
.
Note:
For a complete discussion of testing and trimming recorder
outputs, refer to the sections Testing the Recorder Outputs
and Trimming Recorder Outputs in Chapter 2 of the Service
Manual.
The screen returns to the “Recorder Properties” window.
Figure 4-6: Recorder Test Window
Содержание Moisture Image 1 Series
Страница 2: ...Moisture Image Series 1 Hygrometer Programming Manual ...
Страница 7: ...Chapter 1 ...
Страница 18: ...Chapter 2 ...
Страница 61: ......
Страница 62: ...Your passcode is 2719 Please remove this page and put it in a safe place for future reference ...
Страница 63: ...Chapter 3 ...
Страница 97: ...Chapter 4 ...
Страница 101: ...Programming with PanaView 4 3 April 2004 Open the Meter Display Window cont Figure 4 1 The Meter Display Window ...
Страница 103: ...Programming with PanaView 4 5 April 2004 Change Meter Programming cont Figure 4 2 Matrix Display After Programming ...


