


April 2004
3-12
Advanced Programming
Entering the Equation
1. Move the pointer to the Equation box. Press [YES] to enter the
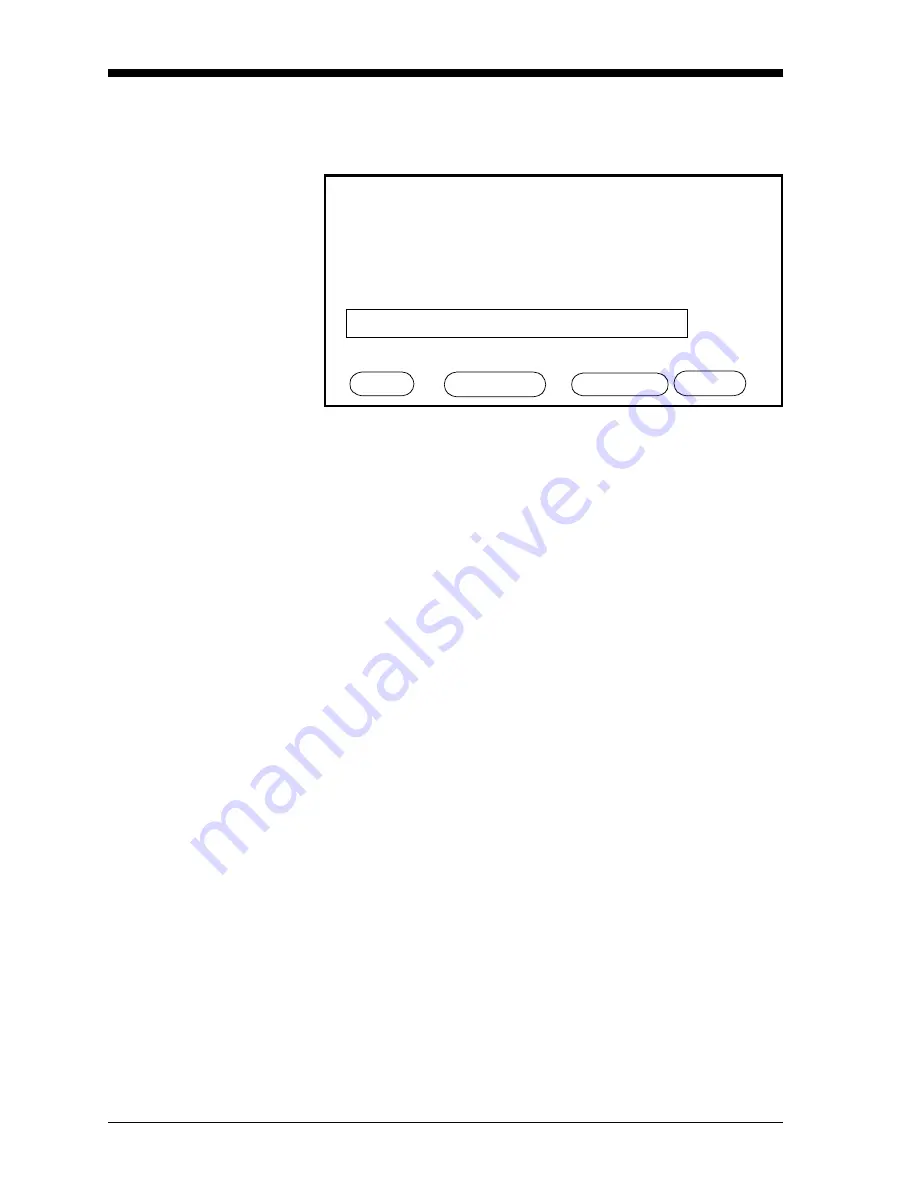
function. The Math Entry Menu appears, as shown in Figure 3-6.
Figure 3-6: Math Entry Menu
2. In the Math Entry Menu, use the NEXT ROW and PREV ROW
keys to scroll to the appropriate row. Then use the arrow key to
reach the desired symbol.
3. Once the key is on the symbol, press [YES] to enter the symbol
into the equation. Use the number keys to enter numeric values.
(Press [NO] to remove any mistaken or unwanted symbols or
numbers.)
4. To enter a particular measured parameter into the equation, click
on the MODE symbol at the right of the third row. A list of
parameters will appear. Scroll through the list until you reach the
desired parameter, and press [YES].
5. A list of units will then appear. Scroll through the list with the
arrow keys until you reach the desired units, and press [YES].
Note:
If you wish to link a parameter from a particular channel, add
“(Ch#)” after you select the parameter. For example, “DP/
°C(2)” is the dewpoint in °C on channel 2.
6. Press the DONE key to confirm the equation. The meter will
return to the User Function Menu. However, if the user function
contains an error (for example, unbalanced parentheses or a
missing operator), the function will be labeled “INVALID.”
7. Press DONE to return to the Option Menu, or repeat the procedure
to enter functions for other channels or pages.
EQUATION ENTRY User 1 - Ch
HELP NEXT ROW PREV ROW DONE
1
- + * / ^
) , ( abs exp
inv ln log sqrt Mode
TblA TblB TblC TblD TblE
Math Entry Menu
Содержание Moisture Image 1 Series
Страница 2: ...Moisture Image Series 1 Hygrometer Programming Manual ...
Страница 7: ...Chapter 1 ...
Страница 18: ...Chapter 2 ...
Страница 61: ......
Страница 62: ...Your passcode is 2719 Please remove this page and put it in a safe place for future reference ...
Страница 63: ...Chapter 3 ...
Страница 97: ...Chapter 4 ...
Страница 101: ...Programming with PanaView 4 3 April 2004 Open the Meter Display Window cont Figure 4 1 The Meter Display Window ...
Страница 103: ...Programming with PanaView 4 5 April 2004 Change Meter Programming cont Figure 4 2 Matrix Display After Programming ...


