


April 2004
2-38
Basic Programming
Making Tags
Figure 3-19 on page 3-32 for a menu map.
Note:
You should have already verified or entered the calibration
data for the input before making tags. Making your own tag of
any character length overrides the default GE Panametrics
tag for that parameter (i.e., “Dew Point,” “Temperature,”
“Pressure,” etc.)
1. From the Probe Configuration Menu (Table 2-1 on page 2-9),
move the pointer to the channel and probe you want to select. The
arrow will only move to installed channels.
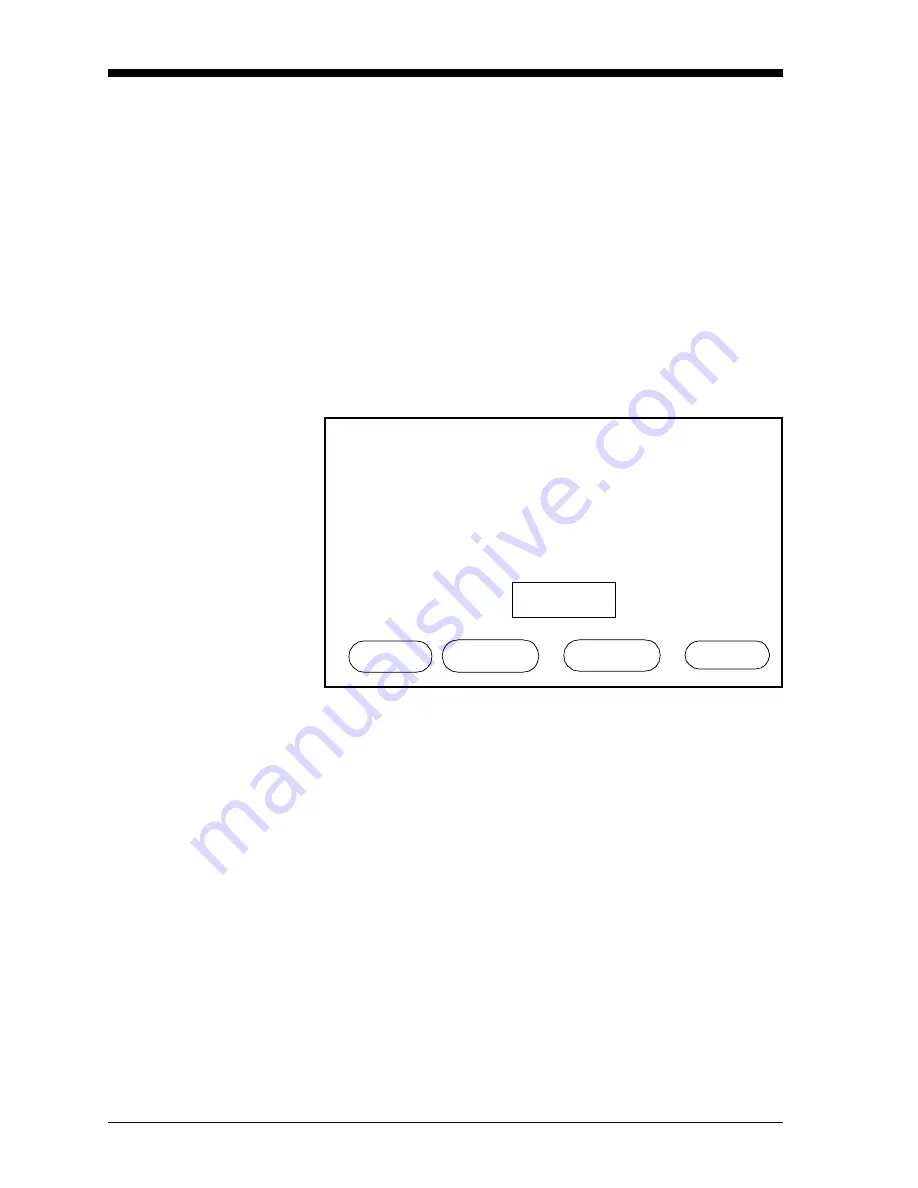
2. Press the TAG menu key. The Label Entry Menu appears as
shown in Figure 2-19 below. The screen displays a table of the
character set available, an Edit Box and four menu options.
Figure 2-19: Label Entry Menu
3. A flashing select pointer appears in the upper left corner of the
character set. Use the NEXT ROW and PREV ROW menu keys to
move the pointer to the desired row.
4. Then use the arrow keys to move the pointer to the desired
character and press [YES]. The selected character will appear in
the Edit Box. The upper left corner of the character set contains
the space character.
5. Repeat steps 3 and 4 until you have entered all the characters for
the label.
Note:
Use the numeric keys to enter numbers, decimal points, or
minus signs. To erase a character, press the [NO] key. The
character to the left of the Edit Cursor will be erased.
! “ # $ % &
'
( ) * + , - . /
0 1 2 3 4 5 6 7 8 9 : ; < = > ?
@ A B C D E F G H I J K L M N O
P Q R S T U V W X Y Z [
¥
] ^ _
‘ a b c d e f g h i j k l m n o
p q r s t u v w x y z { | }
→
µ
°
Label Entry:
HELP NEXT ROW PREV ROW DONE
∋
Содержание Moisture Image 1 Series
Страница 2: ...Moisture Image Series 1 Hygrometer Programming Manual ...
Страница 7: ...Chapter 1 ...
Страница 18: ...Chapter 2 ...
Страница 61: ......
Страница 62: ...Your passcode is 2719 Please remove this page and put it in a safe place for future reference ...
Страница 63: ...Chapter 3 ...
Страница 97: ...Chapter 4 ...
Страница 101: ...Programming with PanaView 4 3 April 2004 Open the Meter Display Window cont Figure 4 1 The Meter Display Window ...
Страница 103: ...Programming with PanaView 4 5 April 2004 Change Meter Programming cont Figure 4 2 Matrix Display After Programming ...


