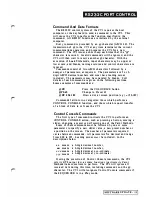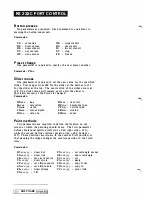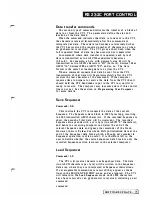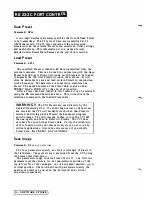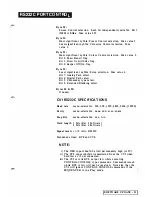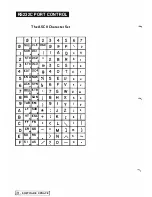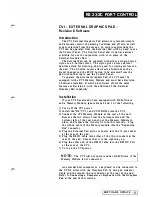
RS232C PORT CONTROL
You can change the status o f the Wipe bu ttons o n this menu by
moving the menu cursor there and pressing. It will ta k e four of
these p resses to cycle through the four possibilities of "light on"
and "thick box".
For example, if you wish to start a Colour Wipe without using
the Control Panel, go to the Controls View Menu (top left of the
pad), press the display of the Wipe Colour b utton until the small
light a ppears, and then return to y o u r i m a ge. The Colour Wipe
will take place immediately.
Here is the procedure to create a Preset which will perform
a
Colour or Stencil Wipe when that Preset is selected.
Go
to the
Controls View Menu, press the req uired Wipe button until it has a
thick box, and then use either the PRESET/FREEZE combination,
or the
Set
selection on the Presets Control Menu to save your
selection to the current Preset. See the
Presets Control Me n u
section of the manual f o r m o r e information.
'One other sma ll change from Revision
5
Software is found on
the Sequencer Menu. The menu operates exactly as . in Revision
5,
except that when you select the
P l a y
,
R e p e a t
or
Step
box and
return to your image, the External Pad will not dra w onto the
screen until the stylus has first been moved out of the screen area
on the Pad. This stops unintentional drawing interactions while
the Sequencer is playing. I f you wish to draw while the
Sequencer plays, simply select
P l a y
from the menu and move the
stylus off the pad then back on again to draw as usual.
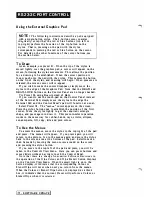
Extra F unctions of the 4-button Cursor
When using t h e 4-button cursor it i s important t o remember that
only one button should be depressed at any time. Pressing more
than one button will lead to unexpected resul ts.
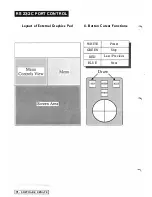
The
green
(middle) and
w h i te
(bottom) bu ttons of the cursor
correspond exactly to the STOP and PRESET buttons on the
Control Panel. Pressing the
green
button is the same as pressing
STOP; pressing the w h i te button is the same as pressing the
PRESET bu tton.
The
red
and
blue
buttons are used for drawing and selection
functions as described above. In addition, these two bu ttons take
on a differen t function
only
after t h e w h i te
(or PRESET) bu tton
is pressed. After the PRESET button, a short press of the
red
(left) button will decrement the current Preset Number by one,
while the
blue
(right) button will increment the Preset Nu mber by
one.
When the menus a re displayed, holding down the
red
or
blue
button (after the
white
PRESET button) will first cha nge the
current Preset Number by one, then, after about one second, will
rapidly decrement or increment the Preset N umber. This allows
you to access quickly any of the 1 00 Presets. Note that the rapid
Preset change function only operates when the menus are
displayed.
SOFTWARE UPDATE
-
Содержание CVI
Страница 1: ...r e User Manual Computer Video Instrument...
Страница 4: ...Startea 2 Video Melius...
Страница 102: ...33 Quad mirror Slow scan across L J _J...
Страница 103: ......
Страница 104: ...56 Under over stencil 57 Under over catch up 58 Push to freeze...
Страница 105: ...60 L J _JI L...
Страница 106: ...80 Under over texture wipe L J _J...
Страница 107: ...L J _Jd r...
Страница 137: ...SYM M ETRY M E N U 8 Spin 1 80 degree rotation around the current screen centre giving two images PAINT MENU 27 I...
Страница 196: ...lilli an _ _ _ _ _ _ _ _ _ _ _ _ _ _ _ _1l _ b h _ _ _ _ _ __ _ _ _ _ _ _ _ _ 9 b_ _ __ QUICK SELECTION VIDEO MENU...
Страница 197: ...RS232C Port ControI 1 Rev 7 Software Update 1...
Страница 268: ...Glossary 1 Index 5...
Страница 282: ......

