R S 2 3 2 C PO RT CO NTRO L
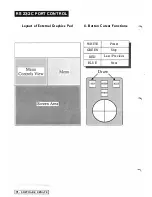
U s ing t h e External G raphics Pad
N OT E :
The following instructions describe a pad equipped
with a single-button stylus. The 4-button cursor operates
identically, except that the red or blue buttons (top left or
top right) perform the function o f the tip button on the
stylus. That is, pressing on the pad with the stylus
corresponds to pressing the red or blue bu tton on the cursor.
For details on the other functions of the cu rsor buttons, see
the section below.
To
D raw
As an example, use preset
0 1 .
When the tip of the stylus is
moved lightly over the graphics pad, a cu rsor will appear on the
screen, following the stylus movements. This allows the position
for a drawing to be established. When the correct position is
found, push onto the pad with the stylus. This presses the button
on the tip of the stylus, and drawing will begin. When preesure is
released, the screen cursor will re-appear.
If you wish to make the cursor disappear, simply move the
stylus to the edge of the Graphics Pad. Note that the DRAW and
DRAW-LOCK buttons on the Control Panel are no longer needed.
Try Preset 04, using
Draw
instead of
Dots.
If
you want to use the touch-pad on the Control Panel instead
of the External Pad, simply move the stylus to the edge the
External Pad and the Control Pa nel's pad will function as usual.
Select Preset 1 8. The
"reet.=>"
cursor appears on the screen.
Press the stylus button once to establish the position of the first
corner. Move the stylus lightly to get the required recta ngle
shape, and press again to draw it. This press-to-select operation
works i n the same way for rubber-bands, rays, circles, ellipses,
cut-and-paste, fill, copy, title and pick colour.
To
U se the M enus
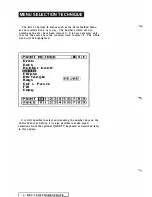
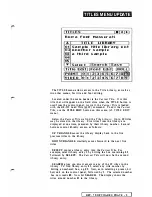
T o access t h e menus, move t h e stylus t o the top right o f t h e pad
and press. The menus will a ppear. If you press again you will
return to the picture. Go to the menus again and move the stylus
back to the screen area a t the bottom of the pad. Selections can
then be made by moving the menu cursor around on the screen
and pressing the stylus button.
If you move to the top left of the pad and press, you will be
taken to the Controls View Menu. Here you can press buttons and
move sliders without having to touch the Control Panel.
Note that there
is
a change from earlier Software Revisions in
the opera tion of the Wipe
Colour
and Wipe Stencil button displays
on the Controls View Menu. When the small light is on in the
button display, it indicates that the corresponding Colour or
Stencil Wipe will occur when next you return from the menus.
When the Colour or Stencil Wipe bu tton is displayed as a thick
box, it indicates that the current Preset will perform a Colour or
Stencil Wipe when it is
selected.
-
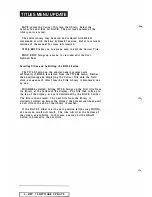
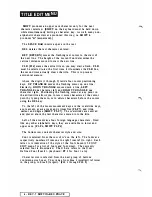
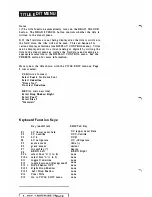
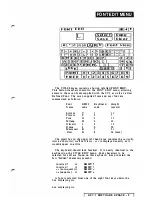
SOFTWARE UPDATE
Содержание CVI
Страница 1: ...r e User Manual Computer Video Instrument...
Страница 4: ...Startea 2 Video Melius...
Страница 102: ...33 Quad mirror Slow scan across L J _J...
Страница 103: ......
Страница 104: ...56 Under over stencil 57 Under over catch up 58 Push to freeze...
Страница 105: ...60 L J _JI L...
Страница 106: ...80 Under over texture wipe L J _J...
Страница 107: ...L J _Jd r...
Страница 137: ...SYM M ETRY M E N U 8 Spin 1 80 degree rotation around the current screen centre giving two images PAINT MENU 27 I...
Страница 196: ...lilli an _ _ _ _ _ _ _ _ _ _ _ _ _ _ _ _1l _ b h _ _ _ _ _ __ _ _ _ _ _ _ _ _ 9 b_ _ __ QUICK SELECTION VIDEO MENU...
Страница 197: ...RS232C Port ControI 1 Rev 7 Software Update 1...
Страница 268: ...Glossary 1 Index 5...
Страница 282: ......

