44
7.
Select the
Enter Password
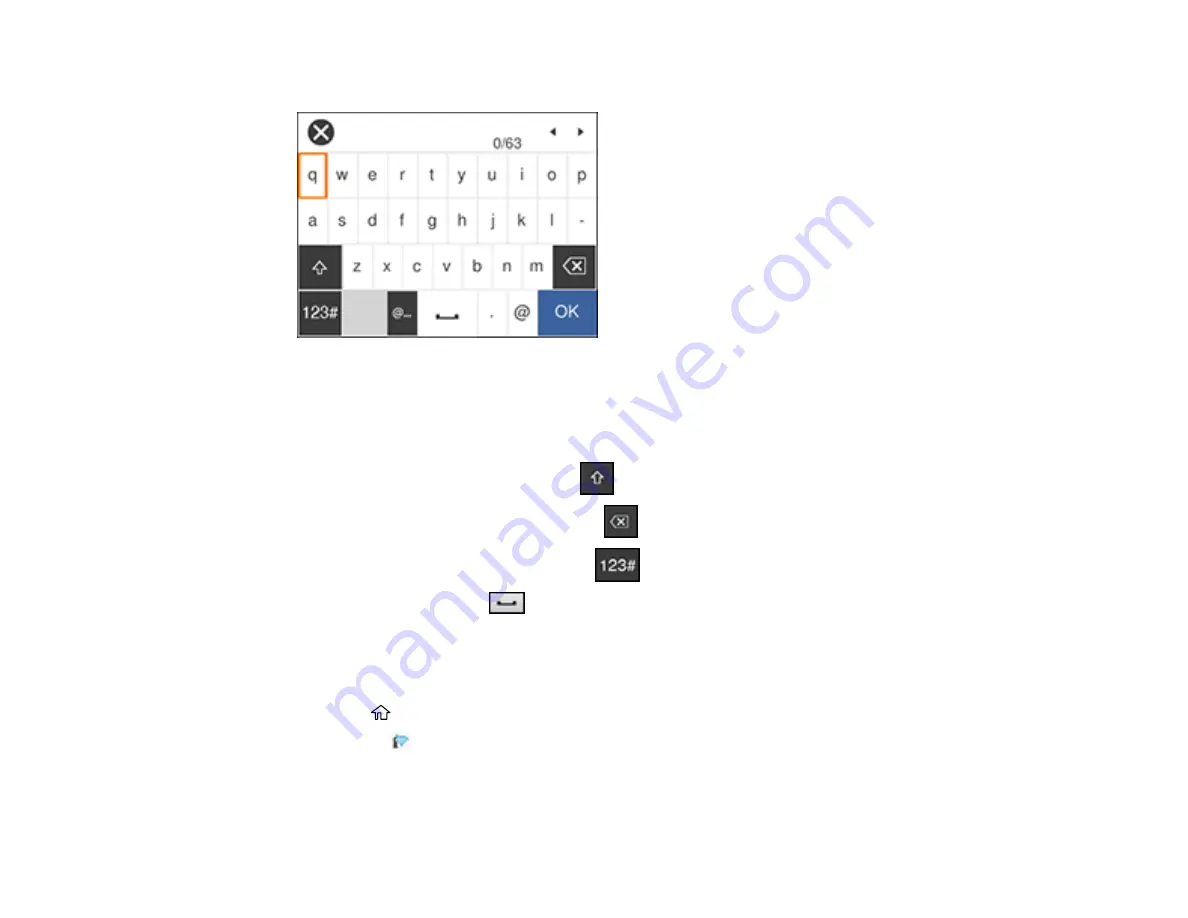
field and enter your wireless password using the displayed keypad.
Note:
The network name and password are case sensitive. Be sure to correctly enter uppercase and
lowercase letters, and numeric or special characters.
• To move the cursor, press the left or right arrow buttons.
• To change the case of letters, select
.
• To delete the previous character, select
.
• To enter numbers and symbols, select
.
• To enter a space, press
.
8.
Select
OK
when you finish entering your password.
9.
Confirm the displayed network settings and select
Start Setup
to save them.
10. If you want to print a network setup report, select
Print Check Report
. (Otherwise, select
OK
.)
11. Press the
home button to exit.
You see the
icon on the LCD screen and should be able to connect to your product directly from
your computer or device, and then print. If you are printing from a computer, make sure you installed
the network software as described on the
Start Here
sheet.
Содержание C11CG31201
Страница 1: ...WF 2850 User s Guide ...
Страница 2: ......
Страница 13: ...13 WF 2850 User s Guide Welcome to the WF 2850 User s Guide For a printable PDF copy of this guide click here ...
Страница 111: ...111 10 Select the Layout tab 11 Select the orientation of your document as the Orientation setting ...
Страница 137: ...137 You see an Epson Scan 2 window like this ...
Страница 139: ...139 You see an Epson Scan 2 window like this ...
Страница 141: ...141 You see this window ...
Страница 226: ...226 4 Lift up the scanner unit 5 Using the flashlight check the translucent film shown here for ink smears ...
Страница 230: ...230 Print Head Cleaning ...
Страница 249: ...249 3 Open the scanner unit 4 Carefully remove any paper jammed inside the product ...
Страница 253: ...253 3 Open the ADF cover 4 Carefully remove any jammed pages from beneath the ADF 5 Raise the ADF input tray ...


