229
7.
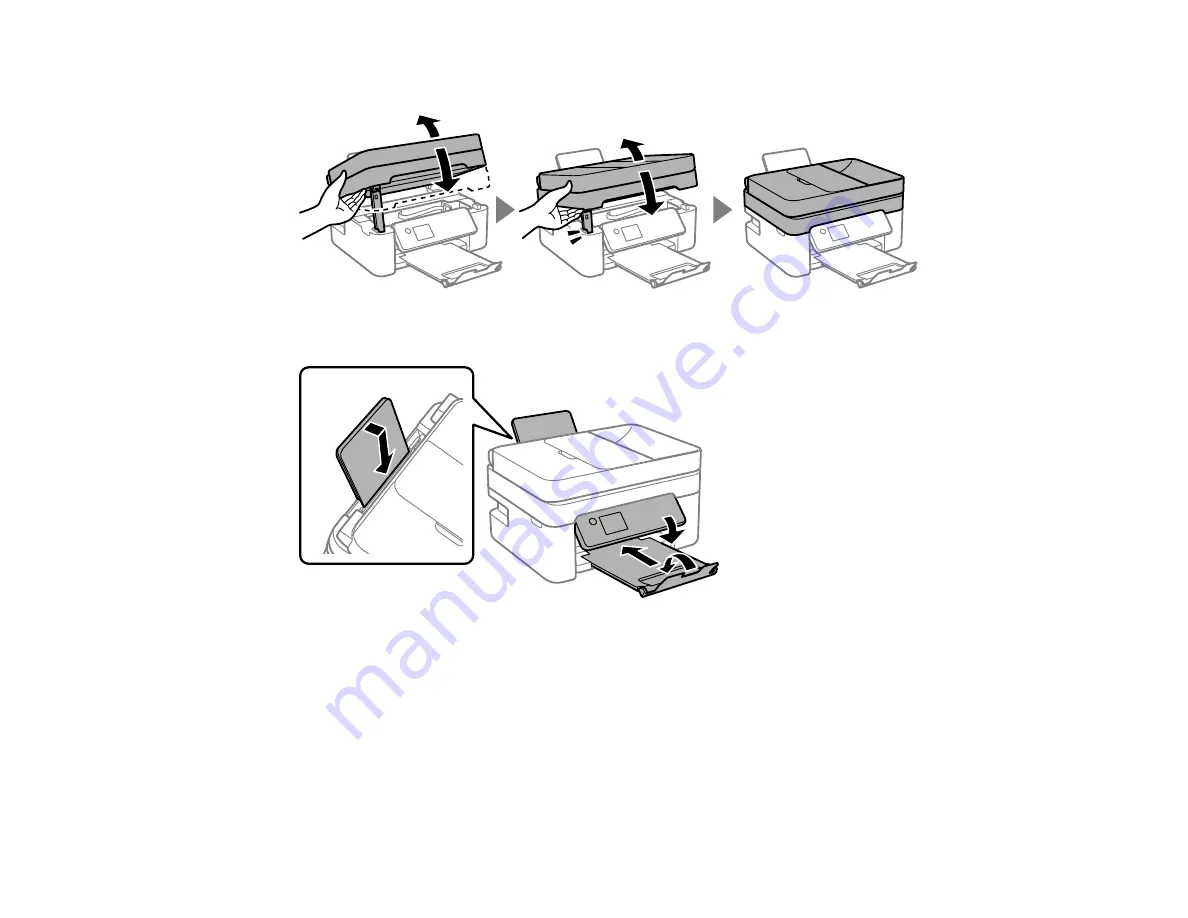
Close the scanner unit.
8.
Close the output tray and paper support, lower the control panel, and close the rear feed.
9.
Place the product in its original packing materials, if possible, or use equivalent materials with
cushioning around the product.
Keep the product level during transportation. Be sure to remove the tape from the ink cartridge holder
before turning on your product. If print quality has declined when you print again, clean and align the
print head.
Parent topic:
Cleaning and Transporting Your Product
Related concepts
Содержание C11CG31201
Страница 1: ...WF 2850 User s Guide ...
Страница 2: ......
Страница 13: ...13 WF 2850 User s Guide Welcome to the WF 2850 User s Guide For a printable PDF copy of this guide click here ...
Страница 111: ...111 10 Select the Layout tab 11 Select the orientation of your document as the Orientation setting ...
Страница 137: ...137 You see an Epson Scan 2 window like this ...
Страница 139: ...139 You see an Epson Scan 2 window like this ...
Страница 141: ...141 You see this window ...
Страница 226: ...226 4 Lift up the scanner unit 5 Using the flashlight check the translucent film shown here for ink smears ...
Страница 230: ...230 Print Head Cleaning ...
Страница 249: ...249 3 Open the scanner unit 4 Carefully remove any paper jammed inside the product ...
Страница 253: ...253 3 Open the ADF cover 4 Carefully remove any jammed pages from beneath the ADF 5 Raise the ADF input tray ...


