PRORXD Broadcast Receiver User Guide
Commercial in Confidence
Broadcast Solutions, HD/SD Products,
PRORXD
100167
Revision: 7.0
Commercial in Confidence
Page 7-80
6.
On the web browser, click Upload File, a Please Wait - Unit Upgrading message will be displayed for a
few minutes.
7.
When the upgrade is successful, choose the option No, I’ll do a manual reboot, or if using the single
file skip to step 10.
8.
On the web browser, click Browse and select the
d330_prorxd_data_x.x.x.upg
file followed by Open.
9.
Again click Upload File and wait a few minutes more for the upgrade to complete. This should take a
little longer that the previous file.
10.
This time when the upgrade is successful, choose the option Yes, reboot now.
11.
After rebooting the unit, the new features will be enabled. Refresh the web browser to view the new
software version in the Information tab.
7.13
Working with the Frequency Tab
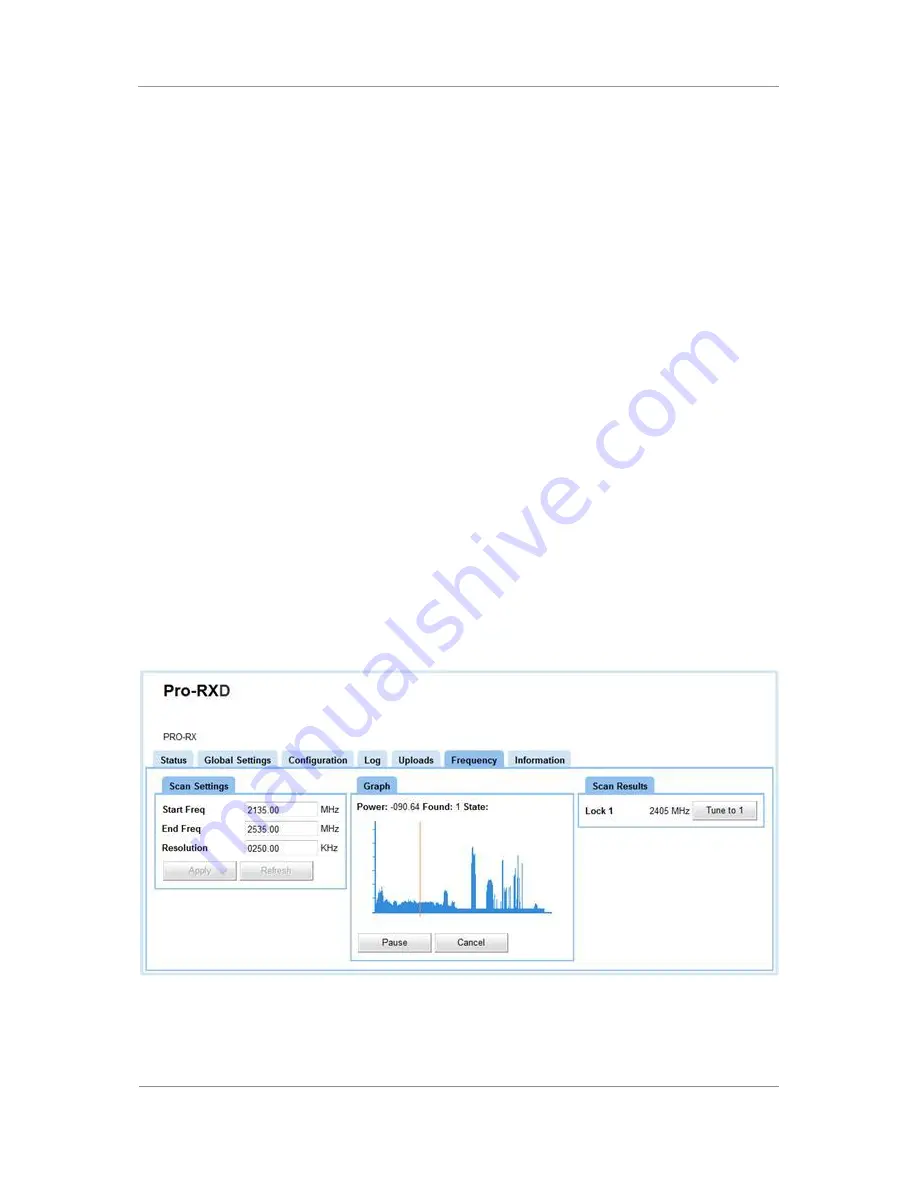
The Frequency tab enables you to scan the spectrum around you within a bandwidth and resolution of your
choice.
You can operate the Find item which will tag the strongest signals and report their frequencies to you.
You can operate the Cycle button to select found frequencies in turn and if you wish you can push the
Select button which will make that frequency currently in operation in your PRORXD.
Before you Start
This is necessary:
To have connected your PC to the PRORXD with an IP connection.
To be logged on to the PRORXD unit.
Step 1: Open the Frequency Tab
1.
Click on Frequency tab.
Figure 7-35 Frequency Tab


