Service Manual
8-33
FRU Disassembly/Assembly
8
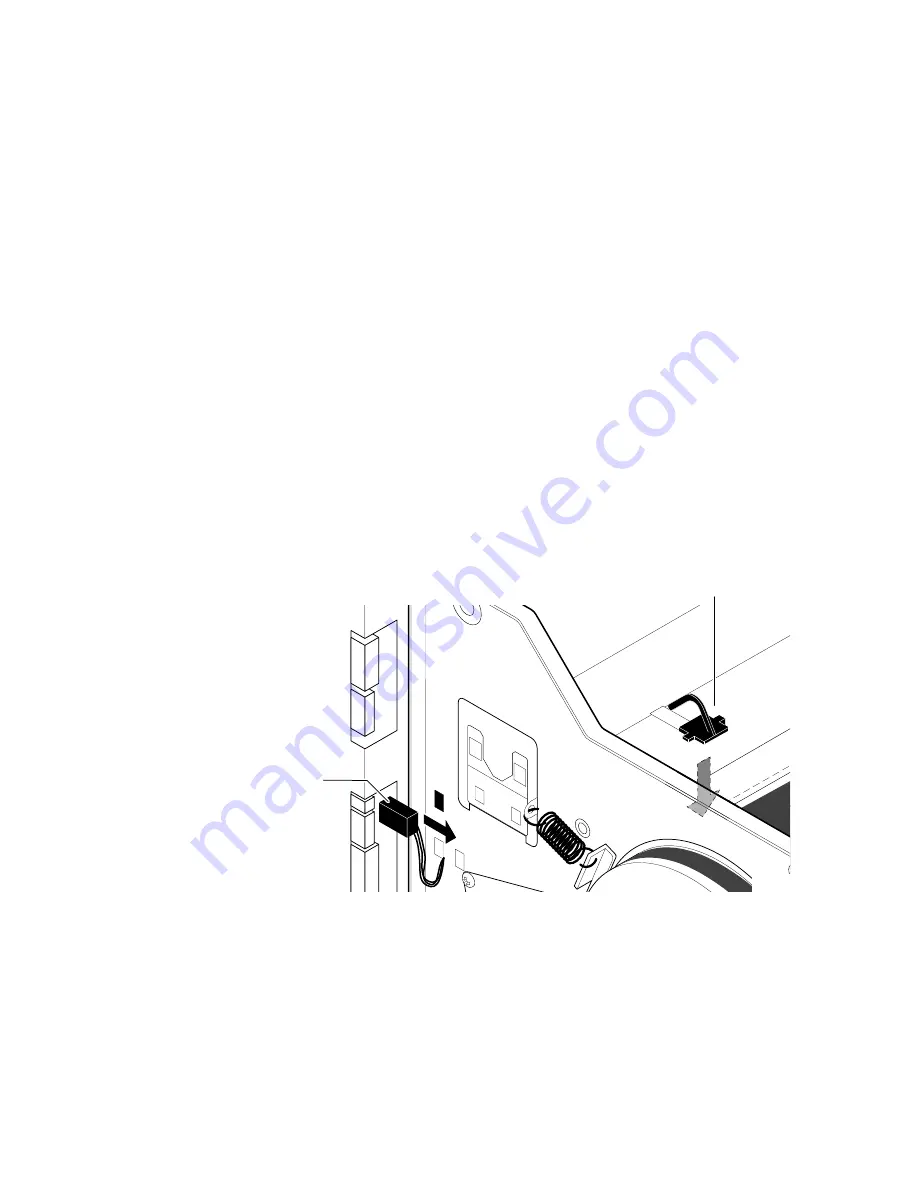
Transfer roll low sensor
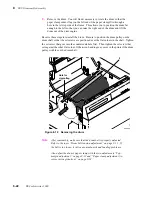
This sensor is located inside the print engine near the power supply (below the
supply-side transfer roll).
1.
Power down the printer and remove the power cord.
2.
Open the top access cover and remove the transfer roll.
3.
Remove the card cage and power supply as explained in the later topic “Card
cage and power supply” on page 8-35.
4.
Disconnect the sensor's 3-wire wiring harness from the engine control board
(CN7). Clip the tie wrap it shares with the other wiring harnesses.
5.
Unclip the sensor from the print engine frame.
6.
Reach through the rear of the printer to remove the sensor.
Reverse these steps to reinstall the transfer roll low sensor.
Paper clamp sensor
This sensor is located under the drum.
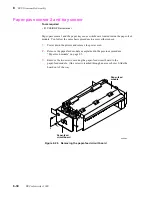
Tools required
n
#1 POSIDRIV® screwdriver
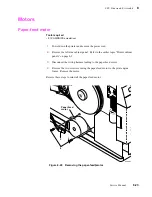
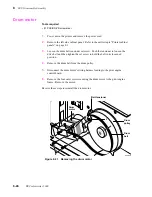
Figure 8-29 Removing the transfer roll low sensor
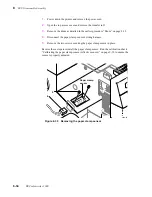
Tools required
n
#1 POSIDRIV® screwdriver
5
8699-52
4
Содержание DECcolorwriter 1000
Страница 11: ...Service Manual xi...
Страница 16: ...Service Manual xv...
Страница 56: ...2 24 DECcolorwriter 1000 2 Installing the Printer and Drivers...
Страница 64: ...3 8 DECcolorwriter 1000 3 Verifying the Printer and Host Connections...
Страница 70: ...4 6 DECcolorwriter 1000 4 Key Operator Training...
Страница 170: ...8 46 DECcolorwriter 1000 8 FRU Disassembly Assembly...
Страница 190: ...9 20 DECcolorwriter 1000 9 Checks and Adjustments...
Страница 193: ...Service Manual A 3 Field Replaceable Units List A Figure A 1 The printer exterior FRUs 8699 76A 1 2 3 4 5 6 7 8 9...
Страница 195: ...Service Manual A 5 Field Replaceable Units List A...
Страница 198: ...A 8 DECcolorwriter 1000 A Field Replaceable Units List...
Страница 204: ...C 6 DECcolorwriter 1000 C Wiring Diagrams...
Страница 208: ...D 4 DECcolorwriter 1000 D Test Pattern Generator...


