WARNING:
Ensure that you back up your data, before removing a drive. For more information about preparing your drive
for removal and supported RAID redundancy, see the Troubleshooting guide of your system at
NOTE:
Using the management software, prepare the drive for removal. If the drive is online, the green activity or fault
indicator flashes while the drive is turning off. When the drive indicators are off, the drive is ready for removal. For
more information, see the documentation for the storage controller.
Follow the safety guidelines listed in
Steps
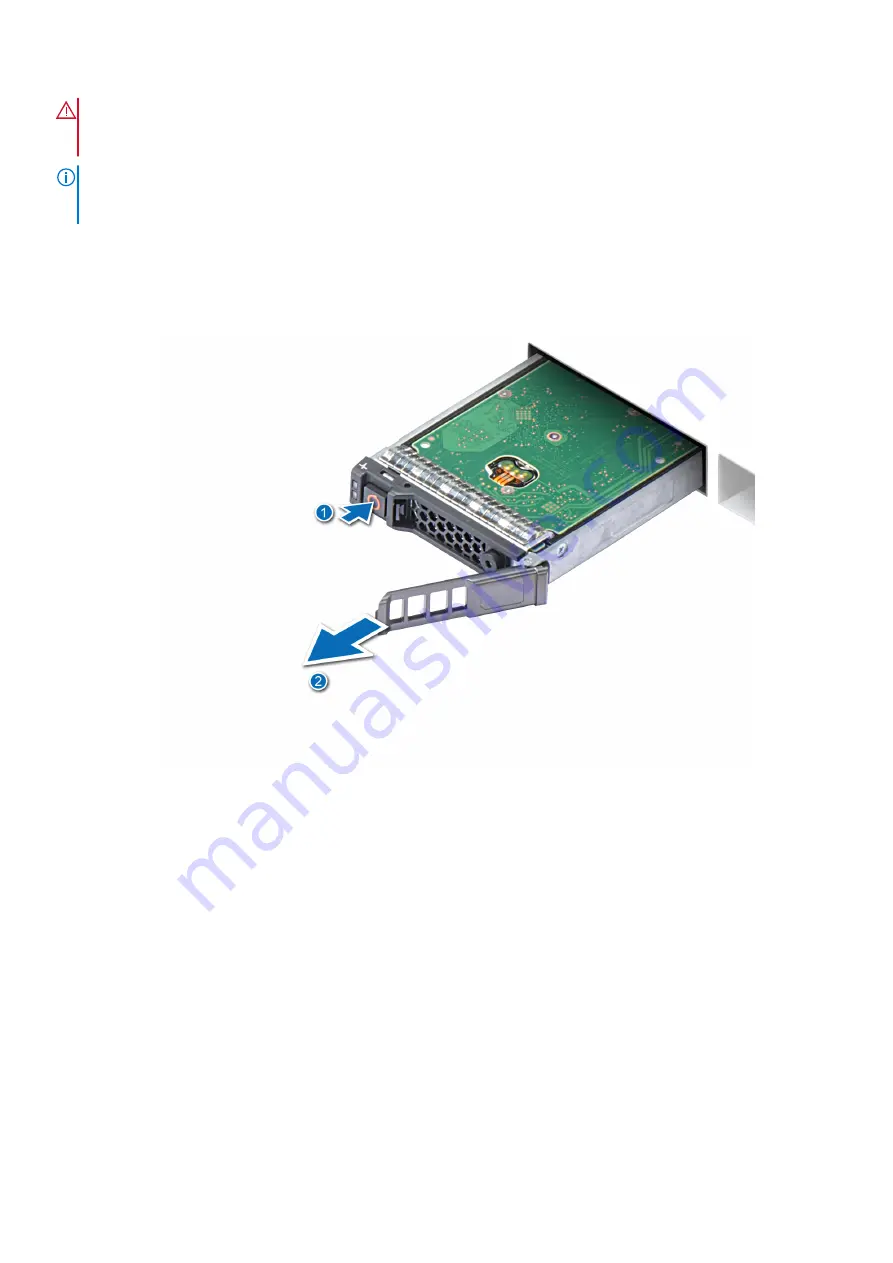
1. Press the button on the drive carrier to open the release handle.
2. Holding the release handle, slide the carrier out.
Figure 16. Removing a drive carrier
Next steps
Install the drive carrier or blank
Installing a drive carrier
Prerequisites
Follow the safety guidelines listed in
Steps
1. Insert the drive carrier into the drive slot.
2. Push the release handle until the carrier locks in place.
54
Installing and removing system components


