


Figure 30. Installing caster wheels
Next steps
1. Follow the procedure listed in
Before working inside your system
Drives
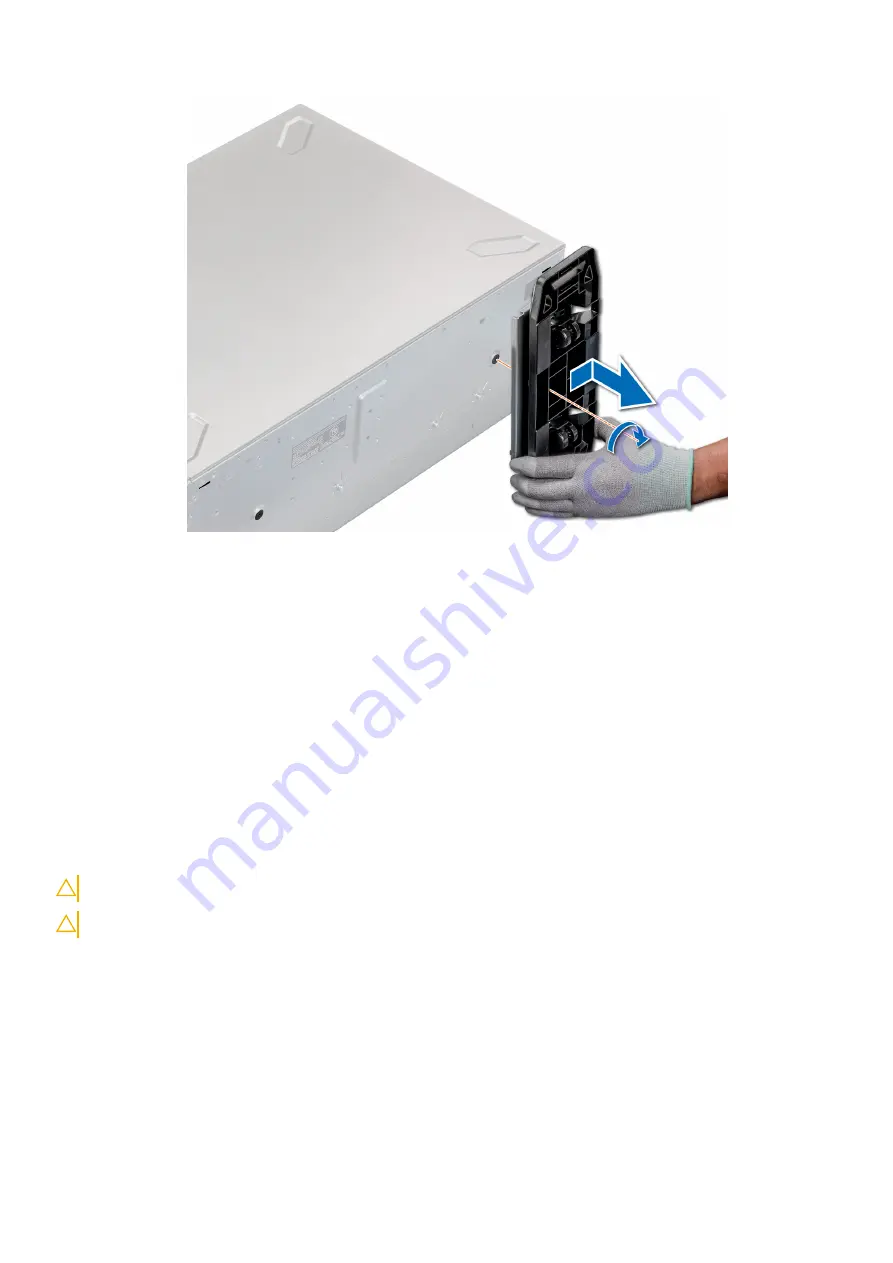
Removing a drive blank
The procedure for removing 2.5 inch and 3.5 inch drive blanks is identical.
Prerequisites
1. Follow the safety guidelines listed in
on page 65.
2. If installed,
CAUTION:
To maintain proper system cooling, drive blanks must be installed in all empty drive slots.
CAUTION:
Mixing drive blanks from previous generations of PowerEdge servers is not supported.
Steps
Press the release button, and slide the drive blank out of the drive slot.
72
Installing and removing system components
Содержание 7CX5T
Страница 21: ...Figure 16 Configuration and layout Dell EMC PowerEdge T640 overview 21 ...
Страница 22: ...Figure 17 Electrical overview 22 Dell EMC PowerEdge T640 overview ...
Страница 23: ...Figure 18 Memory information Dell EMC PowerEdge T640 overview 23 ...
Страница 24: ...Figure 19 System tasks 24 Dell EMC PowerEdge T640 overview ...


