CY8CKIT-025 PSoC® Precision Analog Temperature Sensor Expansion Board Kit Guide, Doc. # 001-65791 Rev. *J
53
Example Projects
5.3.2.1.1
CY8CKIT-030 PSoC DVK
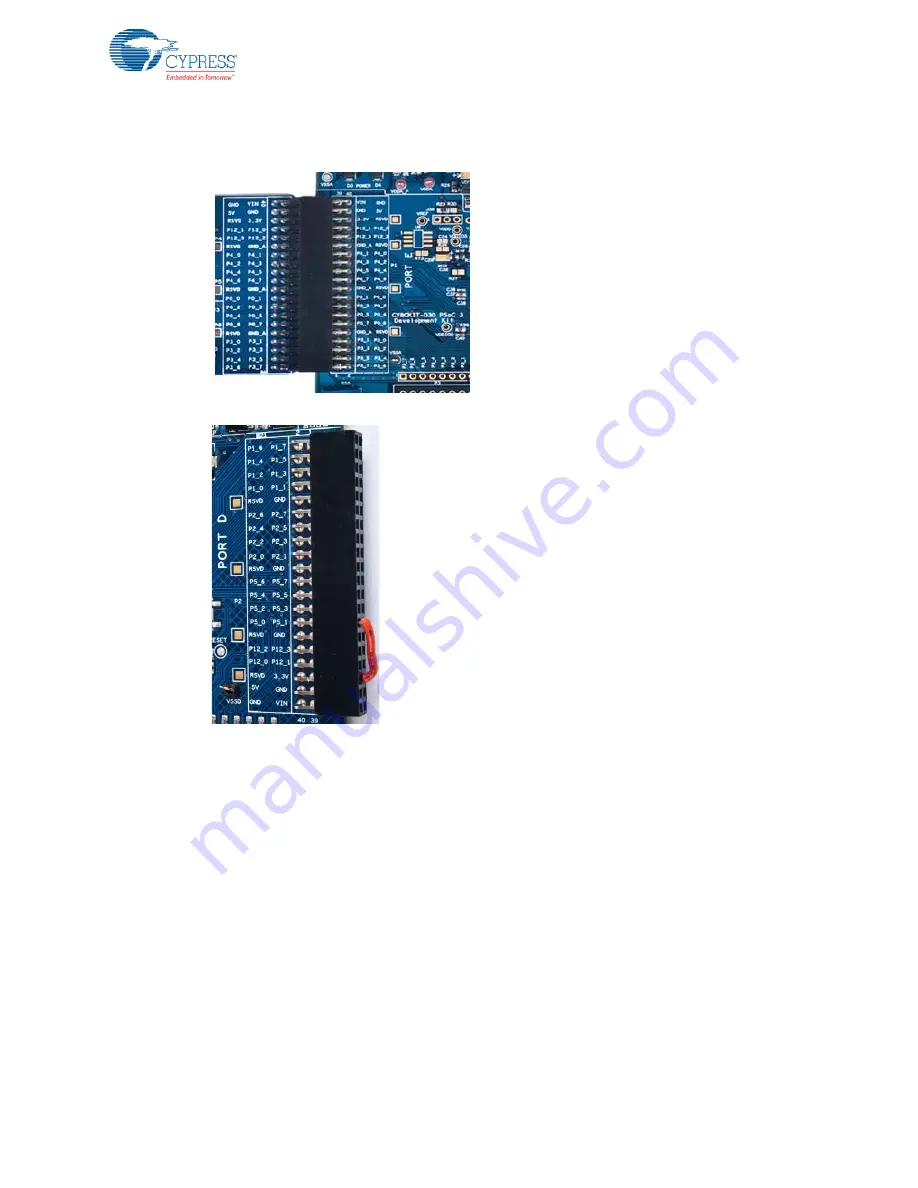
1. Plug the PSoC Precision Analog Temperature Sensor EBK to port E of the CY8CKIT-030 DVK.
2. Connect 3.3 V on port D to P5_0 on port D
3. The variable resistor (VR) is used for the 5 V input. Turning VR changes the voltage input to
PSoC from 0 to VDDA. On the CY8CKIT-030, the VR is directly tied to P6_5. Ensure that the VR
is turned to output 5 V. The VR is used to make sure that 5 V is not accidentally driven on the pin
if the system is set for 3.3 V.
4. Connect a 20 mV full scale differential signal from a voltage to source P5_2 (+) and P5_3 (–). You
can also use an analog output pressure sensor or load cell to give 0-20 mV input.
5. Connect a 100 mV full scale differential signal from a voltage to source P1_6 (+) and P1_7 (–).
You can also use an analog output pressure sensor or load cell to give 0-100 mV input.
6. Ensure that the LCD included with the CY8CKIT-030 DVK is attached to the LCD header.
Note:
For testing purpose an external voltage source can be created by using 1.5 V AA battery
and resistor divider. Upper arm of the resistor divider can be 15 K resistor while bottom arm can
be 1 K potentiometer.


