Installation of Accessories
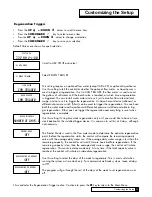
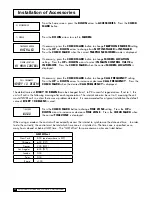
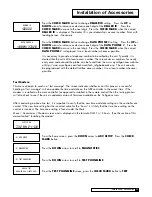
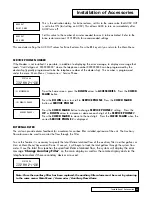
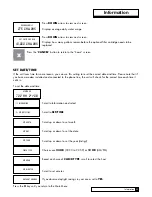
Scroll through the settings until you see MultiTank System. Press the
CHECK MARK
button and then use the
UP ARROW
or
DOWN ARROW
key to change from
SINGLE
to
PROGRESSIVE
flow. Press the
CHECK MARK
button when done.
NOTE:
all multi tank systems are to be set to
PROGRESSIVE
. See below on adjust-
ments needed for alternating or parellel operation.
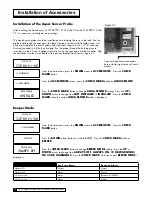
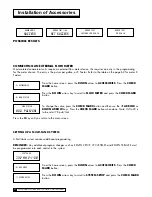
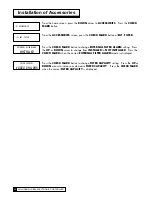
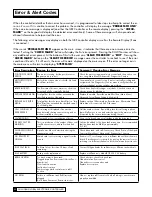
Press the
CHECK MARK
button and then use the
UP
or
DOWN
arrow keys to set the
progressive flow trip point. Press the
CHECK MARK
button when done.
This setting establishes a flow rate which, when attained, will cause another unit to come on-line until the total flow
rate is less than the established trip point for 30 seconds. Should the flow demand exceed the trip point by a rate
equal to or greater than two times the trip point, another unit shall be brought on-line (assuming the system has
more than two units in total). Each subsequent equivalent increase in flow demand shall continue to bring addi-
tional units on line (up to six total units if the flow demand is six times the
TRIP
amount). Units shall be returned
to a stand-by mode in the reverse order as the system flow decreases by a rate equal to or greater than the trip
point. Generally, the trip point is the rated continuous flow rate of one unit. These values can be found in the unit’s
instruction manual.
NOTE:
ALTERNATING OPERATION: To set up the
GBE
for alternating operation (one on, the rest standby), set the
trip point to 999. It is unlikely that the system will reach 999 gallons per minute to bring on an additional unit.
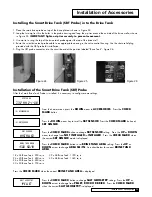
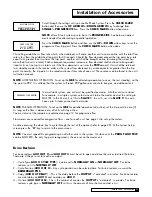
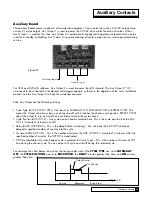
In a multi-tank system, one unit must be specified as master. All other units are slaves.
For example, in a triplex system, select one unit to be the master and set this setting to
MASTER. In the 2nd unit, set this to
SLAVE 1
. In unit 3, set it to
SLAVE 2
. You can
have up to 5 slaves connected to a master.
NOTE:
PARALLEL OPERATION: To set up the
GBE
for parallel operation (all online), set the trip point to zero (0).
As long as the flow is above zero, all units will stay online.
You must also set the jumpers as explained on page 12 for progressive flow.
Flow meters are required for progressive flow – one for each unit. See page 14 to set up the meters.
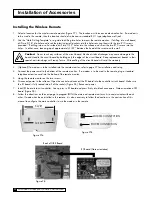
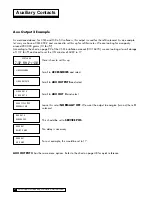
Continue pressing the down key to cycle through the rest of the options (refer to page 29). At the System Setup
screen press the “
X
” key to return to the main screen.
NOTE:
You must repeat this programming on all other units in the system. On slave units the
PROG FLOW TRIP
can be IGNORED; the only trip point recognized is the one set on the master unit.
Brine Reclaim
For brine reclaim,
AUX OUT 2
and
AUX OUT 3
must be set to open and close the valves to direct the brine.
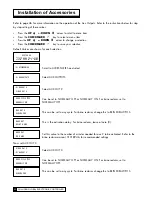
There are 4 things to set for each aux output.
1 – Cycle Type (
AUX X CYCLE TYPE
) – can be set to
NORMALLY ON
or
NORMALLY OFF
. For brine
reclaim, set it to
NORMALLY OFF
.
2 – Cycle Position (
AUX OUT X
) – Any cycle position can be selected here. For brine reclaim, we want the
BRINEDRAW POS
.
3 – Delay (
AUX OUT DELAY
) – This is the delay before the
OUTPUT
is “activated” in minutes. For brine reclaim
we want delay on
AUX 3
and no delay on
AUX 2
.
4 – On time (
AUX OUT ON
) – This is the number of minutes the
OUTPUT
is “activated” in minutes. For brine
reclaim, cycle type is
NORMALLY OFF
so this is the amount of time the Aux contact is on.
multitank system
progressive
prog Flow trip
210 GPM
progress flow master
Installation of Accessories
42
41
CULLIGAN GLOBAL ELECTRONIC CONTROLLER
Содержание GBE
Страница 62: ...Menu Overview Continued on page 61 59 CULLIGAN GLOBAL ELECTRONIC CONTROLLER ...
Страница 63: ...Menu Overview Menu Overview 60 ...
Страница 64: ...Menu Overview Continued from page 59 61 CULLIGAN GLOBAL ELECTRONIC CONTROLLER ...
Страница 65: ...Menu Overview Menu Overview 62 ...
Страница 72: ...Appendix D 69 CULLIGAN GLOBAL ELECTRONIC CONTROLLER ...

