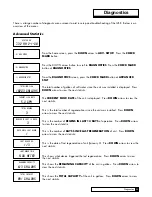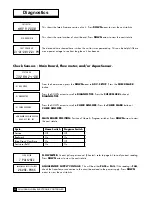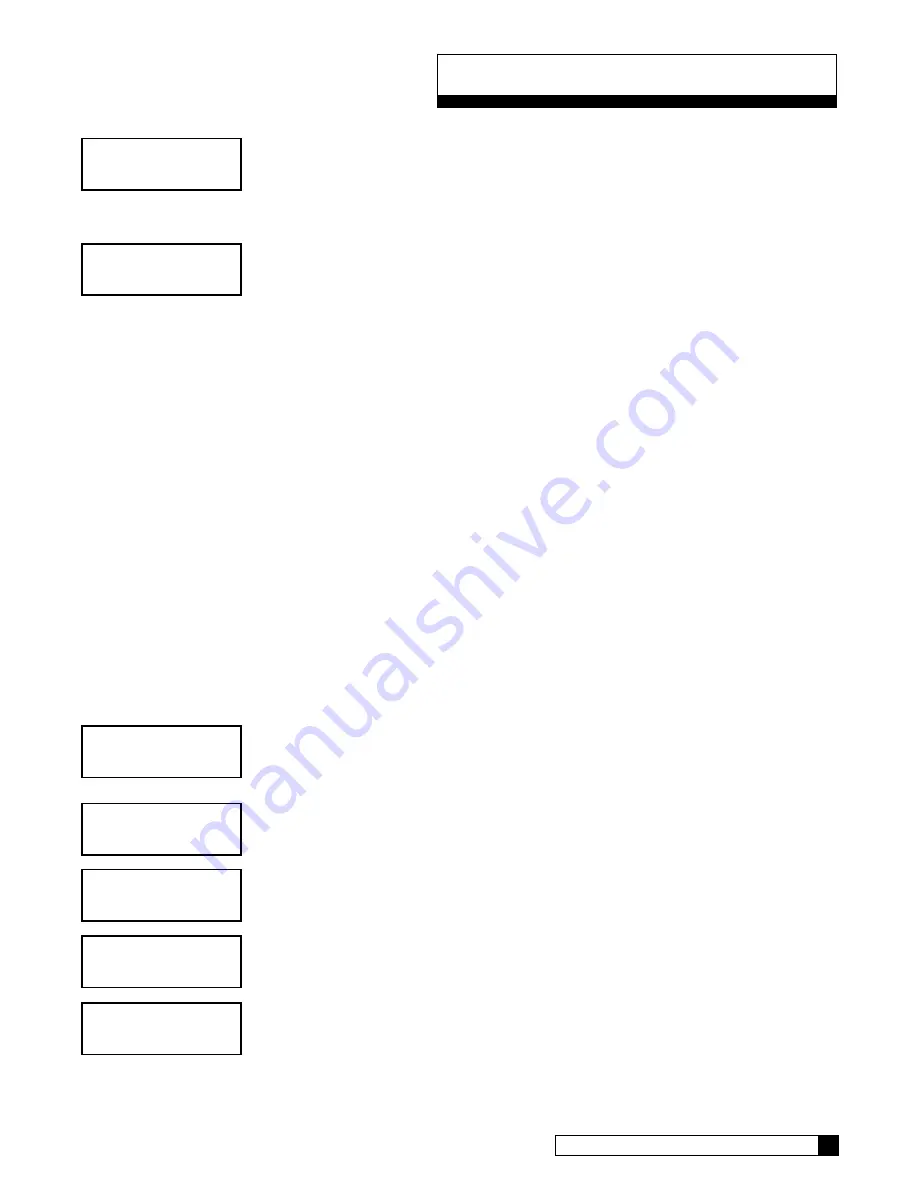
Installation of Accessories
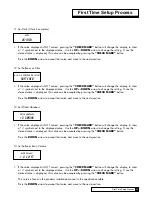
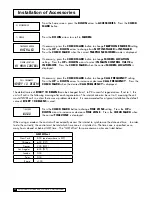
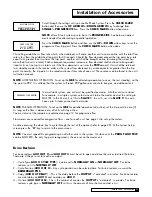
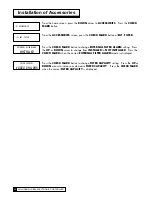
Press the
CHECK MARK
button to change
DEALER ID
setting. Press the
UP
or
DOWN
arrow to increase or decrease each digit of the
DEALER ID
. Press the
CHECK MARK
to move to the next digit. Press the
CHECK MARK
when the correct
DEALER ID
is displayed. The dealer ID is your dealership’s account number. Enter with
leading zeroes, if necessary.
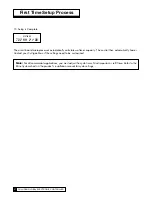
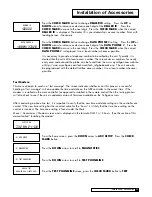
Press the
CHECK MARK
button to change
DATA PHONE
# setting. Press the
UP
or
DOWN
arrow to increase or decrease each digit of the
DATA PHONE
#. Press the
CHECK MARK
to move to the next digit. Press the
CHECK MARK
when the correct
DATA PHONE
# is displayed. Use a local number whenever possible.
It is necessary to provide a telephone number to be called by the unit. Typically, it is
desired that the unit call a local access number. These local access numbers, for nearly
every area code around the globe, can be found from the www.myculligan.com website
at http://www.myculligan.com/technical/tech_ref-gbe-boards.asp. The unit can also
be programmed with the default toll-free access number. Use a local number whenever
possible.
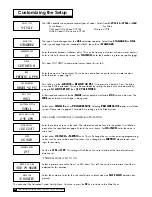
Test Modem
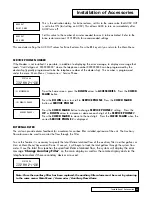
This menu attempts to send in a “test message”. The screen indicates whether or not this process is successful.
Sending a “test message” will also update the time and date on the GBE controller to the correct time. If the
modem is installed on the main controller (as opposed to installed in the remote control) then this testing process
will also check to see if there is an updated version of firmware available on the Culligan servers.
After conducting a phone line test, it is important to verify that the new time and date settings on the controller are
correct. If the new time setting has the incorrect value for the “hours” it is likely that the time zone setting on the
control is incorrect. The time zone setting is found under the Main
Menu / Accessories / Modem screen and is displayed in the format of GMT +/- X hours. (See the section of this
manual called “Installing the modem”
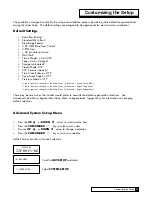
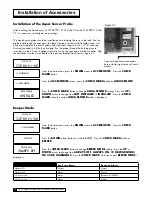
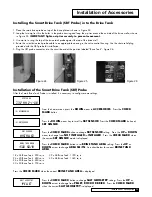
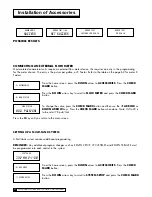
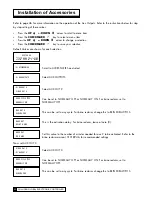
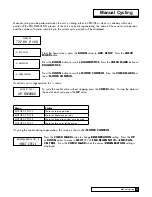
From the home screen, press the
DOWN
arrow to
ADV SETUP
. Press the
CHECK
MARK
button.
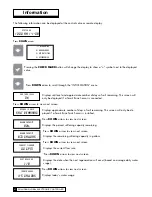
Press the
DOWN
arrow to scroll to
DIAGNOSTICS
.
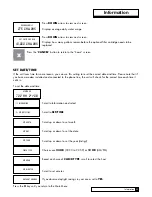
Press the
DOWN
arrow to scroll to
TEST
PHONELINE
.
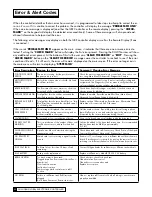
From the
TEST PHONELINE
screen, press the
CHECK MARK
button to
TEST
.
system ok
7:32 am 2-1-08
> 5) adv setup
> 5) diagnostics
> 5) test phoneline
modem test
emailing now please wait...
dealer id
>00000
data phone
#
>18884137028
Installation of Accessories
40
39
CULLIGAN GLOBAL ELECTRONIC CONTROLLER
Содержание GBE
Страница 62: ...Menu Overview Continued on page 61 59 CULLIGAN GLOBAL ELECTRONIC CONTROLLER ...
Страница 63: ...Menu Overview Menu Overview 60 ...
Страница 64: ...Menu Overview Continued from page 59 61 CULLIGAN GLOBAL ELECTRONIC CONTROLLER ...
Страница 65: ...Menu Overview Menu Overview 62 ...
Страница 72: ...Appendix D 69 CULLIGAN GLOBAL ELECTRONIC CONTROLLER ...

