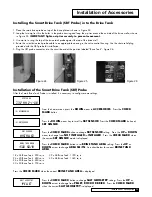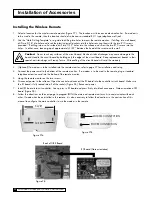
Installation of Accessories
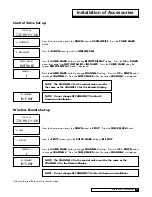
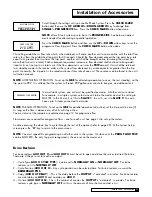
Control Valve Set-up
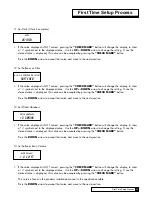
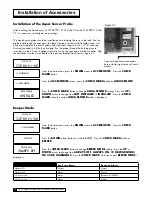
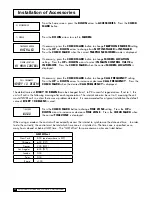
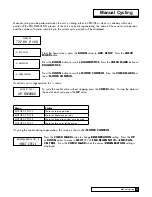
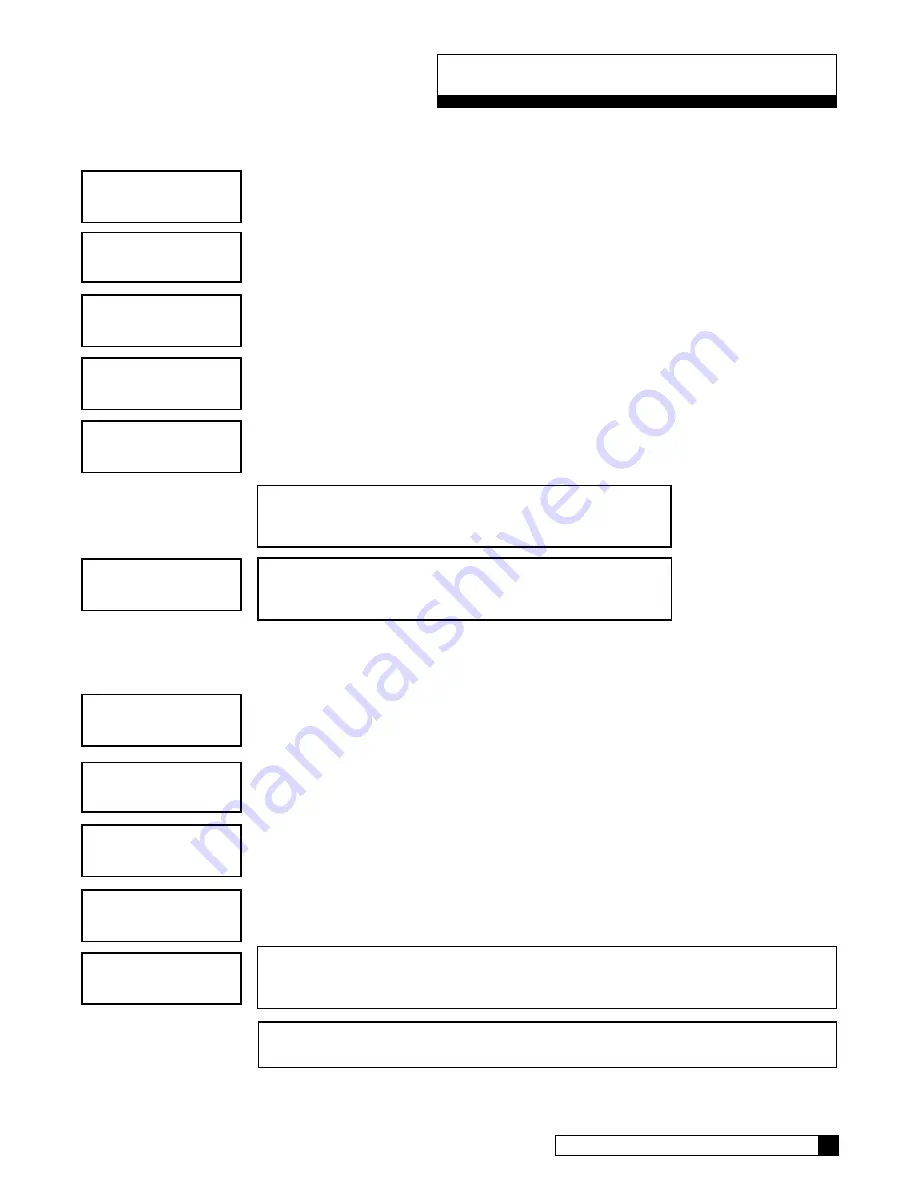
From the home screen, press the
DOWN
arrow to
ACCESSORIES
. Press the
CHECK
MARK
button.
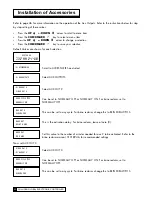
Press the
DOWN
arrow to scroll to
WIRELESS
REM
.
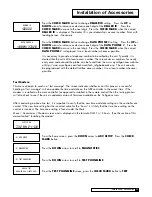
Press the
CHECK
MARK
button to change
REMOTE
DISPLAY
setting. Press the
UP
or
DOWN
arrow to change from
NOT INSTALLED
to
INSTALLED
. Press the
CHECK
MARK
when the
correct
REMOTE
DISPLAY
mode is displayed.
Press the
CHECK
MARK
button to change
CHANNEL
#
setting. Press the
UP
or
DOWN
arrow
to change
CHANNEL
#
. Press the
CHECK
MARK
when the correct
CHANNEL#
is displayed.
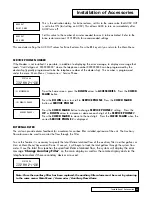
Wireless Remote Set-up
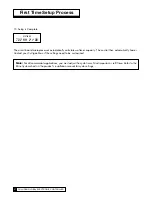
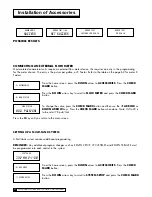
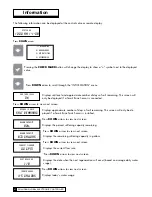
From the home screen, press the
DOWN
arrow to
SETUP
. Press the
CHECK
MARK
button.
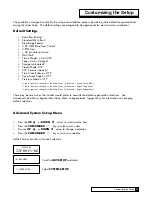
From the
SETUP
screen, press the
CHECK
MARK
button at
RF
SETUP
.
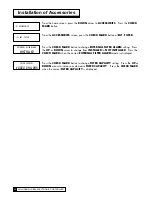
Press the
CHECK
MARK
button to change
CHANNEL
#
setting. Press the
UP
or
DOWN
arrow
to change
CHANNEL
#
. Press the
CHECK
MARK
when the correct
CHANNEL#
is displayed.
Continue to press
X
to return to Home Screen.
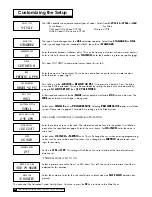
remote display
>installed
rf frequency
>915 mhz
channel
#
>1
NOTE: The CHANNEL # for the control valve must be
the same as the CHANNEL # for the Remote Display.
NOTE: Do not change RF FREQUENCY for North
American installations.
> 4) setup
system ok
7:32 am 2-1-08
> 1) RF SETUP
channel
#
>1
rf frequency
>915 mhz
NOTE: The CHANNEL # for the control valve must be the same as the
CHANNEL # for the Remote Display.
NOTE: Do not change RF FREQUENCY for North American installations.
> 4) accessories
system ok
7:32 am 2-1-08
> 6) wireless rem
Installation of Accessories
36
35
CULLIGAN GLOBAL ELECTRONIC CONTROLLER
Содержание GBE
Страница 62: ...Menu Overview Continued on page 61 59 CULLIGAN GLOBAL ELECTRONIC CONTROLLER ...
Страница 63: ...Menu Overview Menu Overview 60 ...
Страница 64: ...Menu Overview Continued from page 59 61 CULLIGAN GLOBAL ELECTRONIC CONTROLLER ...
Страница 65: ...Menu Overview Menu Overview 62 ...
Страница 72: ...Appendix D 69 CULLIGAN GLOBAL ELECTRONIC CONTROLLER ...

