Responding to Error Messages
If transmitter errors are displayed on the camera's LCD monitor, refer to the examples of
corrective actions in this section to eliminate the cause of the error. When an error has
occurred, the
〈
〉
lamp on the transmitter blinks and the error code number is shown
on the LCD panel. You can also check error details by accessing [
:
WFT settings
] →
[
Error description
] in the menu.
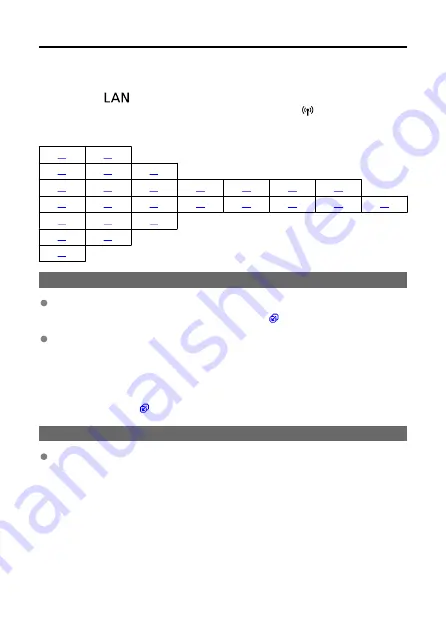
Click the error code number in the following table to jump to the corresponding page.
11: Connection target not found
If you are using [EOS Utility], is EOS Utility running?
• Start EOS Utility and re-establish the connection (
).
Are the transmitter and the access point set to use the same encryption key for
authentication?
• This error occurs if the encryption keys do not match when the authentication
method for encryption is set to [
Open system
].
The encryption key is case-sensitive. Make sure to enter the correct encryption key
for authentication on the transmitter by verifying the uppercase and lowercase
letters used in it (
12: Connection target not found
Are the target device and access point turned on?
• Turn on the target device and the access point, then wait a while. If a connection still
cannot be established, perform the procedures to establish the connection again.
144
Содержание WFT-R10
Страница 1: ...Wireless File Transmitter WFT R10 Advanced User Guide E CT2 D106 A CANON INC 2020 ...
Страница 12: ...Nomenclature 10 20 19 21 22 23 24 25 26 11 12 13 14 1 2 3 4 5 6 7 8 9 17 18 15 16 27 31 32 33 28 29 30 12 ...
Страница 14: ...Example of EOS R5 LCD panel 1 WFT battery level 2 WFT status wireless 3 WFT status wired 4 Charging via USB 14 ...
Страница 54: ...3 Select OK The next screen is displayed Go to Configuring Settings for the Communication Function 54 ...
Страница 57: ...6 Select OK The next screen is displayed Go to Configuring Settings for the Communication Function 57 ...
Страница 76: ...6 Select FTP transfer 7 Select OK The selected images are transferred to the FTP server 76 ...
Страница 95: ...6 Select Direct transfer 7 Select OK The selected images are transferred to the computer 95 ...
Страница 98: ...5 Select OK The selected images are transferred to the computer 98 ...
Страница 102: ...4 Register the captions to the camera Select Apply to camera to register your new captions to the camera 102 ...
Страница 110: ...Terminating the Connection and Reconnecting Terminating the Connection Reconnecting 110 ...
Страница 127: ...Editing Function Settings 1 Select WFT settings 2 Select Manual setting 3 Select Function settings 4 Select MODE 127 ...
Страница 138: ...Use a highly shielded Category 5e or higher STP Shielded Twisted Pair Gigabit Ethernet cable 138 ...
Страница 166: ...4 Select Comm settings for using IPv6 5 Select Change 6 Select TCP IPv6 7 Select the item to be set 166 ...


