Chapter 9
9-6
9.4 Parts Replacement Procedure
9.4.1 Fixing Unit
9.4.1.1 Removing the Fixing Assembly
0018-9295
imageCLASS MF9170c / imageCLASS MF9150c / imageCLASS MF8450c
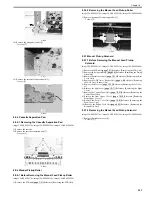
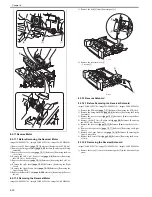
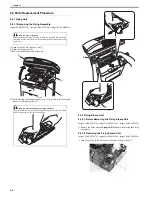
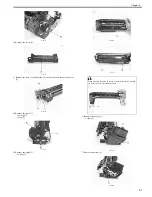
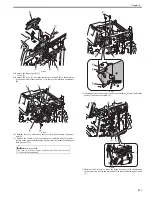
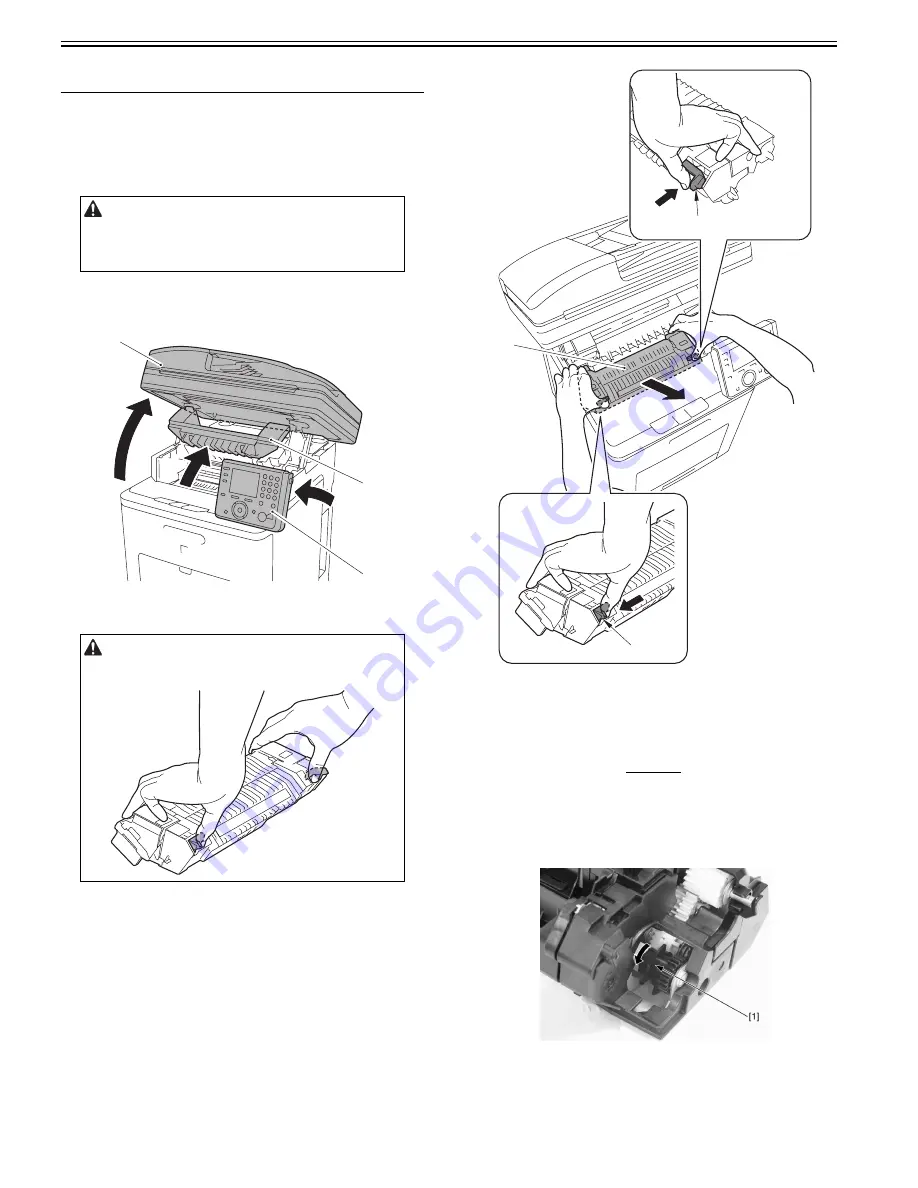
1) Open the ADF Unit + Reader Unit [1].
2) Open the fixing cover [2].
3) Raise the control panel unit[3] forward.
F-9-4
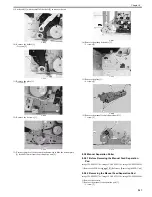
4) While pressing the fixing assembly lever [1] (2 points at left and right),
remove the fixing assembly [2].
F-9-5
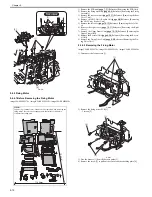
9.4.2 Fixing Sleeve Unit
9.4.2.1 Before Removing the Fixing Sleeve Unit
0019-5848
imageCLASS MF9170c / imageCLASS MF9150c / imageCLASS MF8450c
1) Remove the fixing assembly.
Reference [Removing the Fixing
Assembly]
9.4.2.2 Removing the Fixing Sleeve Unit
0019-5850
imageCLASS MF9170c / imageCLASS MF9150c / imageCLASS MF8450c
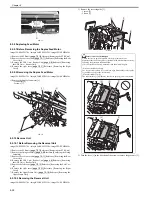
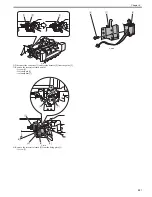
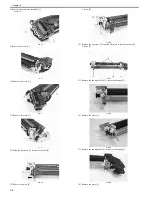
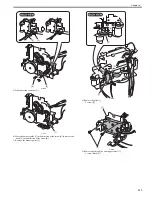
1) Turn the gear [1] in the direction of the arrow to the position [2].
F-9-6
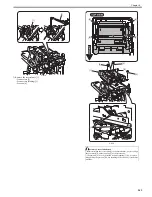
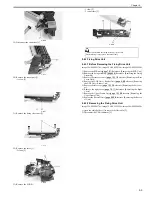
Points to Note At Operation
When removing the fixing assembly, perform the operation after the fixing
assembly is surely cooled. The fixing assembly just after printing may cause
burn injury.
Points to Note When holding the fixing assembly
Be sure to hold the fixing assembly with three fingers or more when lifting
the fixing assembly to prevent it from falling.
[1]
[2]
[3]
[2]
[1]
[1]
Содержание imageCLASS MF8450c
Страница 16: ...Chapter 1 Introduction ...
Страница 55: ...Chapter 2 Basic Operation ...
Страница 61: ...Chapter 3 Main Controller ...
Страница 75: ...Chapter 4 Original Exposure System ...
Страница 88: ...Chapter 5 Original Feeding System ...
Страница 105: ...Chapter 6 Laser Exposure ...
Страница 113: ...Chapter 7 Image Formation ...
Страница 150: ...Chapter 8 Pickup and Feed System ...
Страница 184: ...Chapter 9 Fixing System ...
Страница 200: ...Chapter 10 External and Controls ...
Страница 230: ...Chapter 11 Maintenance and Inspection ...
Страница 233: ...Chapter 12 Measurement and Adjustments ...
Страница 237: ...Chapter 13 Correcting Faulty Images ...
Страница 251: ...Chapter 13 13 13 13 3 5 PCBs 13 3 5 1 PCBs 0019 5065 imageCLASS MF9170c imageCLASS MF9150c imageCLASS MF8450c ...
Страница 256: ...Chapter 13 13 18 F 13 19 21 22 28 29 30 31 24 14 15 16 23 26 25 32 27 20 19 18 17 2 13 6 10 33 1 8 4 3 12 11 5 7 9 ...
Страница 260: ...Chapter 14 Error Code ...
Страница 272: ...Chapter 15 Special Management Mode ...
Страница 280: ...Chapter 16 Service Mode ...
Страница 322: ...Chapter 17 Upgrading ...
Страница 327: ...Chapter 17 17 4 3 Click Next F 17 4 4 Select a USB connected device and click Next F 17 5 ...
Страница 328: ...Chapter 17 17 5 5 Click Start F 17 6 6 Click Yes F 17 7 Download will be started F 17 8 ...
Страница 330: ...Chapter 18 Service Tools ...
Страница 334: ...Appendix ...
Страница 349: ......

