Removing Paper Jams
4-16
4
T
rou
b
le
s
h
ooti
ng
5
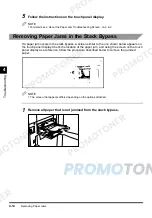
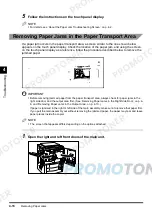
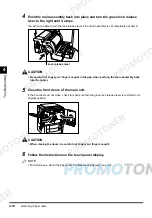
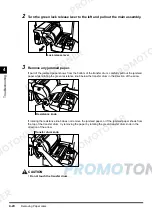
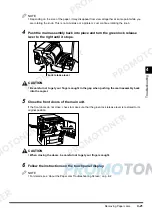
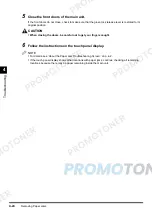
Follow the instructions on the touch panel display.
NOTE
•
For details, see ‘About the Paper Jam Troubleshooting Screen’, on p. 4-2.
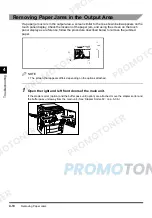
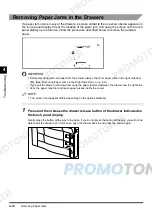
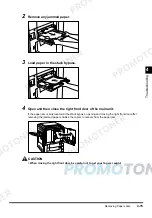
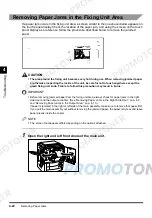
Removing Paper Jams in the Paper Transport Area
If a paper jam occurs in the paper transport area, a screen similar to the one shown below
appears on the touch panel display. Check the location of the paper jam, and using the screen
on the touch panel display as a reference, follow the procedure described below to remove the
jammed paper.
IMPORTANT
•
Before removing jammed paper from the paper transport area, always check for paper jams in the
right side door and the output area first. (See ‘Removing Paper Jams in the Right Side Door’, on p. 4-
8, and ‘Removing Paper Jams in the Output Area’, on p. 4-10.)
If paper is jammed in the right or left side of the main assembly, make sure to remove that paper first.
If you pull the main assembly out without removing the jammed paper, the paper may tear and leave
paper pieces inside the copier.
NOTE
•
The screen that appears differs depending on the options attached.
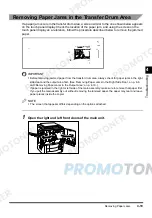
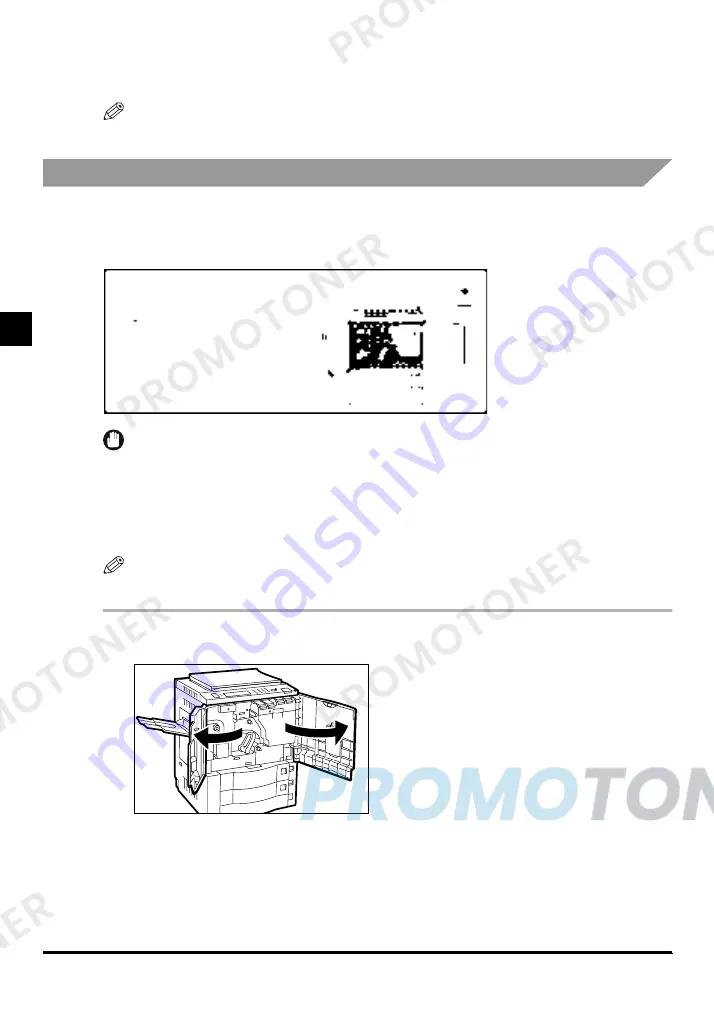
1
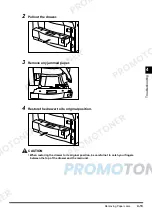
Open the right and left front doors of the main unit.
Содержание imageCLASS 1100
Страница 1: ...COLOUR LASER COPIER 1100 Reference Guide...
Страница 56: ...Universal Functions 1 34 1 Before You Start Using This Copier...
Страница 104: ...Checking the Counter 2 48 2 Customising Settings to Your Needs...
Страница 134: ...Consumables and Options 3 30 3 Loading Paper and Refilling Consumables...
Страница 172: ...Touch Panel Display Messages 4 38 4 Troubleshooting...
Страница 174: ...5 Handling Options 5 2 5 Handling Options Before Copying 5 72 After Copying 5 73...
Страница 246: ...Control Card 5 74 5 Handling Options...
Страница 247: ...CHAPTER 6 1 6 Appendix Copier Specifications 6 2 Index 6 4...
Страница 260: ......

