install - concepts - PixMaster - switcher - CG - clips - controls - team - appendix
Broadcast Pix
V5
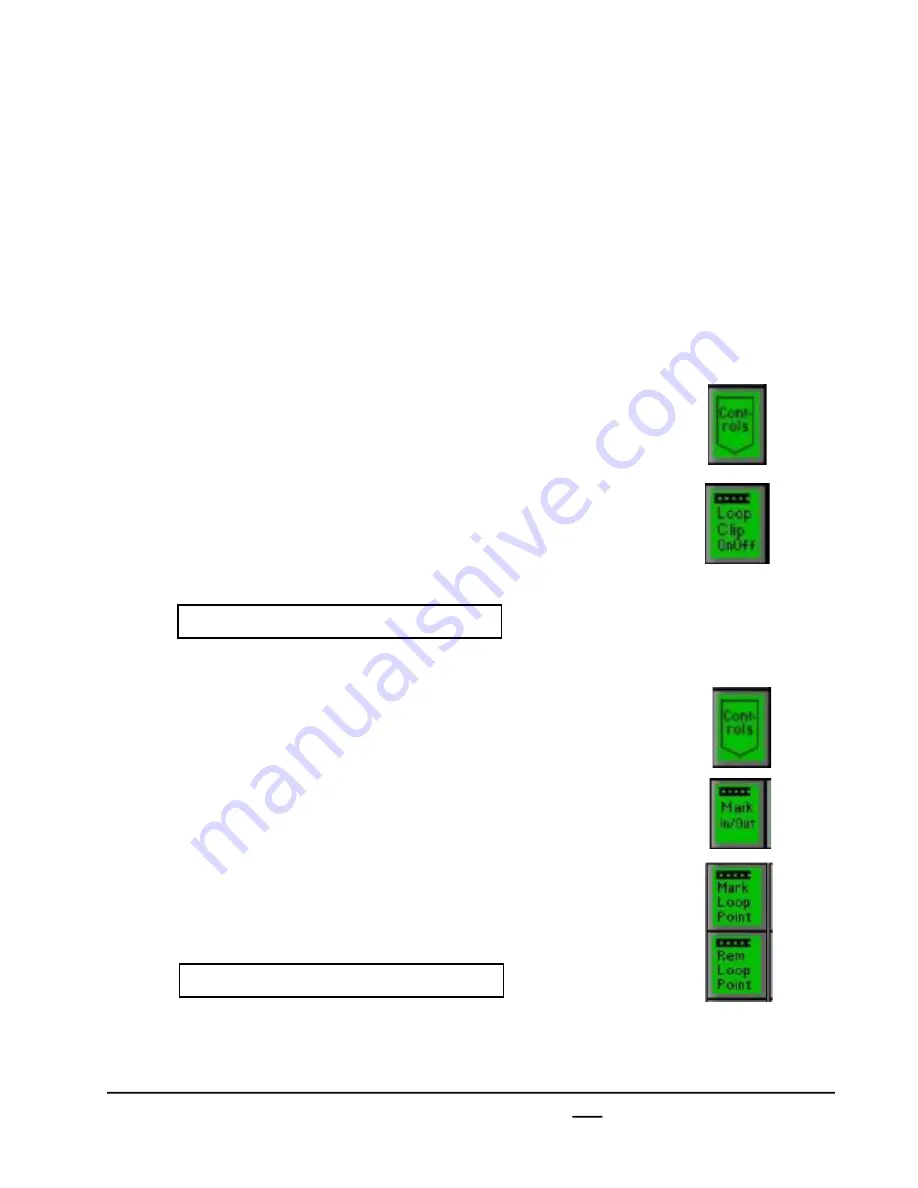
To set a clip to loop:
1.
Select the desired clip, and press the
[Controls]
button on any Clip PixPad.
2.
Press the
[Loop OnOff]
PixButton, and the letter
“L” will be appended to the clip name in the large
display to let you know that the Loop function has
been turned on for that clip, as illustrated below (if
mark-in and out points are also set, then “LIO” will
appear).
To set a loop point:
1.
Play or scrub the clip to the desired loop point.
2.
Select the desired clip, and press the
[Controls]
button on any Clip PixPad.
3.
Press the
[Mark In/Out]
PixButton.
4.
Press the
[Mark Loop Point]
PixButton, and the
letter “P” will be appended to the clip name in the
large display to let you know that the Loop Point
function has been turned on for that clip, as
illustrated below (if mark-in and out points are also
set, then “LIO” will appear).
5.
To remove the Loop point and to enter a new one,
select the
[Rem Loop Point]
.
6.3.5 Loop Clips
When a clip reaches its end, it stops. If instead you wish to have the clip return to the
beginning and start playing again, then you can turn on the loop function, which will
cause the clip to continuously loop. If you have mark points in place, then the clip will
loop between the mark points. This is ideal when creating animated backgrounds,
instead of creating a long animation (which takes up hard drive space), create a
shorter one and have it loop. In addition, looped clips may also have a third mark point,
called a Loop Point, which is set between the mark in and mark out points. The Loop
Point is useful in animation playback where the initial portion of an animation flies in
from off screen, then loops to a point other than the beginning of the file.
6.3.5
Clip: 01 Head Open (L)
Scrub
0:00:00
Clip: 01 Head Open (LP)
Scrub
0:00:00


