724-746-5500 | blackbox.com
Page 30
724-746-5500 | blackbox.com
Chapter 3: Installation
Adding a phone
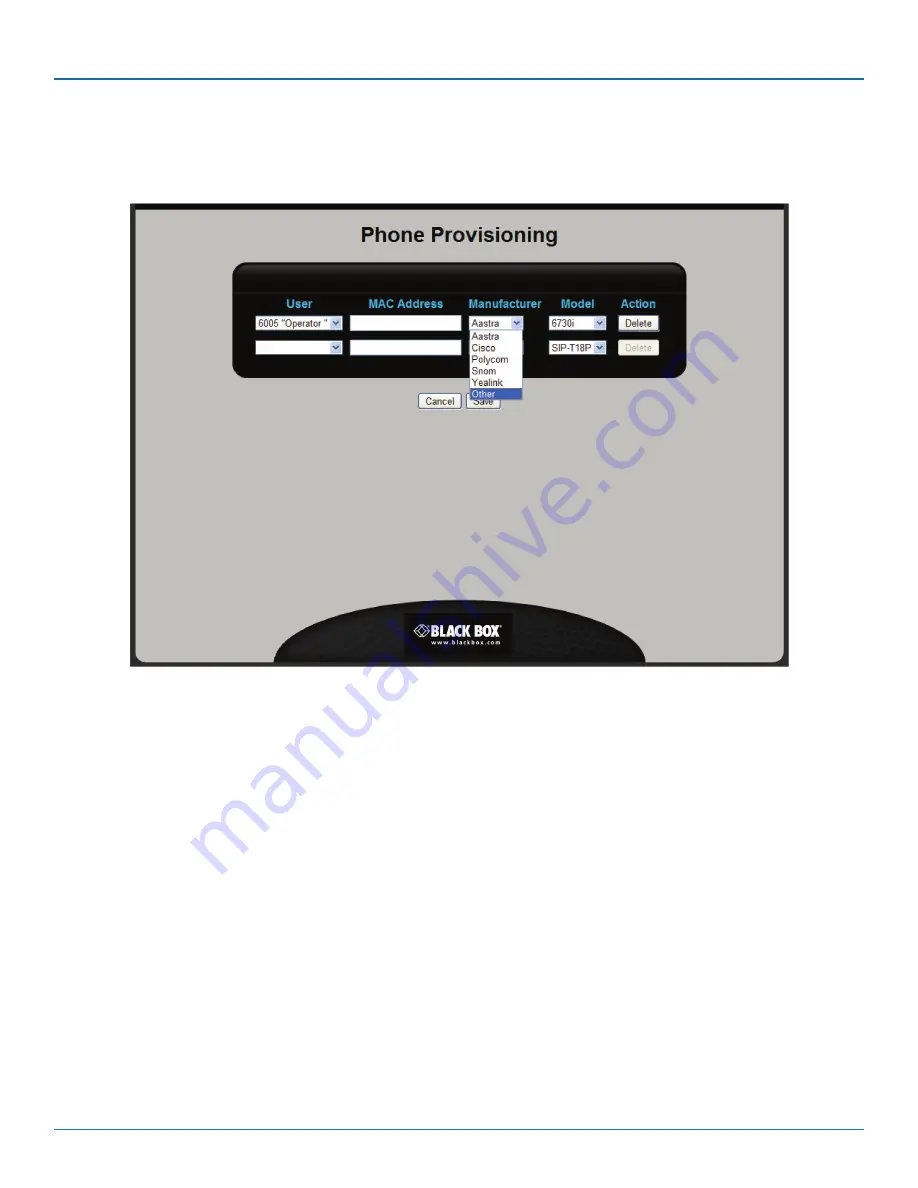
When you click “Add” on the Configured Phone List page, you open the Phone Provisioning page.
Figure 3-12. Phone Provisioning page.
You can define multiple phones on this page. Each time you select a User, a new line is displayed. Configure each phone as
follows. Click “Save” when you are done.
• User: Select an extension/user name from the list. Each user should be bound to only one phone.
• MAC Address: Specify the MAC address of the phone. The MAC address is usually printed on a label on the phone. It is 12
hexadecimal numbers in the format: nn:nn:nn:nn:nn:nn. For example, see “Collect phone information” in Section 3.2.1, STEP 1I.
• Manufacturer: Select the manufacturer of the phone. If you select Cisco, Polycom, or Other, refer to the Auto Phone
Provisioning manual from the phone manufacturer to create a configuration file that can be uploaded and served by the Hybrid
PBX and VoIP Gateway. For more information, see “Automatically provisioning non-supported phones” in the Hybrid PBX and
VoIP Gateway Administrator’s Guide.
• Model: Select the model number of the phone.
• Action: Click “Delete” to remove a phone definition from the list.
Importing phone definitions from a spreadsheet
A quick way to build the phone list is to import definitions from a spreadsheet.
1. Click the “Template” button to download a sample spreadsheet file to your computer.
2. Add phone information to the spreadsheet according to the directions in the file. Save the file when you are done. Do not
change the file extension from .csv. Only .csv files can be uploaded.


