411829-L, System Settings
April 2012
Page 3-7
3
5. Select the
Printer
Model
text box. The
Printer Setup Wizard
opens.
6. Read and follow the instructions that appear on the screen.
Tip!
If the Isolera system does not
have a matching printer driver for the connected printer, select
Generic
in the wizard’s
manufacturer list and check if there is a printer protocol available that is supported by your
printer (check the printer user manual).
7. When you have completed the printer setup using the wizard, select the
Paper Size
text box
and then select the desired paper format.
8. To test the connection, press
Test
in the
Printer
field. If a test page is printed, the connection
is working properly.
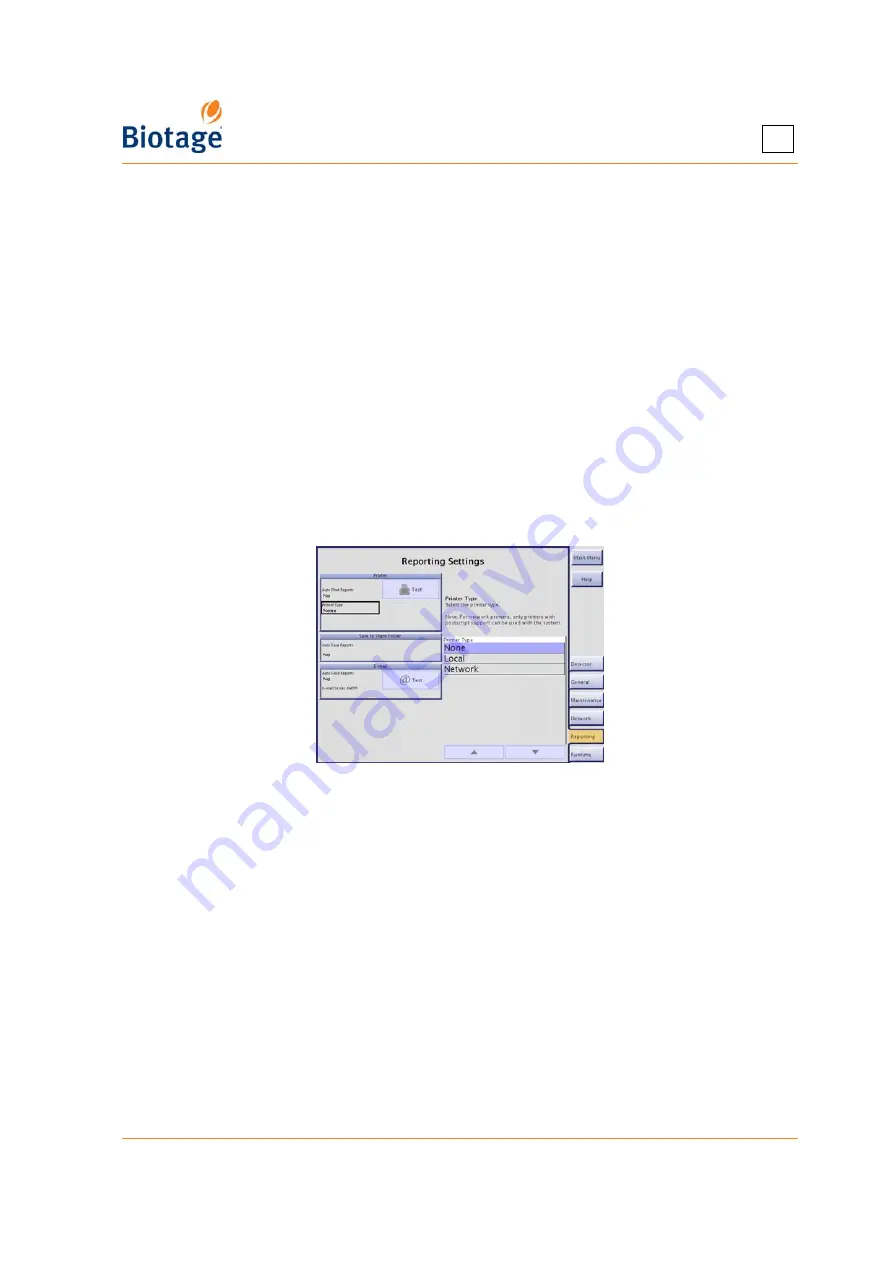
To connect a network printer with postscript support to the system:
1. Configure the network connection; see instructions on page 3-5.
2. Select the
Reporting
tab in the right-hand panel.
3. Select the
Printer Type
text box and select
Network
.
4. Enter the correct
Network Printer Name
and
Network Printer Port
by selecting the
corresponding text box. Contact your IT administrator for more information.
5. Select the
Paper Size
text box and then select the desired paper format.
6. To test the connection, press
Test
in the
Printer
field. If a test page is printed, the connection
is working properly.
Figure 3-7. Reporting Tab
3.5.2 Set Up File Sharing and Auto Save of Reports
If the Auto Save Reports option is enabled, a report is saved in a share folder on your network when
a purification has been completed. The report is saved as a PDF and/or a XML file (a text file
including all raw data).
1. Configure the network connection; see instructions on page 3-5.
2. Select the
Network
tab in the right-hand panel.
3. Enter the correct hostname, name of the share folder, user name, and password by selecting
the corresponding text box in the
SMB/CIFS File Sharing
field. Contact your IT administrator
for more information.
4. To test the connection, press
Test
in the
SMB/CIFS File Sharing
field.
5. If you want a report to be automatically saved in the specified share folder when a purification
has been completed:
a. Select the
Reporting
tab in the right-hand panel.
b. Select the
Auto Save Reports
text box and select the desired report format,
,
XML
(text files including all raw data),
or
PDF and XML
.
Содержание Isolera Four
Страница 1: ...Isolera User Manual...
Страница 66: ...411829 L Operation April 2012 Page 4 16 4 Figure 4 10 Tube Connections...
Страница 114: ......
Страница 115: ......


