MasterDirectory User's Guide
130
13. When you are finished mapping fields for export, choose the
Next
button.
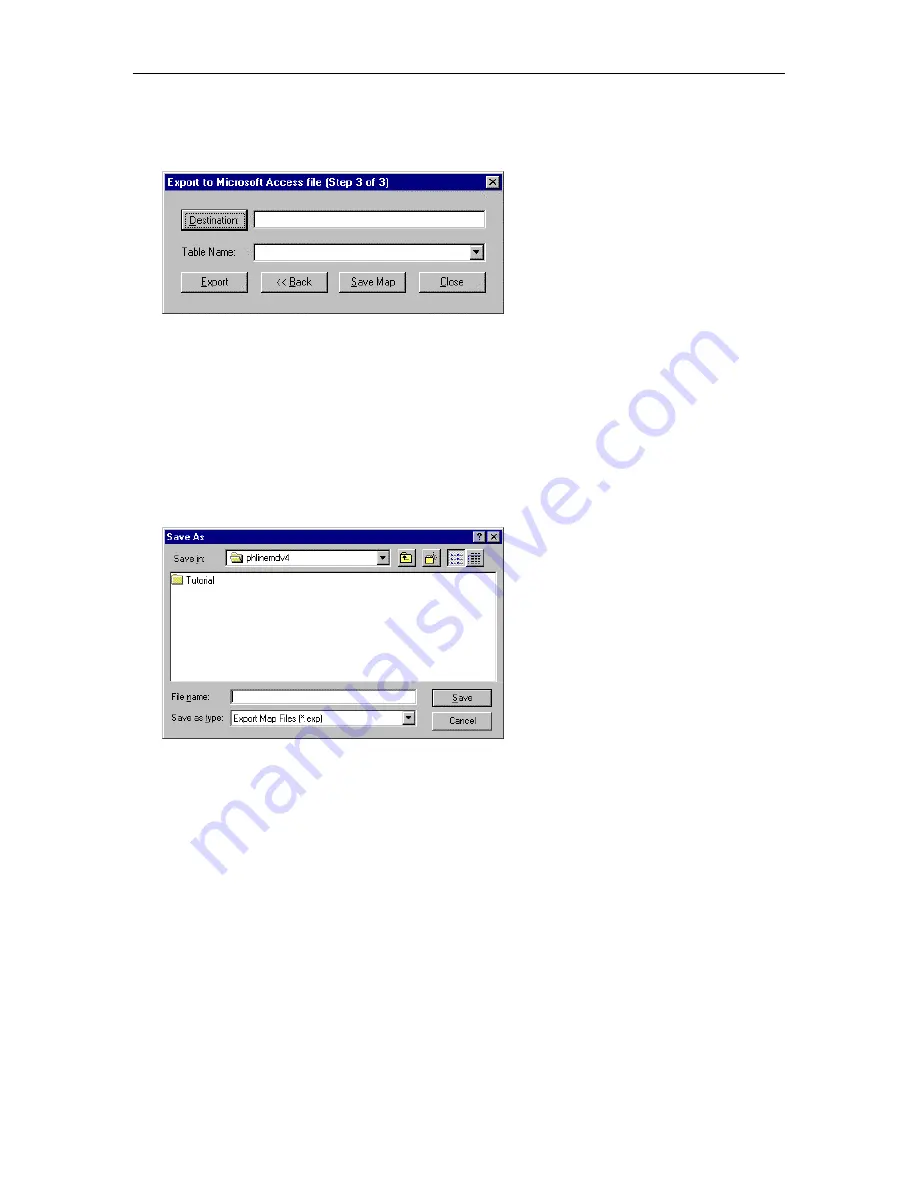
The Export to Microsoft Access File (Step 3 of 3) dialog box appears.
14.
Choose the
Destination
button.
The Open dialog box appears.
15.
Select the file you want to export to, and choose the
Open
button.
The path and name of the file appear in the Destination box.
16. In the Table Name box, select the table to which you want to export the data.
17. Choose the
Save Map
button.
The Save As dialog box appears.
18. Enter the name of this export map, and then choose the
Save
button.
19. Choose the
Close
button.
The path and filename for the map appears in the Export Maps dialog box. By default, a check mark
does not appear next to the export map. A check mark indicates that the associated map will be run
when you perform an export.
20. Choose the
Close
button to close the Export Maps dialog box.
Содержание MasterDirectory
Страница 1: ...MasterDirectory Data Manager Version 4 3 User s Guide March 2002...
Страница 8: ......
Страница 126: ...MasterDirectory User s Guide 118...
Страница 164: ...MasterDirectory User s Guide 156...
Страница 188: ...MasterDirectory User s Guide 180...
Страница 196: ...MasterDirectory User s Guide 188...
Страница 210: ...MasterDirectory User s Guide 202...


