


Chapter 4 Managing Email
104 Avaya Agent User’s Guide
2
Click the Reply to Customer button.
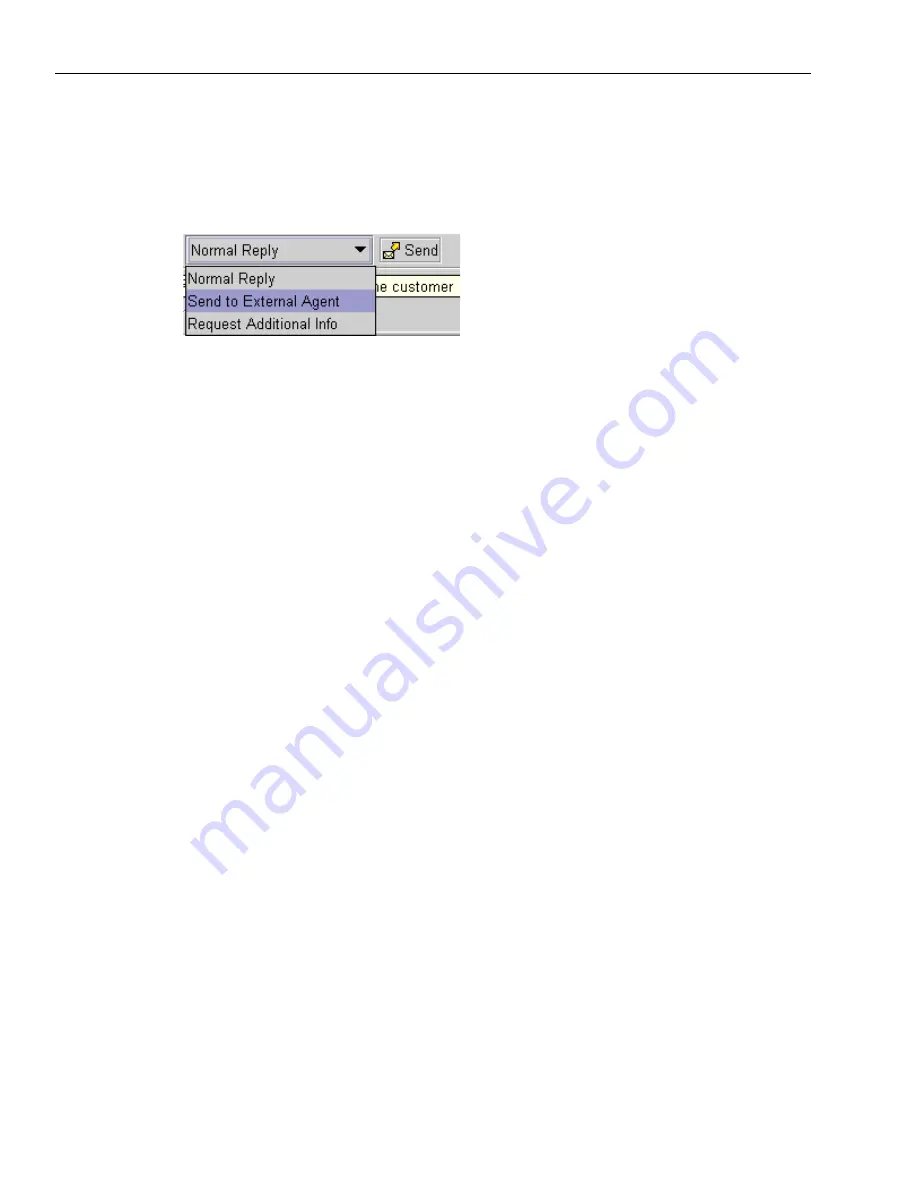
The window changes to the Email Compose mode. The drop-down menu shows the Normal
Reply selection. You must change this.
3
Select Send to External Agent from the drop-down menu.
The letters RE: are added to the beginning of the Subject field of the email to indicate to the
external agent that this message is about an email you received.
4
Click the button beside the To field.
The UAD is displayed in External Agent mode. Only external agents are visible.
5
If the external agent is not located in your site, select the name of the site from the Site drop-
down menu. If you do not know where the external agent is located, select All Sites.
6
Navigate through the tenants and workgroups on the left side of the UAD for the name of the
external agent.
7
Double-click the name of the external agent to move the name to the box on the right.
8
Select the name of the external agent in the box on the right.
9
Click Ok to add the email address of the selected agent to your email.
10
Write a message to the external agent in the Message Comments box, explaining briefly what
information the customer needs.
11
Click OK.
12
Click Send when you are ready to send this email.
Содержание Interaction Center 6.0
Страница 1: ...Avaya Interaction Center Release 6 0 Avaya Agent User s Guide DXX 1001 03 Issue 1 0 June 2002...
Страница 12: ...12 Avaya Agent User s Guide...
Страница 40: ...Chapter 1 Overview 40 Avaya Agent User s Guide...
Страница 154: ...Chapter 5 Managing Chat Sessions 154 Avaya Agent User s Guide...
Страница 178: ...Chapter 6 Performing Chat Email Tasks 178 Avaya Agent User s Guide...
Страница 220: ...220 Avaya Agent User s Guide Index...