© 2009 Austin Kontore LLC
Page 43 of 54
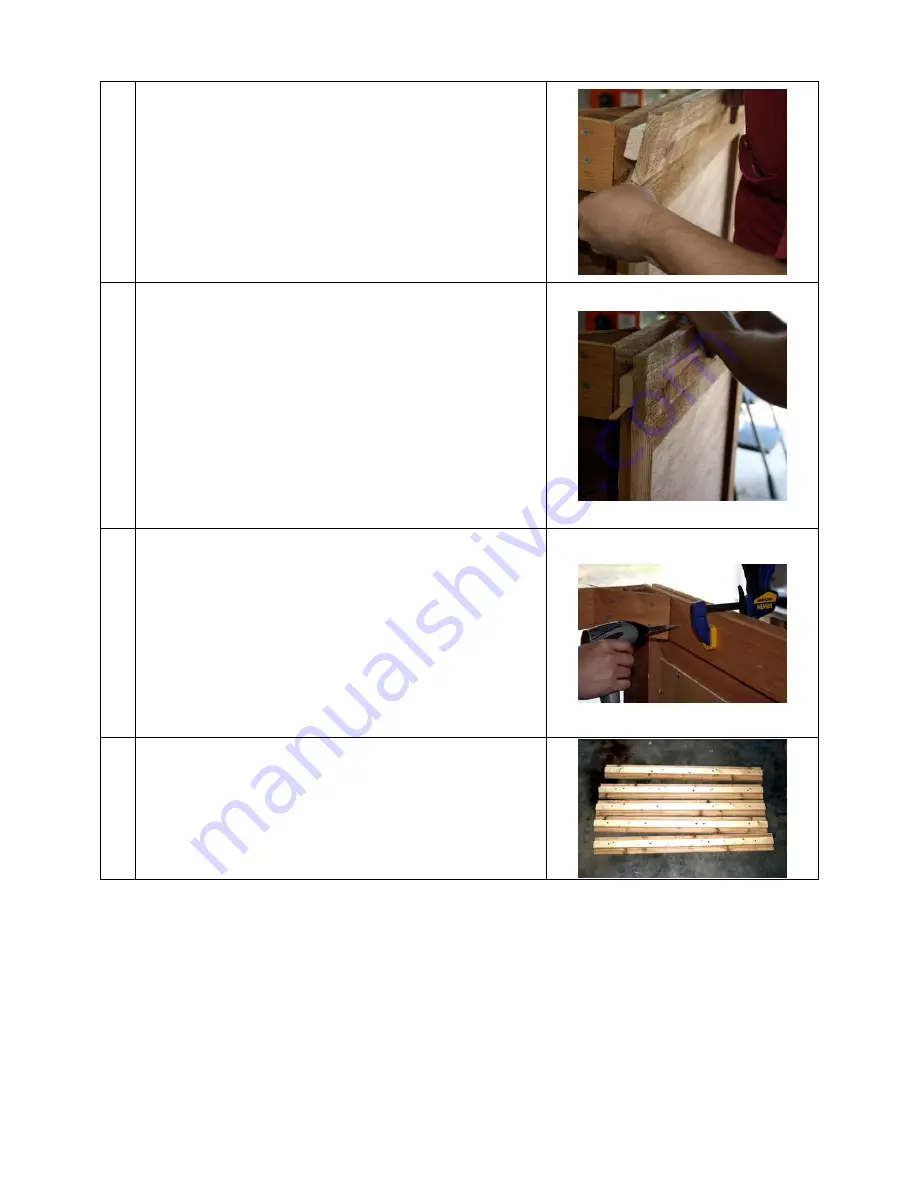
Align the slide rail into position. The ends should be flush
to the edges of the Posts, and the assembly should be
flush with the top edge of the Upper Core Square.
Place a shim (Popsicle sticks) between the Door Slide Rail
and the Screen Door. There will be one shim at each end.
Once the Door Slide Rail is shimmed, aligned, and level,
clamp the Door Slide Rail in place using two clamps,
located about 12” from the ends.
Note:
This process of shimming and aligning is identical
to the process followed in the “Door Slide Rails: Lower
Level” section. Refer back to that section for details.
Follow the marking, drilling, and fastening process
followed during the installation of the Lower Door Slide
Rails.
On the inside, mark, drill, and fasten using (3) 1 5/8”
screws.
On the outside, mark, drill, and fasten using (2) 3” screws.
At this point all five Sliding Door Rails have been installed.
Two have been installed on one side of the coop (lower
and middle levels). Three have been installed on the other
side of the coop (lower, middle, and upper levels).


