Chapter 8. User Management
142
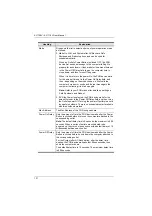
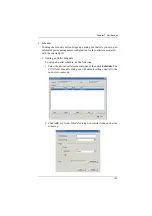
3. Enter the required information in the appropriate fields. A description of
each of the fields is given in the table below:
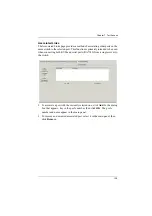
4. At this point you can assign users to the group by selecting the
Members
tab – the Members page is discussed on page 146. You can also assign the
group’s port access rights by selecting the
Devices
tab – the Devices page
Note:
Optionally, you can skip this step now to add more groups and
assign users to them, and come back to it later.
5. When your selections have been made click
Save
.
6. When the
Operation Succeeded
message appears, click
OK
.
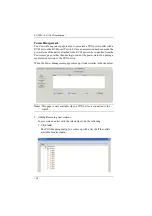
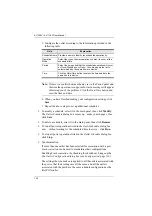
7. Click
Group
in the Sidebar to return to the main screen. The new group
appears in the Sidebar Group list and in the main panel.
The Sidebar
Group
list can expand and collapse. If the list is expanded,
click the minus symbol ( – ) next to the
Users
icon to collapse it; if it is
collapsed there is a plus symbol ( + ) next to the icon. Click the plus
symbol to expand it.
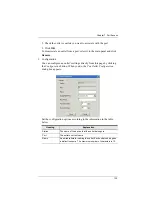
The large main panel shows the group’s name, and the description that
was given when the group was created (the
Status
column is inactive).
Repeat the above procedure to add additional groups.
Note:
You must perform Step 7 before attempting to add a new group, or else
the new group you are creating will replace the group you just finished
creating.
Field
Description
Group Name
A maximum of 16 characters is allowed.
Description
Additional information about the user that you may
wish to include. A maximum of 63 characters is
allowed.
Permissions
Permissions and restrictions for groups are set by
checking the appropriate boxes. These are the same
permissions as the ones specified for Users. See
Содержание KL1108V
Страница 1: ...8 16 Port Cat 5 Dual Rail LCD KVM over IP Switch KL1108V KL1116V User Manual www aten com ...
Страница 3: ...KL1108V KL1116V User Manual iii RoHS This product is RoHS compliant ...
Страница 56: ...KL1108V KL1116V User Manual 39 After you successfully log in the Local Console Main Page appears ...

