83
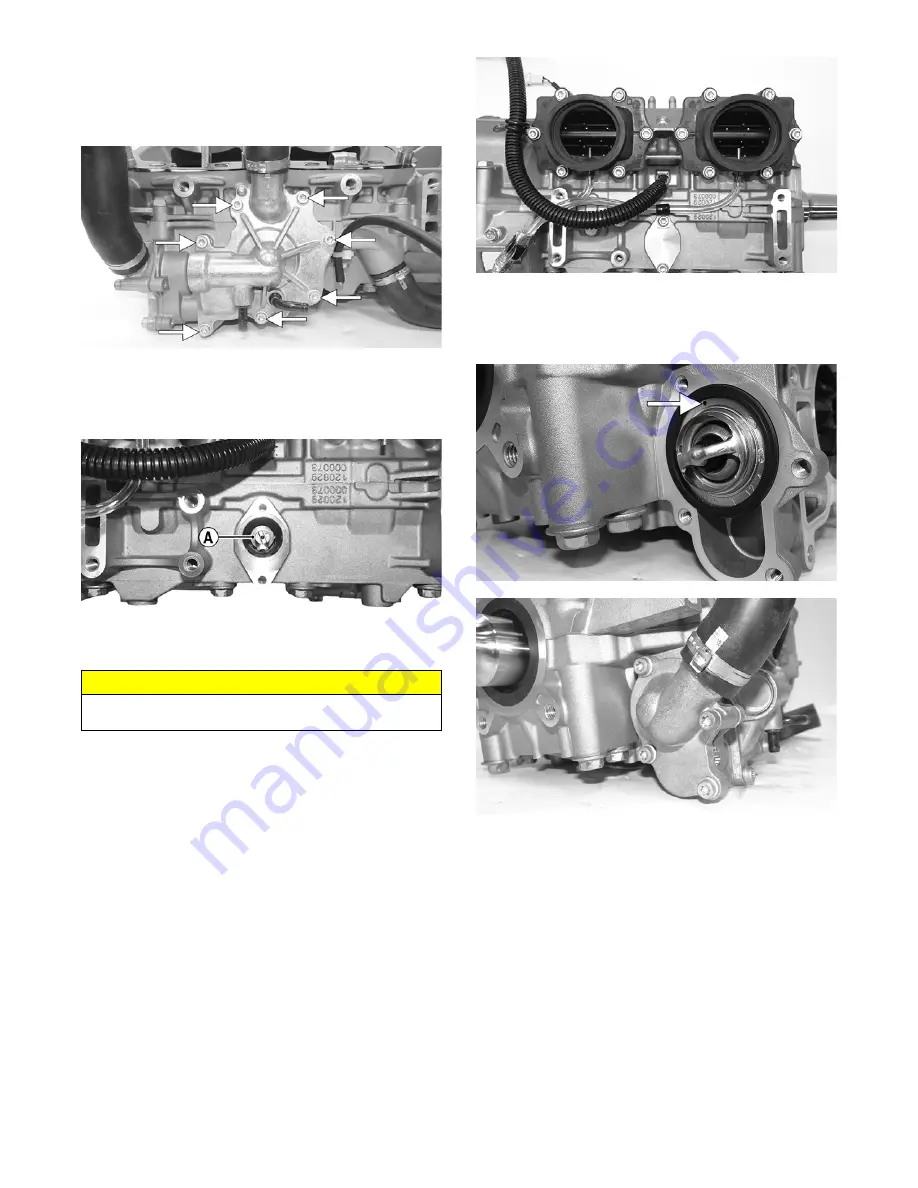
16. Apply a thin film of low-temp grease to the water
pump cover O-ring; then position the O-ring into the
water pump cover. With the alignment pins in place,
install the cover. Secure with the screws using a
crisscross pattern. Tighten to 102 in.-lb.
CWI-016A
17. Tip the crankcase assembly up on the water pump
side; then pour Arctic Cat C-Tec2 engine oil into the
center cavity of the crankshaft until the oil is level
with the shoulder of the shaft (A).
CWI-085A
NOTE: After the center cavity is filled with engine
oil, be sure to install the hose with loom onto the
upper crankcase half or engine oil will leak from that
area.
18. Position the shim on the retainer end of the pump
shaft; then install the retainer with a new O-ring.
Tighten screws to 102 in.-lb.
19. Secure the reed valve assemblies and intake mani-
folds to the engine case using the existing screws.
Tighten in two steps to 115 in.-lb in order from the
letter A to the letter F (embossed on the manifold).
CWI-020
20. With the bypass/check valve of the thermostat
directed to the 12 o’clock position, install the ther-
mostat and housing; then in a crisscross pattern,
tighten the screws to 102 in.-lb.
CWI-018A
CWI-064
21. Install the dowel pins into the crankcase; then place
the cylinder base gasket into position on the crank-
case.
22. Install the piston rings on each piston so the letters
on the top (inclined surface) of each ring faces the
dome of the piston.
CAUTION
Failure to fill the center cavity of the crankcase assem-
bly will result in center gear damage and engine failure.
Содержание M 8000
Страница 1: ...www arcticcat com SERVICE MANUAL www arcticcat com...
Страница 42: ...41 500cc_2A_15...
Страница 50: ...49 600_14_2...
Страница 58: ...57 800_12_2...
Страница 155: ...154 Troubleshooting Servomotor SERVO1A16...
Страница 156: ...155 SERVO2rv16...
Страница 193: ...192 0747 414 M 141 High Country Models...
Страница 209: ...208 NOTES...
Страница 210: ...Printed in U S A Trademarks of Arctic Cat Inc Thief River Falls MN 56701 p n 2260 847...


