206
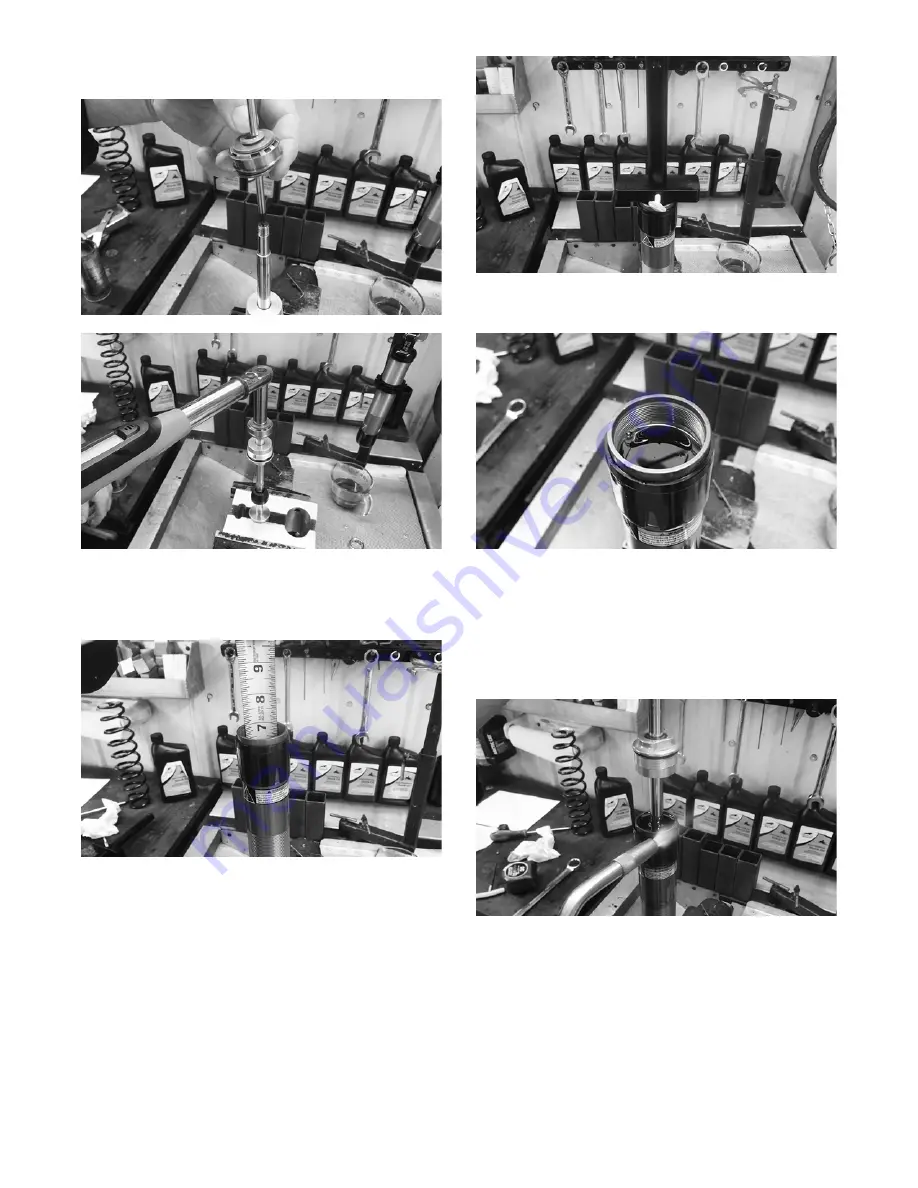
2. Install the valve stack onto the shock rod; then secure
using the existing nut. Tighten to 15 ft-lb.
ZR-014
ZR-010
3. Using Piston Location (IFP) Tool or a tape measure,
make sure the floating piston is at the correct depth
in the shock body (according to the chart in the spec-
ifications section of the manual).
ZR-009
4. If the floating piston is not at the correct depth, use
the floating piston location gauge to set the piston to
the correct depth in the shock body.
ZR-008
5. Fill shock body with new synthetic shock oil to bot-
tom of threads.
ZR-007
6. With the bearing cap positioned at the top of the
shock rod, install the piston/valve stack into the
shock body; then gently tap the top of the rod eyelet
with a soft hammer until the piston/valve stack is just
below the oil.
NOTE: Using a torch, carefully wave the flame over
the top of the shock oil to remove any air bubbles.
ZR-006
7. Slide the bearing cap down to the shock body and
into the oil; then while holding the shock rod in
place, begin to thread the cap into the body. As the
cap threads into the body, oil will escape. Lift
slightly on the shaft while threading until the O-ring
contacts the shock body. Tighten the bearing cap to
50 ft-lb.
Содержание M 8000
Страница 1: ...www arcticcat com SERVICE MANUAL www arcticcat com...
Страница 42: ...41 500cc_2A_15...
Страница 50: ...49 600_14_2...
Страница 58: ...57 800_12_2...
Страница 155: ...154 Troubleshooting Servomotor SERVO1A16...
Страница 156: ...155 SERVO2rv16...
Страница 193: ...192 0747 414 M 141 High Country Models...
Страница 209: ...208 NOTES...
Страница 210: ...Printed in U S A Trademarks of Arctic Cat Inc Thief River Falls MN 56701 p n 2260 847...


