81
PISTON PIN
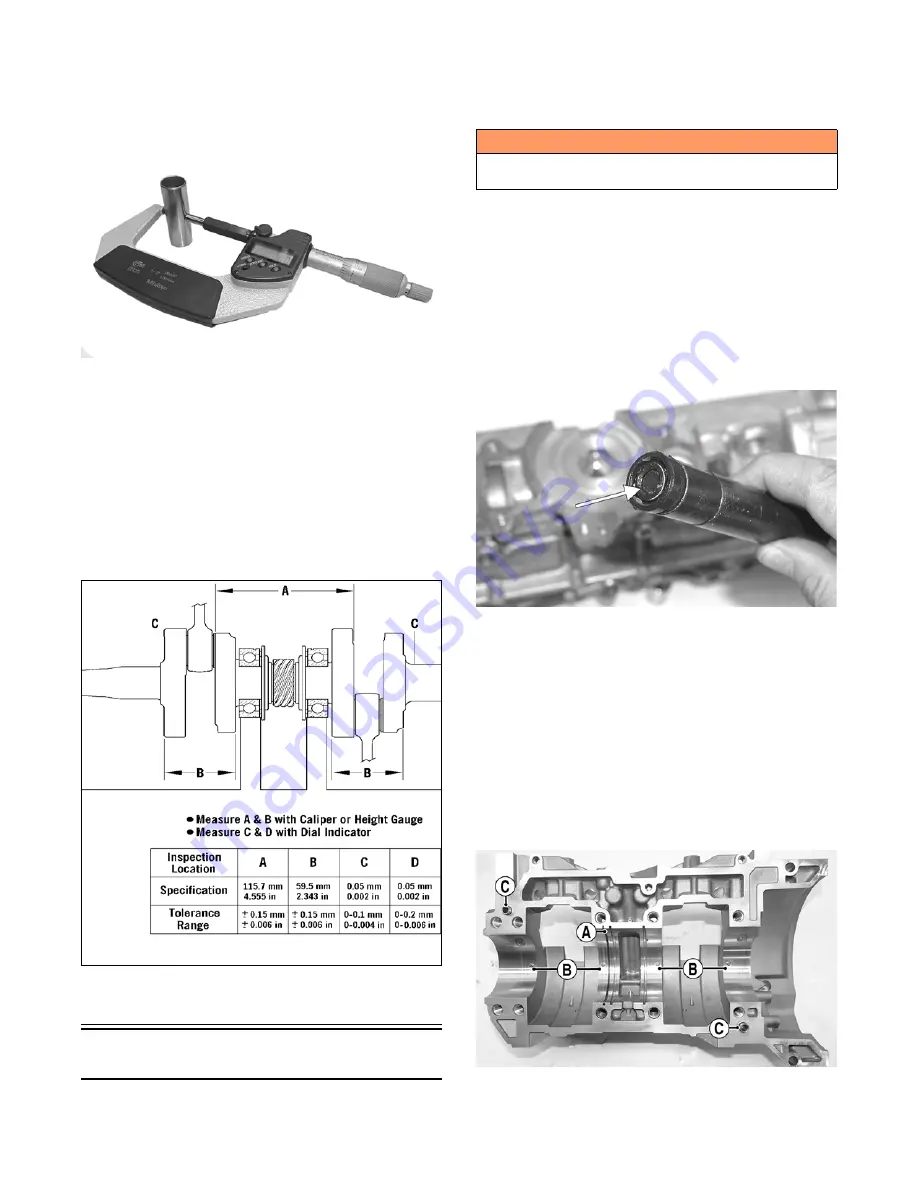
Measure the piston pin diameter at each end and in the
center. Acceptable piston pin measurement must be
within 0.8659-0.8661 in. If any measurement varies by
more than 0.001 in., the piston pin and bearing must be
replaced as a set.
CWI-079
CRANKSHAFT RUNOUT
1. Using the V Blocks, support the crankshaft on the
surface plate.
NOTE: The V blocks should support the crankshaft
on the middle bearings.
2. Mount a dial indicator and base on the surface plate.
Position the indicator contact point against the crank-
shaft location points C and D. Zero the indicator and
rotate the crankshaft slowly. Note the amount of
crankshaft runout (total indicator reading).
0747-810
3. If runout exceeds any of the checkpoints, the crank-
shaft must be either straightened or replaced.
Assembling
NOTE: The use of new gaskets and seals is recom-
mended when assembling the engine.
NOTE: Prior to assembling the engine, use parts
cleaning solvent and compressed air and thoroughly
clean the threaded holes of the crankcase and cylin-
ders to properly tighten.
NOTE: When the use of a lubricant is indicated, use
Arctic Cat C-Tec2 engine oil.
1. Apply a thin coat of grease to the inner seal lips of
the water pump seal.
2. Using the seal driver, position the inner water pump
shaft seal onto the seal driver and gently tap the seal
down into position.
NOTE: Grease must be applied to the lips of the
inner seal before installation.
MS986A
NOTE: The seal must be installed with its spring
side towards the crankshaft.
3. Install the snap ring securing the inner seal in the
crankcase.
4. Using the seal driver, carefully install the outer water
pump seal. Gently tap the seal down into position
until it seats itself against its flange.
5. Secure the upper crankcase half upside-down on a
suitable support; then install the C-ring (A), the four
bearing retaining pins (B), and the two crankcase
dowel pins (C).
CWI-027A
6. Apply a thin coat of Loctite 5900 Sealant to the
entire bottom half of the crankcase sealing surface.
! WARNING
Always wear safety glasses when drying components
with compressed air.
Содержание M 8000
Страница 1: ...www arcticcat com SERVICE MANUAL www arcticcat com...
Страница 42: ...41 500cc_2A_15...
Страница 50: ...49 600_14_2...
Страница 58: ...57 800_12_2...
Страница 155: ...154 Troubleshooting Servomotor SERVO1A16...
Страница 156: ...155 SERVO2rv16...
Страница 193: ...192 0747 414 M 141 High Country Models...
Страница 209: ...208 NOTES...
Страница 210: ...Printed in U S A Trademarks of Arctic Cat Inc Thief River Falls MN 56701 p n 2260 847...


