23
* NOTE *:
To move the source, rather than the container rectangle
itself, press the s
ource
tab and adjust size and position with the help
of the joystick as described in step #4.
5/
press the keying tab to adjust the keying settings for your logo.
6/
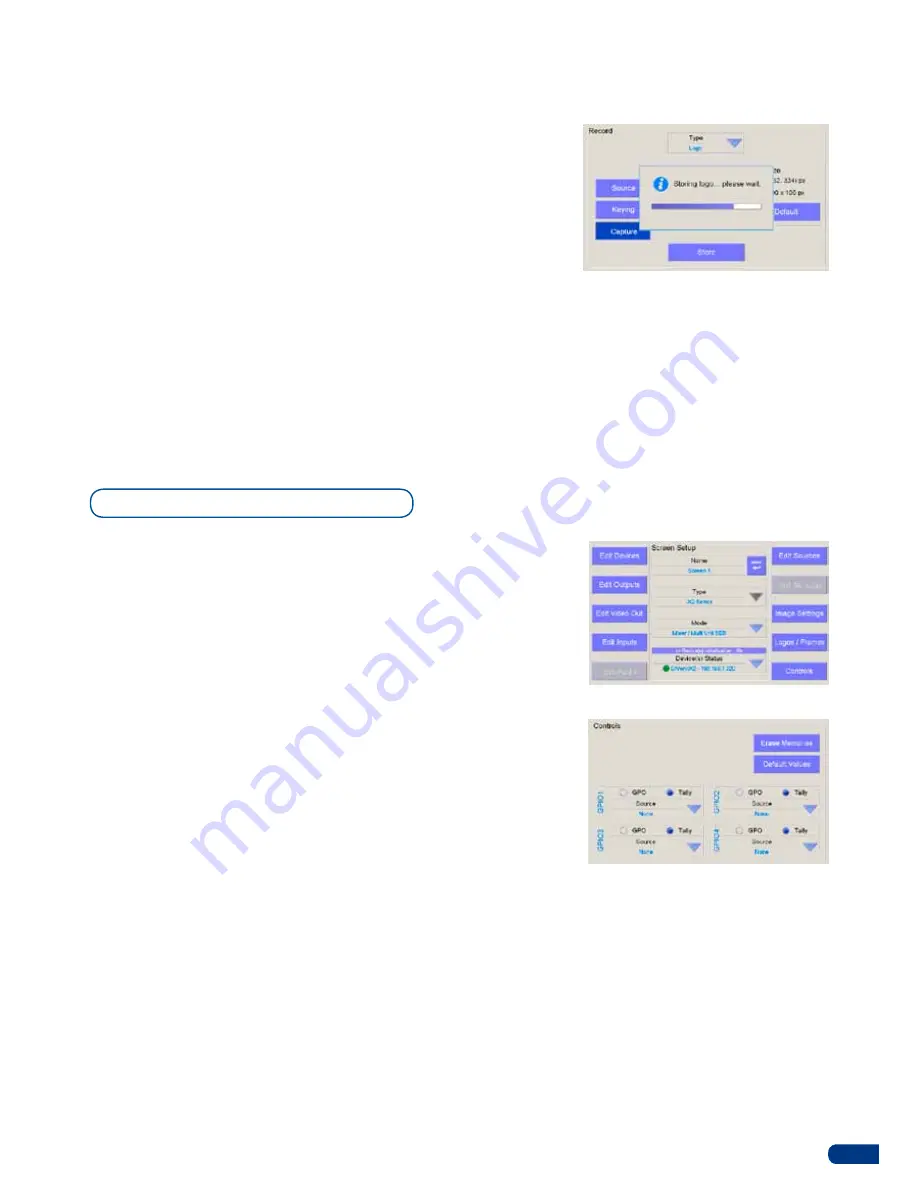
Once all your logo parameters are set, press
Store
in the
Capture Tab. The
ORCHESTRA
will display a progress status
bar while the device memorizes the logo.
7/
press the
[OK]
button to return to the
Screen Setup
page.
* NOTE *:
To record a logo in Soft Edge Blending Mode, you need to
press
Source
, then press
“Switch Extended”.
The
Controls
page allows you to select the Tally trigger on the slave
device. The
Controls
page also allows you to reset a device to its
default values, or erase all image settings present on the device.
To setup a tally signal with the
ORCHESTRA:
1/
On the
Screen Setup
page of the
ORCHESTRA
, press
Controls.
2/
press one of the four available
Tally
dropdown menu to select
the source you want to use as a trigger.
3/
press the
[OK]
button to return to the Screen Setup page.
To erase all image settings on the slave device:
1/
In the
Screen Setup
page of the
ORCHESTRA
, press
Controls.
2/
press
Erase Memories
.
3/
Confirm by pressing
Yes
on the confirmation popup.
4/
press the
[OK]
button to return to the Screen Setup page.
To reset all settings on the slave device:
1/
In the
Screen Setup
page of the
ORCHESTRA
, press
Controls.
2/
press
Default Values
.
3/
Confirm by pressing
Yes
on the confirmation popup.
4/
press the
[OK]
button to return to the Screen Setup page.
Controls Menu
Содержание ORCHESTRA
Страница 1: ...version 3 10 USER MANUAL...


