


44
45
Creating an auto-play DVD
An auto-play DVD contains no menus. Instead, it plays automatically when you insert the
DVD into a DVD player. Although it has no menus, you can set DVD markers so that the
Next and Previous buttons on the DVD remote control jump to specific points in the movie.
Because an auto-play DVD does not distinguish between Main Menu Markers and Scene
Markers, you can add either for use by the Next and Previous buttons.
Note: Auto-play DVDs ignore Stop Markers.
To create an auto-play DVD:
1
Click the DVD button
in the task bar.
2
In the DVD Templates dialog box, select Auto-play DVD With No Menus, and click OK.
Adobe Premiere Elements displays the DVD Layout window.
3
To preview the DVD and test your markers, click Preview DVD, and use the Previous
Scene button
, the Next Scene button
, and the Play button .
4
Click Burn DVD.
Previewing a DVD
It is always a good idea to preview a DVD before you burn it. The Preview DVD window
contains controls that mimic those on a DVD remote control. By using these controls, you
can test each button on the menus and view the video to which they link.
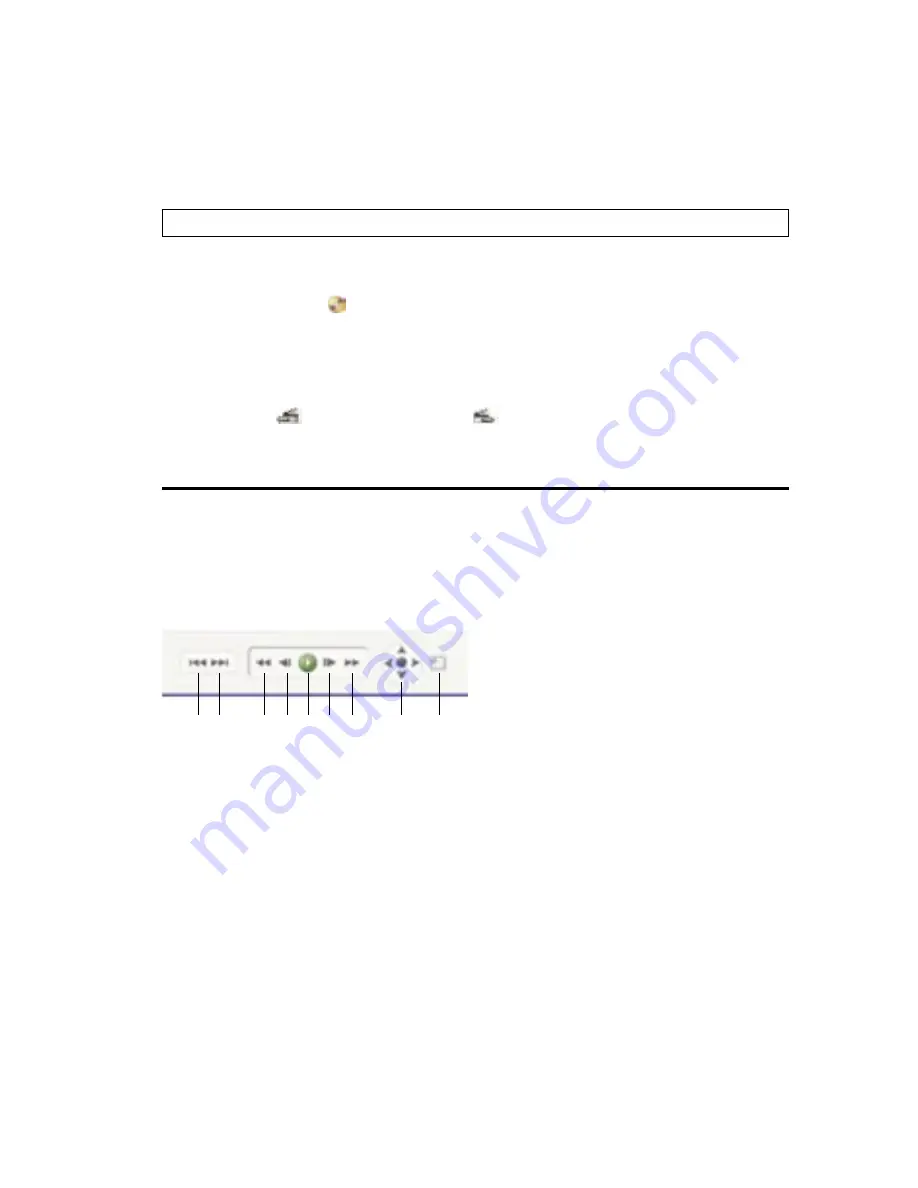
A B
C D E F G
H
I
Preview DVD navigation controls
A
Previous Scene
B
Next Scene
C
Rewind
D
Skip back a frame
E
Play/Pause
F
Skip forward a frame
G
Fast forward
H
Button navigation arrows and Enter button
I
Return to main menu


