


30
31
To split a single clip or multiple clips:
1
In the Timeline window, click the Razor tool , and then do one of the following:
• To split a single clip or linked clips, click the point in the track where you want to split the
clip or clips.
• To split only the video or audio portion of a linked clip, Alt-click the point in the track
where you want to split the clip.
• To split the clips across all tracks, Shift-click the point in the track where you want to
split the clips.
For a precise edit, use the Monitor window to locate where you want to split the clip.
Then position the Razor tool over the current-time indicator and click as described above,
or to split the clips across all tracks, choose Timeline > Razor At Current Time Indicator.
Re-aligning linked clips
Adobe Premiere Elements automatically places video and its soundtrack on separate tracks
in the Timeline window but links the clips so that they remain in sync as you trim or move
them. If you Alt-drag one of the clips out of sync, Adobe Premiere Elements displays the
number of frames they’ve been offset next to the clip name in the Timeline window. Even if
you unlink the clips, Adobe Premiere Elements keeps track of the offset, displaying it again
if you relink them. You can have Adobe Premiere Elements automatically resynchronize
the clips. Depending on the clips, you can choose between two methods of synchronizing.
• Move Into Sync shifts the video or audio clip to synchronize them. Adjacent clips are
overwritten as necessary to accommodate the shifting clips. If you have trimmed either
clip, Adobe Premiere Elements aligns them as originally shot, which means that their In or
Out points may not match.
• Slip Into Sync performs a slip edit to synchronize the video and audio. A slip edit maintains
the position and duration of the clips in the tracks. It uses the trimmed frames as needed
to shift the content of the clips until aligned as originally shot. The distance between the
In and Out points and their location in the tracks remains the same; but where those In
and Out point are positioned in the original clip shifts. This option is available only if the
chosen clip contains a sufficient number of trimmed frames to compensate for the offset.
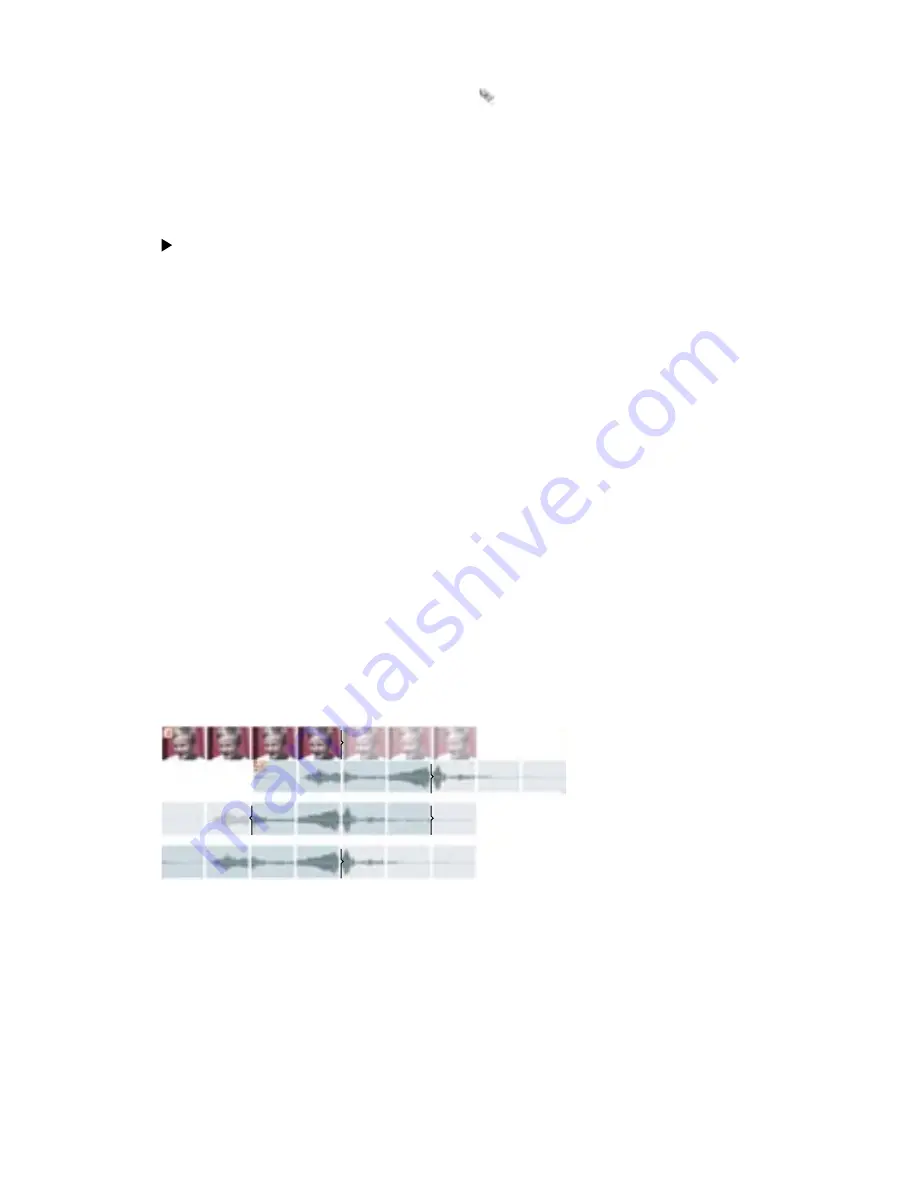
Audio offset to right (top), audio slipped into sync (middle), audio moved into sync (bottom)


