


18
19
To overlay a clip in the movie:
Do one of the following:
• Ctrl-drag the clip from the Media window or Clip view of the Monitor window to the first
frame you want to overlay. When the pointer changes to the Overlay icon
,
release the mouse.
• Move the current-time indicator to the first frame you want to overlay, select the clip in
the Media window, then choose Clip > Overlay.
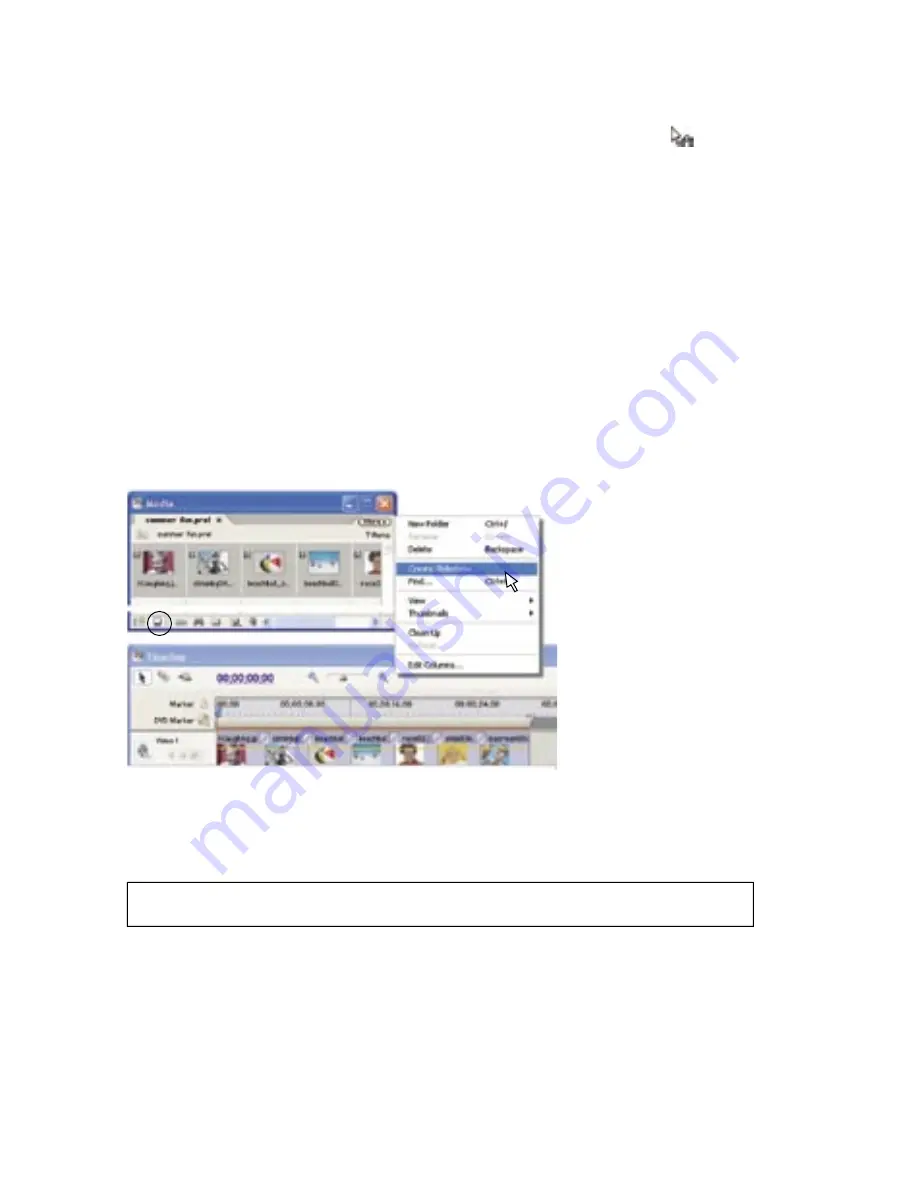
Creating a slideshow or movie automatically
You can create a slideshow or assemble a rough cut of a movie automatically by using the
Create Slideshow command. This command places still images, video, or audio from the
Media window into the Timeline window on either the Video 1 or Audio 1 track. If you set
the Media window to its Icon view, you can use it like a storyboard and arrange the images
or clips in the order you want them to appear in the slideshow or movie. The Create
Slideshow command can add them either as you arranged them or in the order you
select them.
To control the placement of the slides or clips, you can add unnumbered markers to the
Timeline window and choose the option to place the media at those points. This feature is
especially useful for matching slides to the beats of a music track.
In the Media window, arrange images or clips as you want them to appear in the slideshow or movie.
This command can automatically apply the default transition to the cut between clips.
Initially, the default transitions are Cross Dissolve for video and Constant Power for audio.
You can set the default to any transition you want in the Effects window.
Note: The Create Slideshow command can add clips only at the same level in the Media
window; it can’t add clips within different folders at the same time.


