


26
27
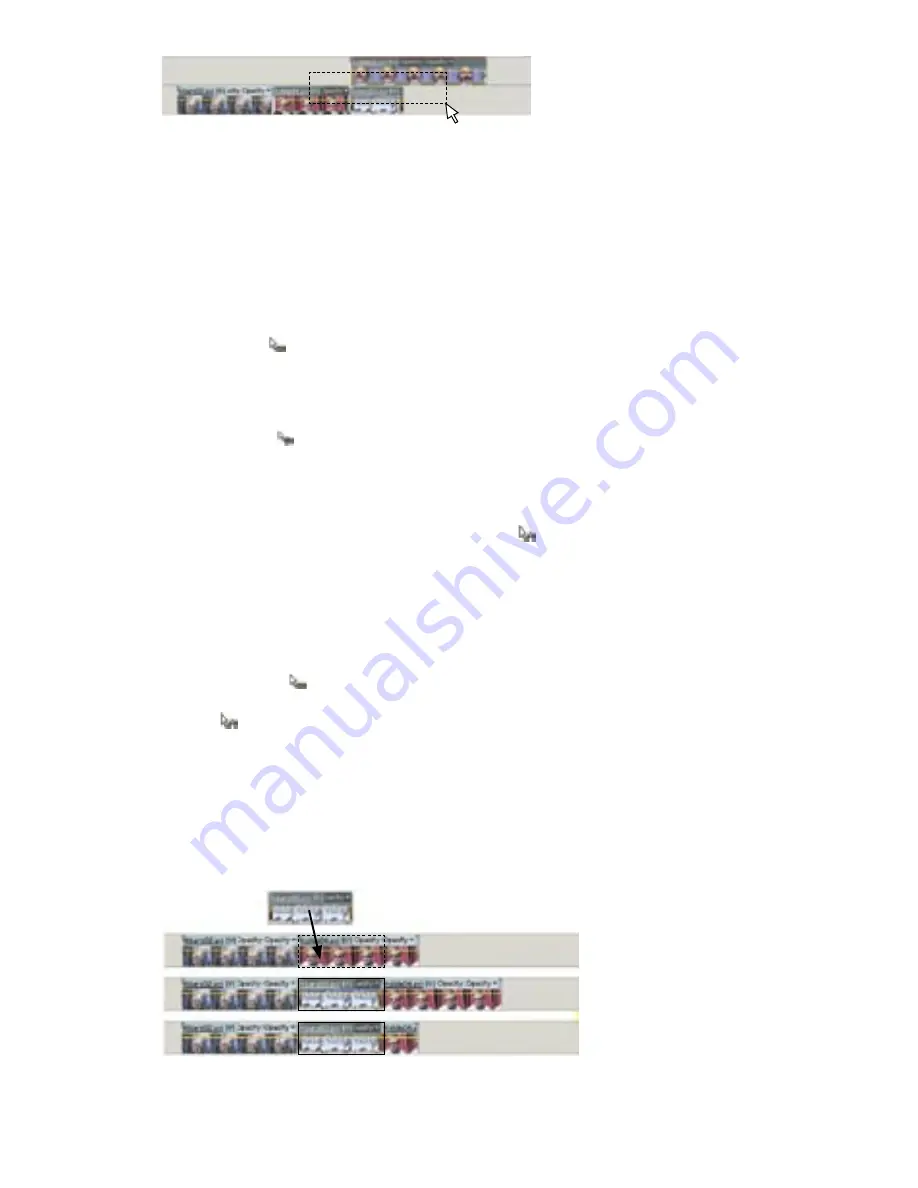
Selecting a range of clips by dragging a marquee
Rearranging clips in the Timeline window
You can easily rearrange clips in the Timeline window by dragging. By using the same
techniques you use to add a clip, you can choose to insert or overlay clips when you move
them.
To move a clip and insert it so all tracks shift after insertion:
In the Timeline window, drag the clip to the desired location. When the pointer changes to
the Insert icon
, release the mouse.
To move a clip, close the gap behind it, and shift only clips on destination tracks:
In the Timeline window, drag the clip to the desired location, and then press Alt. When the
Rearrange icon
appears, release the mouse.
To move a clip and overlay another clip in the movie:
In the Timeline window, drag the clip to the first frame you want to overlay, and then press
Ctrl. When the pointer changes to the Overlay icon
, release the mouse.
To move only one clip of a linked pair:
1
In the Timeline window, Alt-select the clip you want to move.
2
Drag it to the desired location, and do one of the following:
• To shift clips only on the target tracks, release the mouse when the pointer changes to
the Insert icon
.
• To overlay another clip, press the Ctrl key, and when the pointer changes to the Overlay
icon
, release the mouse.
Copying and pasting clips
You can rearrange clips in a movie by copying and pasting. You can copy and paste
multiple clips at a time, and either insert them between existing clips or overlay existing
frames. The clips maintain their relative spacing in time. Unless you’ve copied clips on
multiple tracks, Adobe Premiere Elements always pastes clips to the Video 1 or Audio 1
track at the location of the current-time indicator.
Pasting and inserting (middle), pasting and overlaying (below)


