Acuster BEAT HF Скачать руководство пользователя страница 60

USER MANUAL

BEAT HF

Edition: January 2016

      - MAINTENANCE

Revision: No. 4          

60

5.2.4 Updating the Programme’s version:

The updating of the programme version of the BEAT HF units is done in principle by the

Technical Support Services of STPAcuster group. Nevertheless, the client may update the

software version by means of the following options:

PEN DRIVE USB/A (for model Tr only):

Connect the memory stick in the USB/A socket (located on the middle position on the

right side of the unit for model 2008, and at the front side for model 2015). The Pendrive:

C

It must contain the beat-hf.bin file corresponding to the version that is to be

loaded, which has to be in its root directory.

C

It must be format FAT or FAT32 and of one partition only.

Turn the unit on by means of the master switch, keeping the 

©

 key pressed. The following

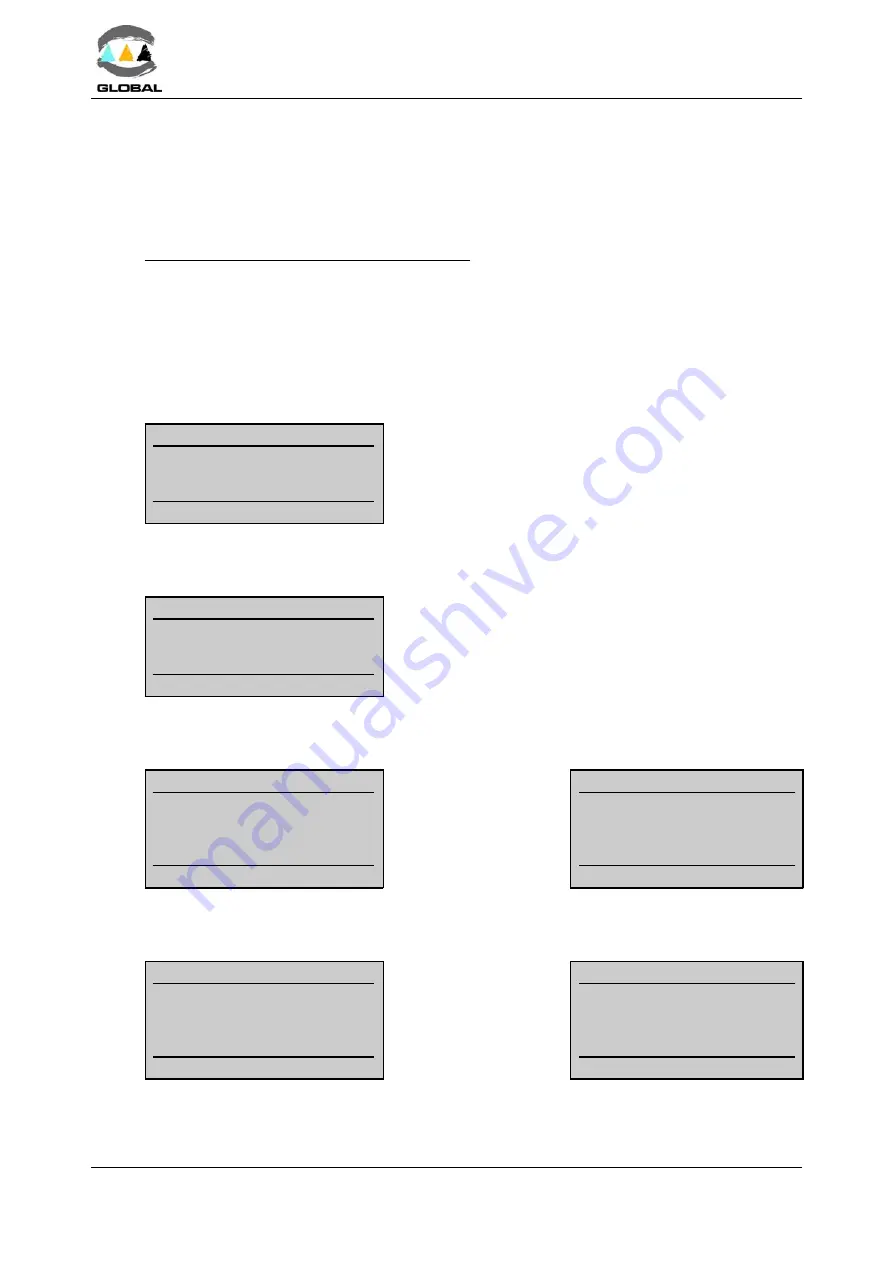
screen will appear:

dd/mm/yy

hh:mm

Update Firmware?

<Yes> <No>

Confirm

Confirmation of the update of the software version is

requested. The cursor remains situated on the <Yes>

position by default. To exit, press the 

¨

 arrow to move

it to <No> and press <START>. The unit will then

show the first job screen.

With the cursor on <Yes> and pressing <START> the display will show the following

screen:

dd/mm/yy

hh:mm

Download fusions?

<Yes> <No>

Confirm

Before updating the software version, confirmation to save

the fusion data is requested. The cursor remains situated on

<Yes> by default. If you do not want to save the fusions,

press the 

¨

 arrow to move it to <No> and press <START>.

The screen will automatically go to Updating Firmware.

With the cursor on <Yes> and pressing <START> the display will show the following

screen:

dd/mm/yy

hh:mm

Searching Pendrive

0 %

If an error is detected

(memory stick not

connected, memory

full, etc.), the following

message will appear:

dd/mm/yy

hh:mm

Searching Pendrive

0 %

Communication error

Immediately after having detected the Pendrive, the display will show the following

screen:

dd/mm/yy

hh:mm

Creating File...

0 %

On the right screen the

download percentage

xxx will be shown until

it reaches 100%.

dd/mm/yy

hh:mm

Downloading...

xxx %

<STOP> cancels

Содержание BEAT HF

Страница 1: ...USER MANUAL ELECTROFUSION CONTROL BOX MODEL BEAT HF Edition January 2016 Revision No 4 Publication MU 78 10E...

Страница 2: ...Acuster Baltics Bullu str 45 Riga LV1067 Latvia riga stpfittings lv 37167815281 STP Acuster South Africa 54 Richard Road Industria North PO BOX 2203 Wilro Park 1731 Roodepoort South Africa shawn preto...

Страница 3: ...3 1 3 Fitting installation 14 3 2 Unit preparation 15 3 2 1 Unit connection 15 3 2 2 Positioning of the unit in the work area 15 3 2 3 Start up of unit 15 3 2 4 Using the barcode reader 17 3 3 Traceab...

Страница 4: ...ure 56 4 2 8 Ambient temperature outside margin 56 4 2 9 Detection of data time error 56 CHAPTER 5 MAINTENANCE 57 5 1 General 57 5 1 1 Introduction 57 5 1 2 Storage 57 5 1 3 Cleaning 57 5 1 4 Services...

Страница 5: ...introduction VOLTAGE and TIME from the fitting manufacturer Take into account that some fitting manufacturers provide different fusion times according to ambient temperature Refer to the fitting manuf...

Страница 6: ...acturer encloses the programmed bar code system in accordance with ISO TR 13950 1 3 GENERAL INFORMATION The development documentation production tests and shipping of the products herewith described h...

Страница 7: ...igure 1 The quality control identification plate includes the fusion control box serial number The plate includes room for future maintenance date stamping NOTE Because the service control is carried...

Страница 8: ...es Service of STPAcuster M Always plug the control box to a power supply provided with differential and ground connection M Do not expose the fusion control box to heavy weights All slight damage caus...

Страница 9: ...on relates is in conformity with the following Directives and also the following relating standards Directive Related Specification Model 2006 95 CE Low Voltage EN 60204 1 EN 60335 1 EN 60519 1 BEAT H...

Страница 10: ...he period of TWO years 2 If the product proves defective during this period due to the materials or its assembly it will be repaired free of charge including the cost of materials and labour at author...

Страница 11: ...ns the mains and electrofusion cables all of three replaceable without opening the casing The front part is formed by a membrane which incorporates tactile push buttons to enter the data and a back li...

Страница 12: ...our arrow keys 2 Transport handle 8 Customized front 3 Membrane with push buttons 9 Main switch 4 Display 10 Connector USB A BEAT HF Tr 5 START key 11 Connector D Sub 9 pins no for MV 6 STOP key Figur...

Страница 13: ...located 1 Ambient temperature sensor 3 Side bag 2 Buzzer Figure 6a model 2008 Figure 6b model 2015 2 4 REAR On the rear cover of the BEAT HF electrofusion unit the following elements are located 1 Po...

Страница 14: ...most exterior oxidation which would otherwise lead to a dissatisfactory electrofusion joint Next clean the scraped area with a de greasing towel or with a clean dry white cloth which does not shed lin...

Страница 15: ...g on the cable 3 2 2 Positioning of the unit in the work area model 2008 The control unit may be positioned according to the needs of the operator It can be in a fully vertical position or even slight...

Страница 16: ...cords refer to clause 3 5 3 of this Manual TECHNICAL MACHINE SERVICE If the programmed warning date for the Technical Machine Service in the unit has expired the display will show dd mm yy hh mm Servi...

Страница 17: ...ray coincides longitudinally with the barcode The distance will depend on the size of the barcode to be read Once the scanner has been placed in position the laser ray will stop flashing and remain fi...

Страница 18: ...ced by using a barcode or manually It does not check for expiry nor attributes C Obligatory setup by operator Identification must be introduced without choice It can be introduced by using a barcode o...

Страница 19: ...yy hh mm Operator A 1234 724 SG Confirm When the identity is introduced the operator s decoded number country and certifying organisation are shown If the barcode or reading were erroneous dd mm yy hh...

Страница 20: ...or Edit barcode Manually introduce the 30 digits corresponding to the identity by using the arrow buttons Press the and arrows to move the cursor to another field and the and arrows to select the valu...

Страница 21: ...ber can be modified or erased at any stage If it is set up as ON the job number will be lost each time the unit is turned off It will need to be reintroduced After entry of the operator ID or not or i...

Страница 22: ...er the or arrow once to select the Manual edition option on the next screen By pressing START a cursor will appear in the first position on the left of the field to be edited dd mm yy hh mm Job Manual...

Страница 23: ...t been previously entered or erased Initial screen Next screen Final screen dd mm yy hh mm Additional data Read barcode dd mm yy hh mm Additional data Manual edition dd mm yy hh mm Additional data Ski...

Страница 24: ...acters accepted capital letters 0 to 9 and the symbols space Press the and arrows to move the cursor to another field and the and arrows to select the values Press START to accept and to go to the nex...

Страница 25: ...3 SDR11 Confirm Code 128 of 26 characters The fitting s decoded traceability is shown If the barcode or reading were erroneous dd mm yy hh mm Traceability Wrong data If the barcode is entered incorrec...

Страница 26: ...aceability ID is not entered by means of a barcode press either the or arrow once to select the Edit barcode option on the next screen When START is pressed a cursor will appear in the first position...

Страница 27: ...ofusion data appears the unit might detect the following incidents C Message of the state of the internal memory BEAT HF Tr only If there are 50 or less entries left before the memory is full the foll...

Страница 28: ...ase the voltage and frequency displayed on the screen were 0V and 0Hz there is an internal communication error Contact to the Grupo Acuster s After Sales Service C Room temperature beyond the limits I...

Страница 29: ...t been turned off Maximum time of 5940 seconds al lowed 99 minutes Introduce the time indicated by the fitting manufacturer bearing in mind correction made according to the room temperature according...

Страница 30: ...n nnnn hh mm Fusion data vvv V ff Hz tt C Read barcode Where the following information will appear nnnn Fusion number hh mm Time vvv V ff Hz Input voltage and frequency tt C Room temperature With the...

Страница 31: ...op line the fusion parameters read from the fitting s barcode will be shown 0072s Time of electrofusion The time of the electrofusion can vary in relation to the nominal value due to the correction of...

Страница 32: ...ccording to the room temperature according to the manufacturer Press the and arrows to move the cursor to another field and the and arrows to select the values Press STOP to go back to the previous sc...

Страница 33: ...barcode corresponding to the fitting to be electrofused Should you not record the fitting s data this could cause errors in the electrofusion process that would have repercussions on the quality and...

Страница 34: ...to continue nnnn hh mm 40 0 V 0075s 2 25S 0072s Press START On the top line the fusion parameters introduced manually will be shown 0072s Electrofusion time the electrofusion time can vary in relatio...

Страница 35: ...sage will be shown on the screen nnnn hh mm 40 0 V 0075s 0000s Correct fusion If the fusion parameters have been introduced by means of a barcode the cooling time established by the manufacturer of th...

Страница 36: ...the abbreviations of the set language and P software version of the power board S N TT C S N corresponds to the unit s serial number xxxx and the CPU s serial number yyyy TT C corresponds to the room...

Страница 37: ...ion 1 n 40 0V 0056s Correct fusion Top line Fusion number date start time Coupler Fusion data Type of fitting or Manual fusion if the data has been introduced manually 1 n Screen number information of...

Страница 38: ...that moment will be saved in the file created on the Pendrive The format of the exported file to the Pendrive will be xxxx_nnn txt in which xxxx corresponds to the unit s serial number and nnn a corr...

Страница 39: ...HF unit on the Export screen press the START key dd mm yy hh mm Downloading 0 The display will show the percentage of the data ex ported 5 The file will be transferred The BEAT HF display will show th...

Страница 40: ...its compatibility with Windows XP Continue Anyway Completing the Found New Hardware Wizard The wizard has finished installing the software for BEAT HF communication Port Finish Check where the port ha...

Страница 41: ...file will appear File name The name you want We recommend using txt or csv exten sions OK 4 With the BEAT HF unit on the Export PC USB B screen press the START key The display will show the following...

Страница 42: ...a will appear in a row with fields separated by a semicolon Fusion No Unit model Serial number Unit manufacturer Unit last revision service Type of fitting Fitting manufacturer Fitting diameter Fittin...

Страница 43: ...o the following Field Delimited mark it Option Start import at row 1 and in File origin Windows ANSI Click Next and the next step will appear 6 In el Text Import Wizard Step 2 of 3 which will appear d...

Страница 44: ...window check that the delimiter is selected as Semicolon and the qualifier as apostrophe text Click Next 8 In the following window select the option In and existing table and select the Electrofusion...

Страница 45: ...lowing 1 2 3 4 5 6 7 8 ON x x x x OFF x x x x The generic setup for an appropriate data print out on other printer makes and models is C XON XOFF C 8 bits C Parity NONE C 19200 Bauds C 1 Stop bit Prin...

Страница 46: ...unit s memory WARNING This option might have restricted access If enabled the following screen will appear initially Initial screen Next screen dd mm yy hh mm Operator Read barcode Press either the or...

Страница 47: ...he unit If you cannot find the language you want consult with your distributor Press the START key to accept the option Press STOP key to exit this option without changing the language C DATE TIME The...

Страница 48: ...al edition To gain access to the Options screen the supervisor code will need to be introduced by means of a barcode or manually either way Once the supervisor code has been introduced and the START b...

Страница 49: ...teria in the fields of expiry date and skills which allows for electrofusion processes language etc Show ON Compulsory ON ISO 12176 3 ON Reset OFF Press the and keys to move to the desired option Use...

Страница 50: ...tion Use the or keys to shift from OFF to ON or vice versa ON enables the obligation and in turn automatically makes the job ID in the Show option shifts to ON it still happened to be OFF Identificati...

Страница 51: ...additional data if it is enabled It allows the entry of the fitting s traceability ID by means of a barcode or manually following the ISO 12176 4 Electrofusion Accepting this last option allows us to...

Страница 52: ...keys to move to the desired option and then the START key to validate Date Time Options Locking Service The last of the options of the Setup menu is exclusively for use by the Grupo Acuster after sale...

Страница 53: ...70 Hz Lower limit 180 Vac 40 Hz Check the power source and correct the defect It is not necessary to switch the unit off and switch it on again to refresh the input voltage Once the lower limit is ov...

Страница 54: ...esistance measure 4 2 3 Interruption by operator If the operator presses the STOP key once the electrofusion process has begun the display will show the following message nnnn hh mm 40 0 V 0075s 2 25S...

Страница 55: ...he electrofusion of the fitting the cycle will stop and the display will show nnnn hh mm 40 0 V 0075s 2 25S 0065s Voltage failure The fitting barcode parameters entered are still on the upper line The...

Страница 56: ...de the established limits on the standard setup the limits are 15 C and 50 C or on the other hand the RT sensor is faulty once turned on the unit the following message will be displayed dd mm yy hh mm...

Страница 57: ...nual However no action should be taken by unqualified personnel beyond these troubleshooting measures in order not to run the risk of seriously damaging the unit 5 1 2 Storage If the unit is not to be...

Страница 58: ...s owner or the company s maintenance department CAUTION Perform this operation with the unit disconnected There is a potential danger of electrical shock Mains cable model 2008 only The power cable is...

Страница 59: ...the screw with a 3mm Allen key Figure 12d Attention do not lose the safety washer 5 Replace the electrofusion cable and assemble on the opposite sequence 5 2 3 Assembly of the fan kit if it is not al...

Страница 60: ...version is requested The cursor remains situated on the Yes position by default To exit press the arrow to move it to No and press START The unit will then show the first job screen With the cursor o...

Страница 61: ...the first time install the Beat HF Firmware Updater software on the PC only available in English Software downloading procedure 1 Connect the ODS transmission cable model 2008 or Null Modem cable mod...

Страница 62: ...ocess lasts about a minute 5 When the led of the START push button flashes on and off slowly click Start Process in the software of the PC 6 Once the download is complete the unit will start up automa...

Страница 63: ...mmended acc to ISO 12176 2 from 10 to 40 C Display LCD graphic Unicode 64x128 pixels Acoustic warning Piezoelectric buzzer Enter fusion data Manual Automatic Voltage Multi voltage from 0 5 to 0 5 V Ti...

Страница 64: ...470 mm model 2008 380 x 310 x 230 mm model 2015 Gross approximate weight 24 Kg model 2008 22 kg model 2015 6 2 2 Accessories List of accessories included in the unit QTY DESCRIPTION 1 Side bag 1 User...

Страница 65: ...USER MANUAL BEAT HF Edition January 2016 Revision No 4 TECHNICAL CHARACTERISTICS 65 RESERVED FOR NOTES...

Отзывы: