2-2
Questions? Refer to Page 10-10 for Technical Support Instructions.
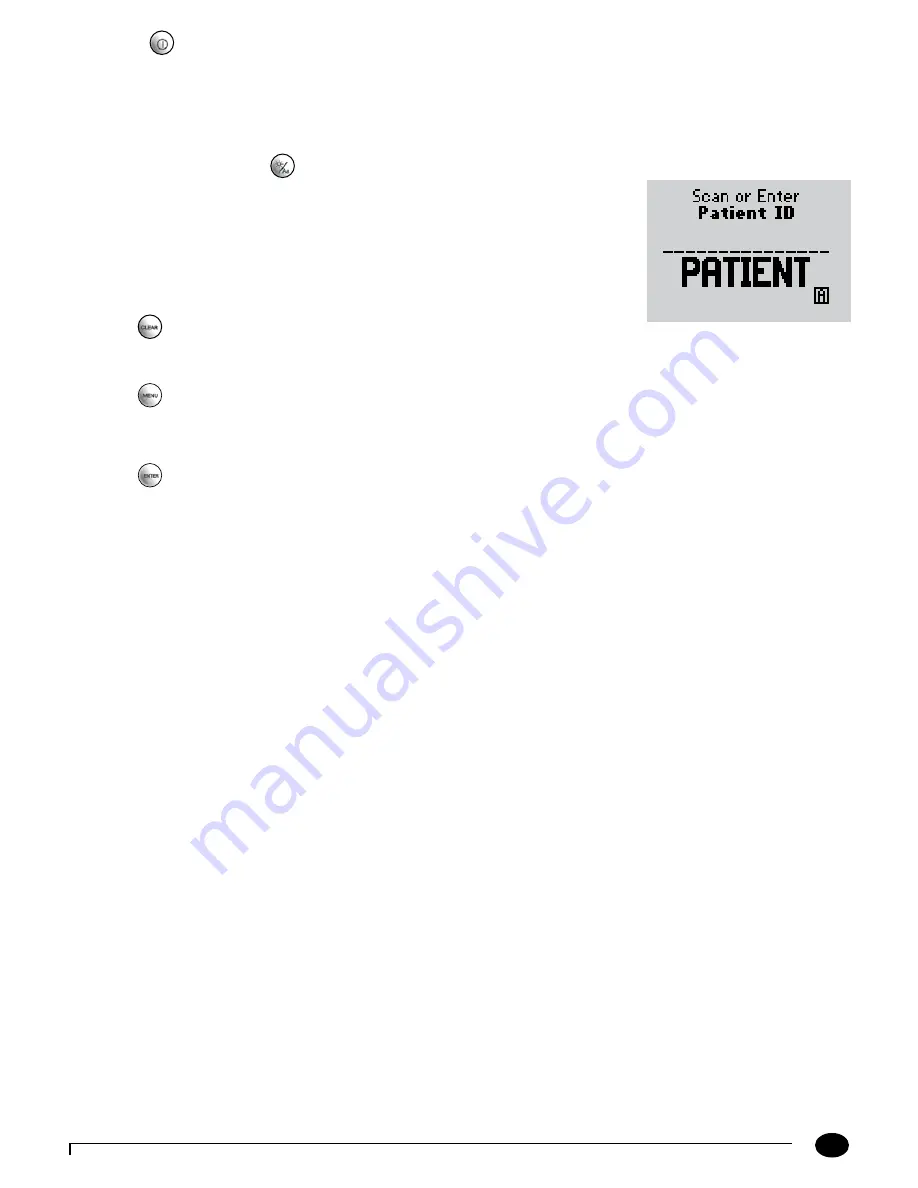
On/Off
Press this button to turn the monitor on. Each time the monitor is turned on, the Abbott logo screen will appear in black for
a few seconds and then will appear in gray. This provides an opportunity to ensure that all the pixels are working correctly.
Press and hold this button for two seconds to turn the monitor off. The monitor will automatically shut itself off after 4
minutes to conserve battery life. This length of time for automatic shut-off can be configured from 4 to 10 minutes following
patient tests only.
Backlight/Alphanumeric
Press and hold this button for about 2 seconds to active the display backlight.
Press this button while manually entering data to toggle between numeric, uppercase
alpha mode and lower case alpha mode during manual data entry. When in alpha mode,
enter alpha characters on the screen by pressing the 2 through 9 buttons multiple times to
cycle through the characters. Enter a SPACE character in alpha mode by pressing the 1 key.
The monitor displays which mode you are in with a lowercase/uppercase alpha indicator
in the lower right side of the display.
Clear
Press this button to back up one space while entering alphanumeric information on the keypad.
This button is also used to return to a previous screen if necessary.
Menu
Press this button to switch the monitor from Test Mode to Menu Mode. These two modes are described in the next section.
When viewing configuration information in Menu Mode, pressing this button one time will return to the top of the menu
tree. Pressing the button a second time will switch to Test Mode.
Enter
Press the Enter button after entering data on the keypad to proceed to the next screen.
Audible Indicator (not visible)
The monitor has, an audible indicator that can be turned on or off. This indicator emits two tones, a high pitched tone to
indicate success and a low pitched tone to indicate a problem. If enabled, the monitor will beep to indicate the following
actions:
The operator has successfully scanned a bar code;
•
The monitor has detected an adequate sample and is starting test analysis;
•
The monitor is nearing completion of test analysis (3 beeps with final countdown);
•
The monitor has displayed the test result;
•
An error has occurred (see Chapter 10 for troubleshooting information);
•
The monitor will automatically shut off in thirty seconds (2 beeps);
•
The operator has pressed an unexpected button;
•
The operator has pressed the
•
On/Off
button.
Data Port
The Data Port is located at the bottom of the monitor. This port enables the monitor to automatically transfer the data
through a cable or docking station to the data management system.
Battery Compartment
The monitor holds two AA batteries to power the monitor. To prolong the battery life of the monitor, the monitor
should be turned off when not in use. Data is not affected if batteries are removed.
Port Protector
The port protector covers the test strip port. The port protector is designed to minimize the possibility of liquid entering
the monitor through the strip port. Should blood or control solution come in contact with the port protector, the monitor
should be cleaned and dried and the port protector replaced. Chapter 11 provides instructions for replacing the port
protector.
Chapter 2: Using the Monitor
Содержание Precision Xceed Pro
Страница 37: ...6 Proficiency Test Proficiency Test Glucose Proficiency Test β Ketone ...
Страница 42: ...7 Linearity Test ...
Страница 60: ...9 Data Upload Docking Station Mounting Instructions Enabling Data Upload ...
Страница 77: ...11 Maintenance Cleaning the Exterior Surface Replacing the Port Protector Battery Life Replacing the Batteries ...
Страница 80: ...12 Specifications Precision Xceed Pro Monitor Symbols Bar Code Types Important Safety Instructions ...


