


User Manual|
VISIX Network Camera
10225 Westmoor Drive, Suite 300, Westminster, CO 80021 | www.3xlogic.com | (877) 3XLOGIC
61
b.
Sensitivity:
Range [1-‐100]. The value of the sensitivity defines the size of the object which
can trigger the alarm, when the sensitivity is high, a very small object can trigger the
alarm.
c.
Percentage:
Range [1-‐100]. Percentage defines the ratio of the in-‐region part of the object
which can trigger the alarm. For example, when you set the percentage as 50%, half of the
object entering the region will trigger the alarm.
Arming Schedule is configured to set the time you want the function to auto-‐enable.
4)
Click
Edit
to set the arming schedule.
5)
Choose to trigger alarm actions as
Notify Surveillance Center
,
Send Email
,
Upload to FTP
and
Trigger Channel
or trigger the
Alarm Output
.
6)
Click
Save
to save the settings.
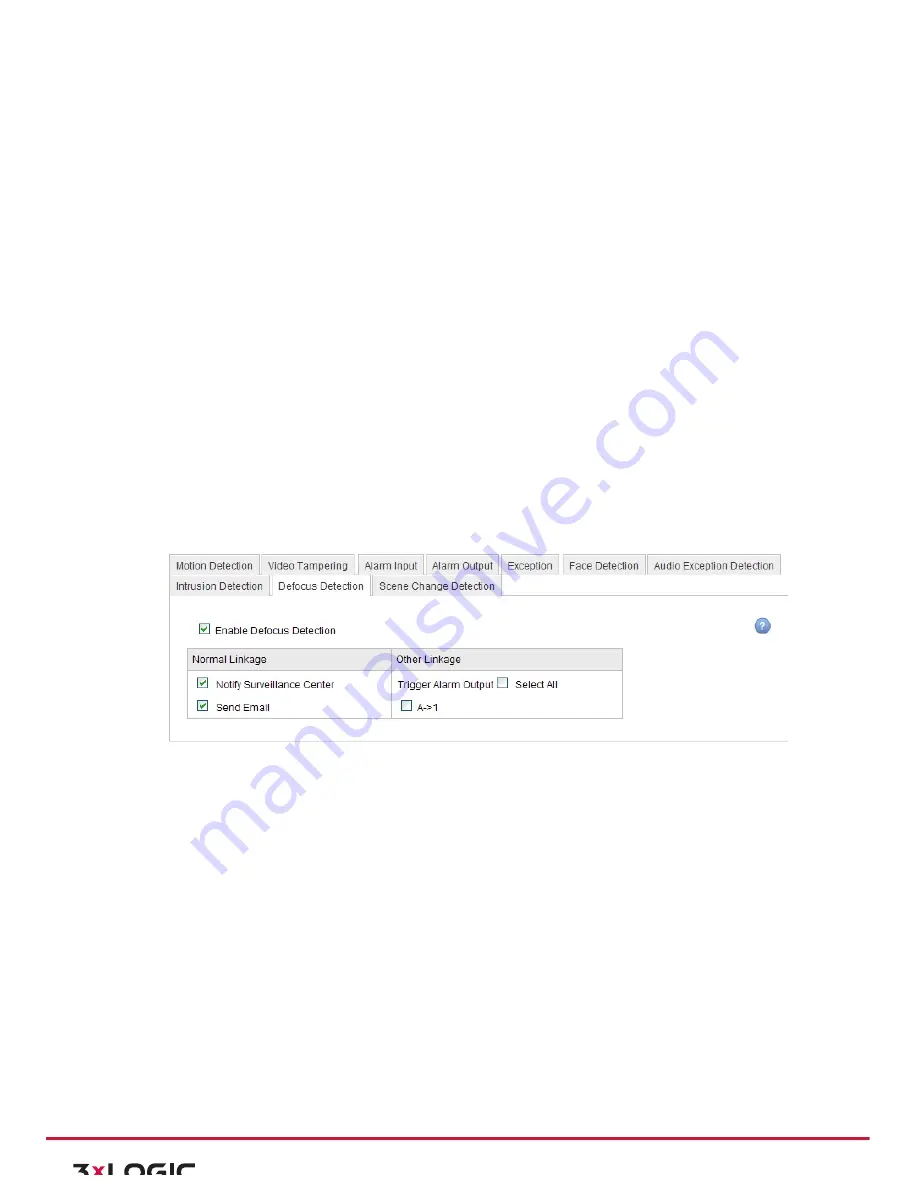
CONFIGURING DEFOCUS DETECTION
Purpose:
The image blur caused by defocus of the lens can be detected and a series of alarm action can be triggered.
Steps:
1)
Check the
Enable Defocus Detection
checkbox.
2)
Choose to trigger alarm actions as
Notify Surveillance Center
and
Send Email
, or trigger the
Alarm
Output
.
3)
Click
Save
to save the settings.
Figure 6-‐47
Configuring Defocus Detection
CONFIGURING SCENE CHANGE DETECTION
Purpose:
Scene change detection is used to detect the change of surveillance environment affected by the external
factors; such as the intentional rotation of the camera.
Steps:
1)
Check the
Enable Scene Change Detection
checkbox.
Sensitivity
: Range [1%-‐100%]. The higher the sensitivity, the easier the change of scene can trigger
the alarm.
Arming Schedule is configured to set the time you want the function to be enabled.
2)
Click
Edit
to set the arming schedule.
3)
Choose to trigger alarm actions as
Notify Surveillance Center
and
Send Email
, or trigger the
Alarm
Output
.
4)
Click
Save
to save the settings.