


User Manual|
VISIX Network Camera
10225 Westmoor Drive, Suite 300, Westminster, CO 80021 | www.3xlogic.com | (877) 3XLOGIC
31
!
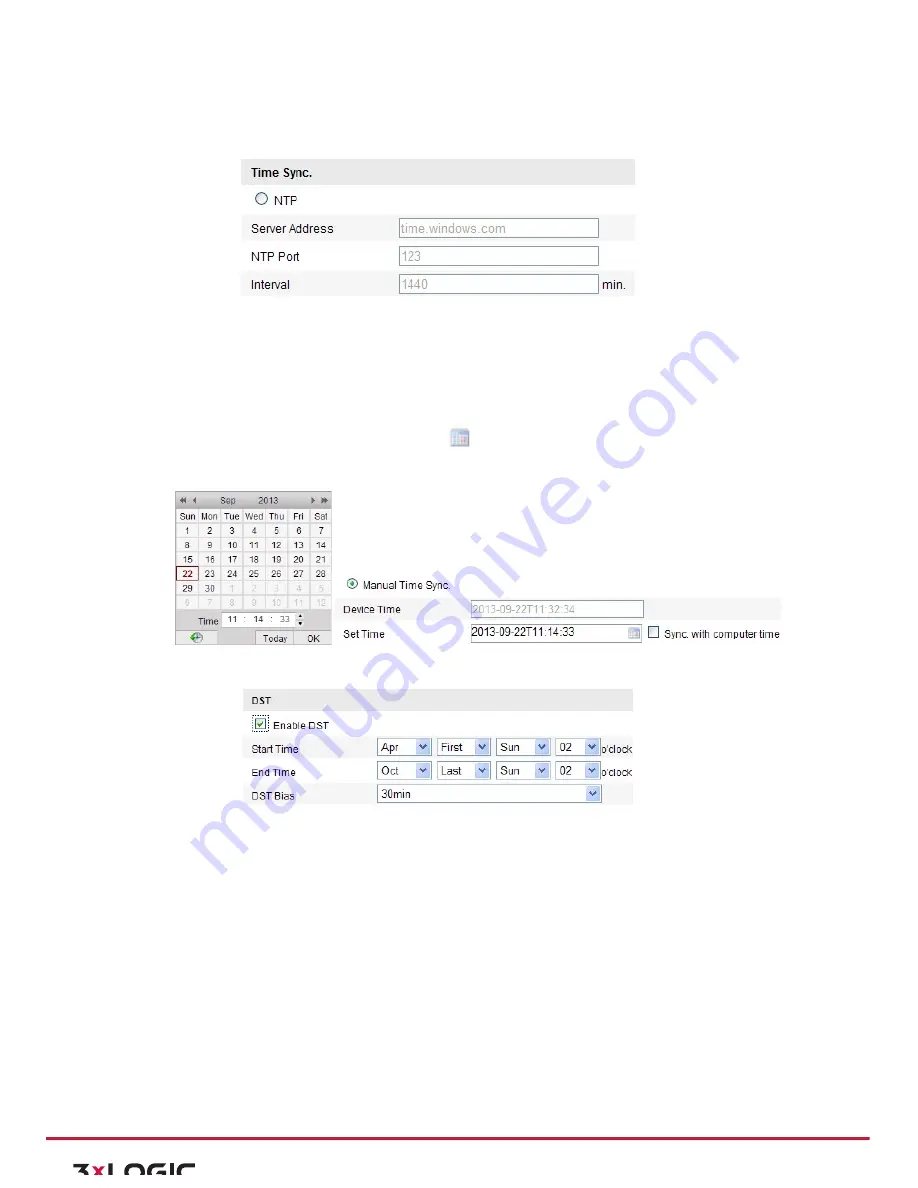
NTP Port: Port of NTP server.
!
Interval: The time interval between the two synchronizing actions with NTP server.
Figure 6-‐3
Time Sync by NTP Server
Note:
If the camera is connected to a public network, you should use a NTP server that has a time
synchronization function, such as the server at the National Time Center (IP Address: 210.72.145.44). If the
camera is set in a customized network, NTP software can be used to establish a NTP server for time
synchronization.
Synchronizing Time Synchronization Manually
Enable the
Manual Time Sync
function and then click
to set the system time from the pop-‐up calendar.
Note:
You can also check the
Sync with computer time
checkbox to synchronize the time of the camera with
that of your computer.
Figure 6-‐4
Time Sync Manually
4)
Click the DST tab page to enable the DST function and Set the date of the DST period.
Figure 6-‐5
DST Settings
5)
Click
Save
to save the settings.
6.3
Configuring Network Settings
CONFIGURING TCP/IP SETTINGS
Purpose:
TCP/IP settings must be properly configured before you operate the camera over network. The camera
supports both the IPv4 and IPv6. Both versions may be configured simultaneously without conflicting to each
other, and at least one IP version should be configured.
Steps:
1)
Enter TCP/IP Settings interface:
Configuration > Basic Configuration >
Network > TCP/IP
Or
Configuration > Advanced Configuration >
Network > TCP/IP