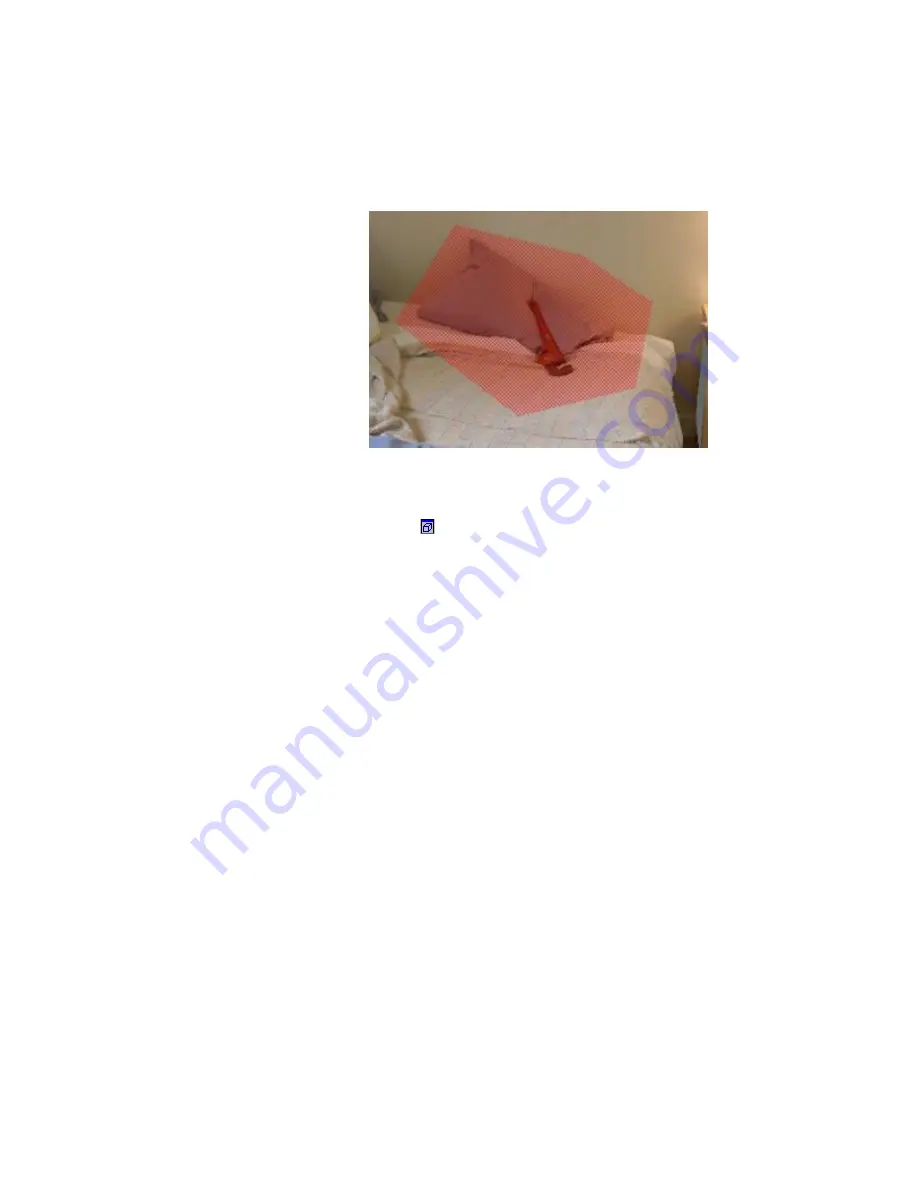
This is a two-step procedure. The first step is to use the
Select Region
tool – from the menu or
toolbar – to outline a region in an RTPI or aligned image file. Figure 52 shows a region selected
in the sample file v1-color.rtpi.
Figure 52 Region selection in color range data
After selecting the region, select
Create 3D Popup
from Region
from the Draw & Measure
menu or from the toolbar (
). This will create a VRML model of this data and open up a
window with the new model. It will also give it a default name and place it in the Model data
folder of the scene tree. You can now look at this data from any viewpoint – as you can with
any model data.
Note: If you close the window with this model data it will not be saved. (Of
course, it’s easy to recreate.) If you would like to save it, use the
Save File as
option in the File menu. If you would like to keep it as part of the scene, you will
also need to save the scene.
Note: There are typically far more points in a section of a scan than you would
like as vertices of a model. Therefore, SceneVision subsamples the data to
produce a model with a reasonable number of triangles. You can specify this
number in the Preferences submenu in the File menu. Select
Target Triangles in
Model
. Then specify the number of hundreds of thousands, e.g. 200 will produce
200,000 triangles. The number your system can handle will depend on its
memory, speed, and graphics processor.
Note: There are additional functions for creating 3D models from multiple
selections and/or multiple files. These are discussed in Section 11.
DeltaSphere-3000 3D Scene Digitizer
73
9/23/05


