4.2.1
Running SceneVision
SceneVision is run as a typical Windows application by double-clicking on the desktop icon, or
by using the Start menu to select Programs -> DeltaSphere -> SceneVision-3D, or by double-
clicking on the file name,
dsModel.exe
, in Windows Explorer.
Connect to the DeltaSphere
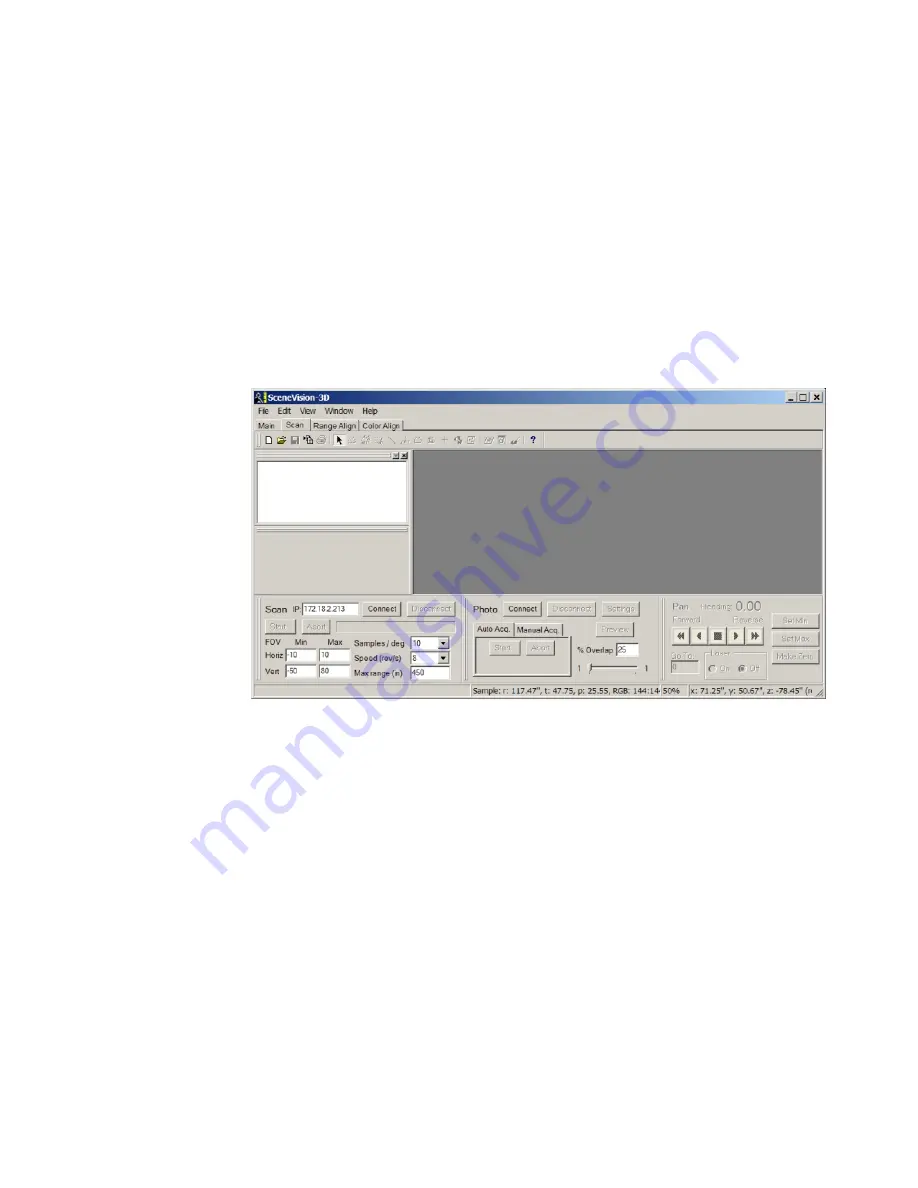
You are now ready to connect to the DeltaSphere-3000 scanner. Click on the Scan tab and new
controls will appear along the bottom of the window, as shown in Figure 20, divided into three
sections. The Connect button and scan parameters are on the left. The camera controls are in the
middle (only if you have the color option). Controls for panning the DeltaSphere (disabled until
you connect with the system) are on the right.
Figure 20 SceneVision Scan Tab
Make sure the DeltaSphere-3000 is on and has had enough time to boot (about 1 minute). The
IP Address of the DeltaSphere-3000 system (see Section 2.3.3) should appear in the
DeltaSphere IP address
box. If not, enter the IP address of your DeltaSphere. It can be found on
a label on the face of the scanner and in your documentation. (See section 15.1 for setting the IP
address in the configuration file.) Select
Connect
. The button will turn yellow and, when
connected (which should happen quite quickly), will turn green. Also, the Disconnect button
now will be available. If the button turns and remains yellow, you are having a problem
connecting. Make sure that the DeltaSphere is on and is connected to your network or to your
system and that you’ve typed the right IP address.
Create a Scene File
Once your connection is established, before beginning to scan, you must be working within a
scene file – either by creating a new one with the function
New Scene
in the
File
menu, or by
DeltaSphere-3000 3D Scene Digitizer
25
9/23/05


