8.1.6
Create Plane
For certain measurements and analyses it is useful to define a
plane
– a perfect, flat surface that
is
fit
to the points in a wall, floor, ceiling or other flat set of scanned points. Fitting a plane to a
set of points provides a surface without the tiny deviations found in a scan and produces very
accurate measurements and calculations. It can also be used to find the dimensions of a room by
defining the edges where walls, floor and ceiling meet.
Create Plane from Region
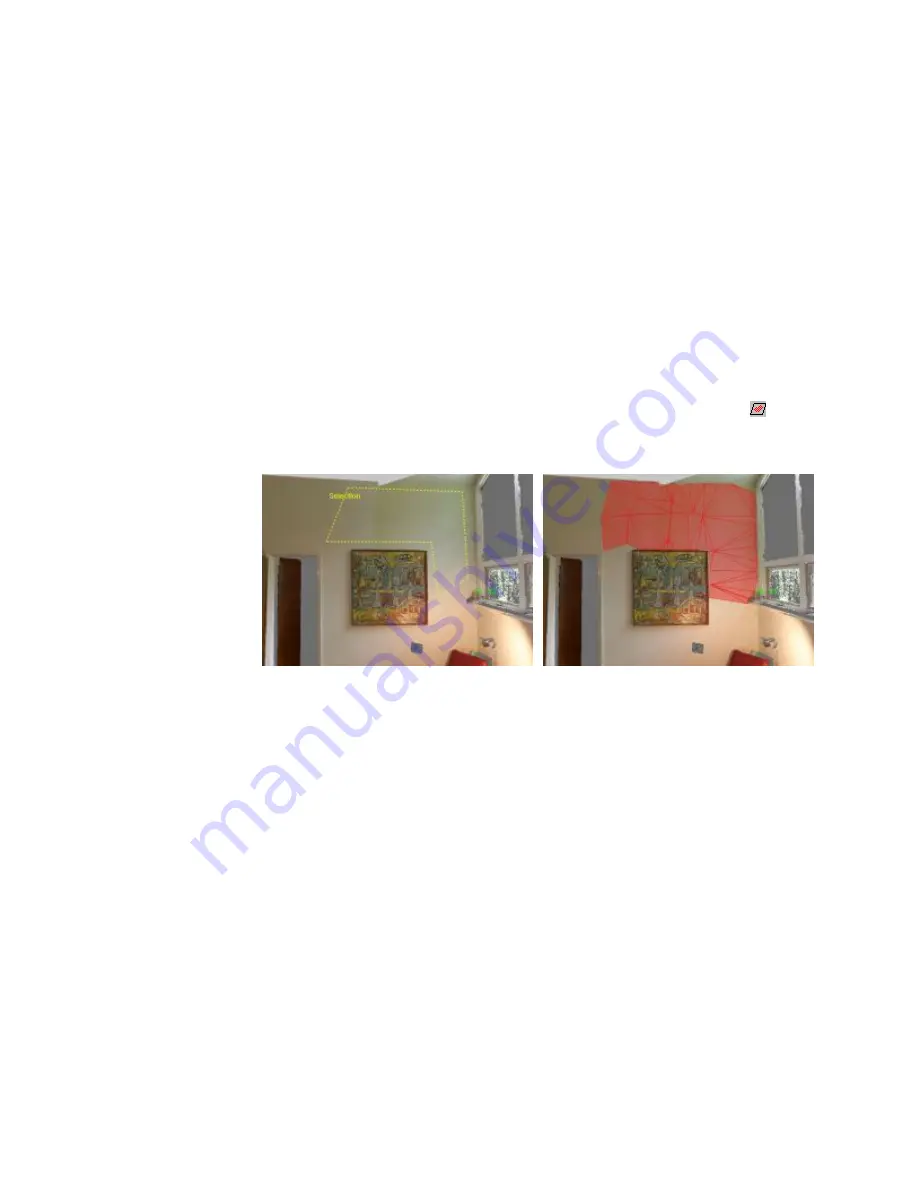
To create a plane, select a region in flat surface in either model or range data. This region does
not have to be a particular shape – but it must only include points from the flat surface (see
Figure 41). If you overlap any other points, perhaps a doorknob or recessed window, that are not
part of the flat surface, the plane will be drawn in the wrong place. Once the region is selected,
choose
Create Plane from Region
in the Draw & Measure menu, or the button (
) from the
Main toolbar and a plane will be created. The plane’s label also will appear in the Planes folder
of the scene tree.
Figure 41 Region selection to create plane
The plane fitted with to the surface you selected (see Figure 42) will appear in the model data.
You’ll notice how part of the plane is visible and part of the wall is visible. The plane is fit to
best approximate the location of all the points in the region you select. Because of very small
variations in the data, some of those points will be in front of the plane and will be visible, and
some of the points will be behind the plane and will be hidden by it.
DeltaSphere-3000 3D Scene Digitizer
59
9/23/05


