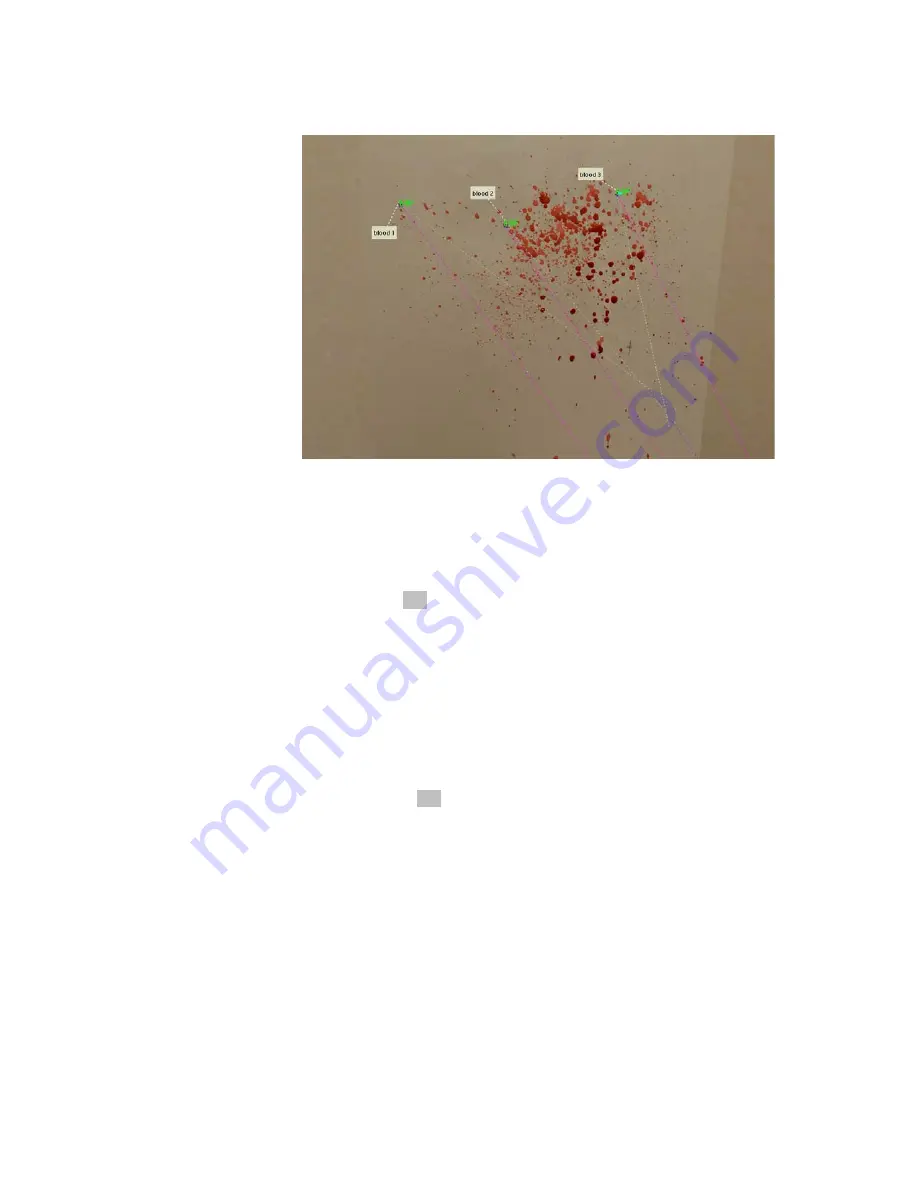
Figure 51 Blood spatter results
In addition, you should note the following about the blood spatter tool:
The lines produced are directly a result of which spatter you choose and where you
draw the measure lines.
If you would like to adjust the measure lines, choose the arrow symbol from the
toolbar, hold
Ctrl
, select an endpoint and drag it. This will affect that particular
spot’s white (planar) and purple (trajectory) lines, as well as the placement of the
group’s perpendicular line.
If you choose a point whose white line intersects the other lines at a point distant
from the other intersection points, it is unlikely to be a member of this spatter group
and will significantly skew the results. It is up to the expert user to decide which
points to include in a particular group. You can easily delete a particular spot (by
deleting its measure lines) to fix any such problem. Deleting a single measure line
deletes the pair.
If the numeric lengths of the measure lines make it difficult to see you can turn off
the number by
Ctrl
, right-click on the line, and selecting
Toggle Measure Line
Distance Display
in the popup menu.
If you choose blood spatter that is nearly round – the long and short axes are
approximately the same length – no white lines will appear. The assumption is that
the trajectory was nearly perpendicular to that point and that the long axis is not well
defined and shouldn’t be used. This point will be used in calculating the location of
the perpendicular line along with the other intersection points.
You can edit a spatter group by double clicking on the group in the scene tree. This
starts a ‘wizard’ that will lead you through several steps for changing the name, the
plane, or individual spots.
Note: Though the calculations are standard, there are many different ways
we could approach blood spatter analysis. If you have any suggestions about
how you would like to see this procedure modified, please contact 3rdTech.
DeltaSphere-3000 3D Scene Digitizer
71
9/23/05


