Copyright 1010music LLC 2023
Page 48 of 97
Page 49 of 97
Copyright 1010music LLC 2023
Bitbox MK2 2.1 User Manual
Mar 1, 2023
Bitbox MK2 2.1 User Manual
Mar 1, 2023
Record a Multi-sample Pack
Bitbox mk2’s Auto-Sample feature makes it easy to create a multi-sample pack if the
source you are recording can be triggered by CV. You can also create a multi-sample
pack manually if needed.
Recording a multi-sample pack starts out the same way as recording a single sample,
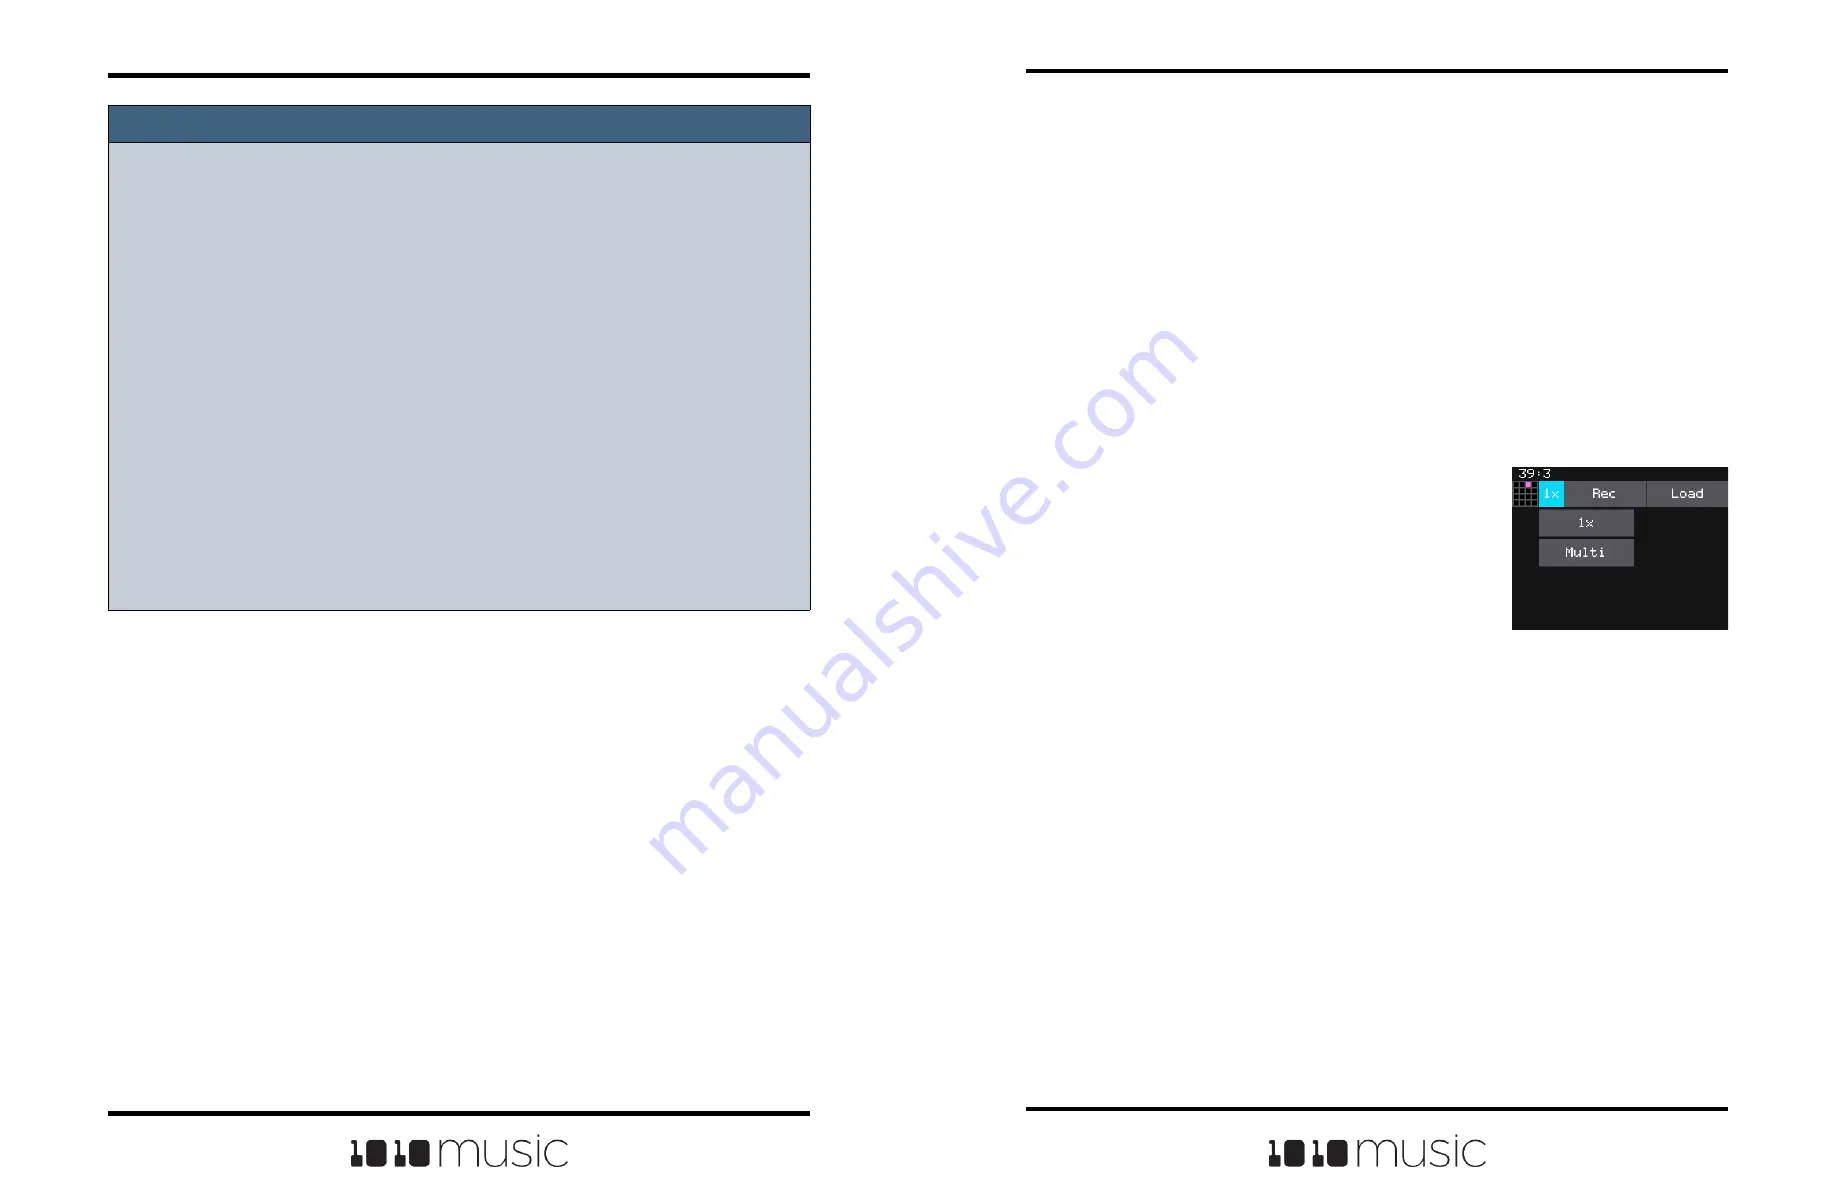
but you use the 1x button next to the grid icon to change to Multi (Mx) mode.
To Auto-Sample a Multi-sample Pack:
In Auto-sample mode, you can choose the range of notes to be recorded, how many
steps between recorded samples, how many velocity layers to include, and the length of
the notes. Once you start recording, bitbox mk2 will send out CV signals through FX1
and FX2 to set the pitch and trigger the notes It will record each note into a separate
WAV file. When finished, you will have a folder full of WAV files that you can use as a
multi-sample pack.
1.
Connect the FX outputs from bitbox mk2 to the
source to be recorded. Connect FX1 of bitbox
mk2 to the pitch control of the instrument to be
recorded. Connect FX2 of bitbox mk2 to the
Gate control of the instrument to be recorded.
Bitbox mk2 will send out a CV signal on FX1
that maps 1 V per octave. -2V= C0, 0V=C2,
2V=C4, 5V = C7.
2.
Connect the audio output from the source
instrument to IN1 and IN2 on bitbox mk2. If you
are only recording one channel, you only need
to connect to one input.
3.
Now we can set up the pad for recording. Push the HOME button to display
the Pads screen.
4.
Touch a pad to select it. With the pad selected, press the right arrow button. If
the pad is empty, bitbox will display the Load and Record screen. If the pad is
already loaded, bitbox will display the Waveform screen. If you are on the
Waveform screen, press the Pad Mode icon to the left of the WAV file name at
the top of the screen and then touch New Multi. You will now see the Load
and Record screen.
5.
At the top of the Load and Record screen, the button to the right of the grid
icon says 1x or Mx. If it says 1x, you are set up to record a single file. Touch
the 1x button to open the Mode Selector menu. Touch Multi to enter Multi or
Mx mode. The list of recording parameters changes based on the selected
mode.
WAV File Load and
Record Screen -
Mode Selector
Note:
► If you record into a loaded pad, the original WAV file remains intact on the
microSD card and a new WAV file is created.
► Bitbox mk2 streams the recording directly to your microSD card. The length of
your recording is limited to the space available on the microSD card. The space
remaining on the card is displayed at the top of the Tools screen.
► If you have RecToPlay set to ON in the Tools pages, bitbox mk2 will
automatically start playing the new sample when recording ends if the Length
parameter was used for recording.
► Use the Resam input option to layer recordings, apply effects or capture new
clips.
► Bitbox mk2 won’t stop you from loading a WAV file from Preset B’s folders into
Preset A. However, if you do this, you could potentially break Preset A if you ever
move or rename Preset B for any reason. Therefore, if you have WAV files that
you want to re-use across presets, we encourage you to move these WAV files
into library folders outside of the \Presets folder, and to Pack your presets often.


