Prestige 653HWI Series User’s Guide
45-2
Internal
SPTGEN
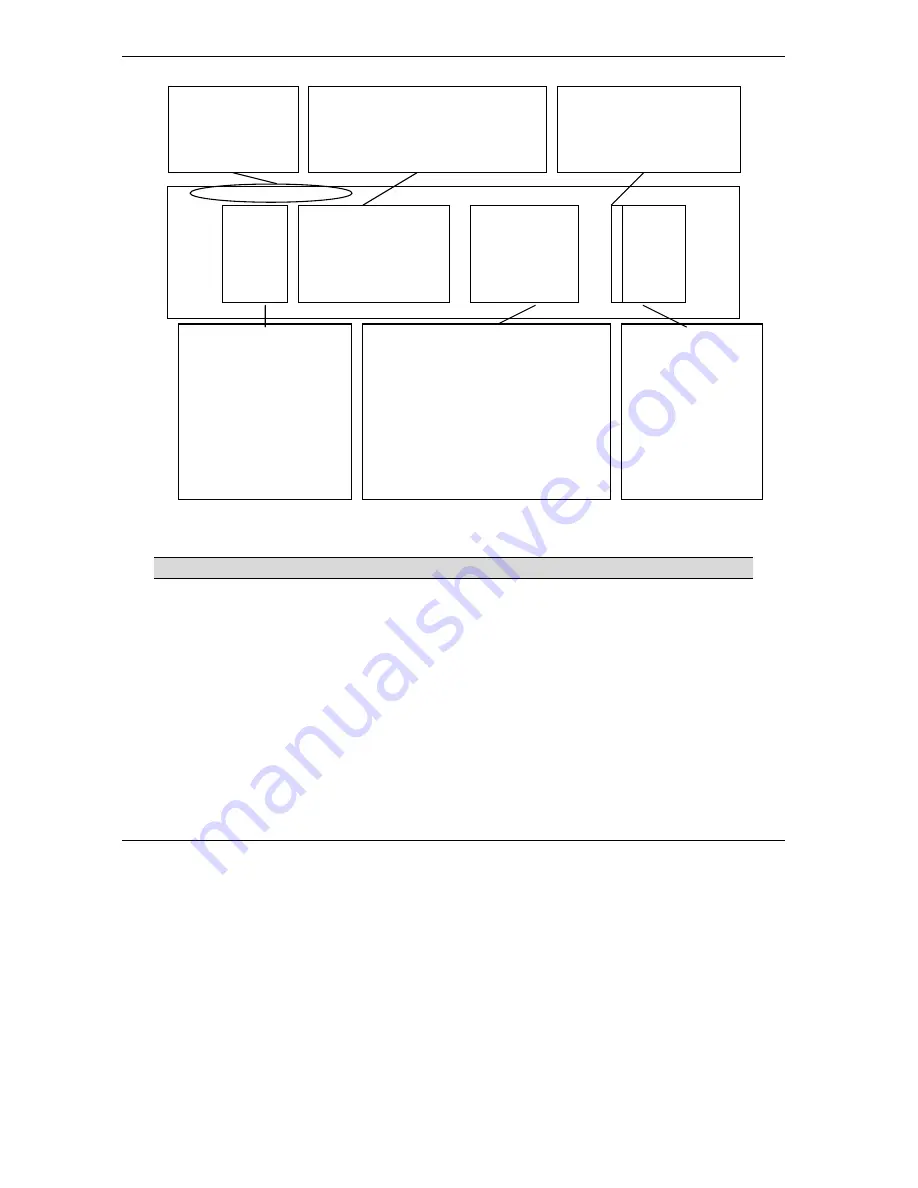
Figure 45-1 Configuration Text File Format: Column Descriptions
DO NOT alter or delete any field except parameters in the
Input
column.
For more text file examples, refer to the
Example Internal SPTGEN Screens
appendix.
45.2.1 Internal SPTGEN File Modification - Important Points to Remember
•
Each parameter you enter must be preceded by one “=”sign and one space.
•
Some parameters are dependent on others. For example, if you disable the
Configured
field in menu 1
(see
Figure 45-1
), then you disable every field in this menu.
•
If you enter a parameter that is invalid in the
Input
column, the Prestige will not save the configuration
and the command line will display the
Field Identification Number
.
Figure 45-2
, shown next, is an
example of what the Prestige displays if you enter a value other than “0” or “1” in the
Input
column of
Field Identification Number
1000000 (refer to
Figure 45-1
).
/ Menu 1 General Setup
10000000 = Configured <0(No)| 1(Yes)> = 1
10000001 = System Name <Str> = Prestige
10000002 = Location <Str> =
10000003 = Contact Person’s Name <Str> =
10000004 = Route IP <0(No)| 1(Yes)> = 1
10000005 = Route IPX <0(No)| 1(Yes)> = 0
10000006 = Bridge <0(No)| 1(Yes)> = 0
This is the
Field Name
column.
This is the name of the field as seen in
the corresponding SMT screen.
Example: Configured
One “=” sign, followed by one
space, must precede
everything you input.
This is the name of
the menu.
This is the
Field
Identification Number
column.
This column numerically
identifies the
Field
Name
column entries.
Example: 10000000
The
Input
column.
Input values to the
right of the “=” sign.
Make sure one equal
sign, followed by one
space, precedes your
input.
This is the
Parameter Values Allowed
column.
This column defines acceptable
parameters. Parameters are usually
numbers, but can sometimes be strings
(<Str> indicates a string). All parameters
should be entered in the
Input
column.
Example: <0(No) | 1(Yes)>
Summary of Contents for Prestige 653HWI series
Page 30: ......
Page 62: ......
Page 64: ......
Page 88: ......
Page 108: ...Prestige 653HWI Series User s Guide 7 20 WAN Setup Figure 7 10 Traffic Redirect LAN Setup...
Page 112: ......
Page 114: ......
Page 134: ......
Page 136: ......
Page 156: ......
Page 172: ......
Page 184: ......
Page 186: ......
Page 192: ......
Page 200: ...Prestige 653HWI Series User s Guide 17 8 VPN Screens Figure 17 3 VPN IKE...
Page 222: ......
Page 242: ......
Page 262: ......
Page 263: ...Maintenance VIII Part VIII Maintenance This part covers the maintenance screens...
Page 264: ......
Page 266: ...Prestige 653HWI Series User s Guide 22 2 Maintenance Figure 22 1 System Status...
Page 282: ......
Page 292: ......
Page 312: ......
Page 338: ......
Page 368: ......
Page 408: ......
Page 430: ......
Page 434: ......
Page 444: ......
Page 450: ......
Page 466: ......
Page 474: ......
Page 480: ......
Page 492: ......
Page 497: ...Prestige 653HWI Series User s Guide PPPoE E 3 Diagram E 2 Prestige as a PPPoE Client...
Page 498: ......
Page 500: ......
Page 540: ......
Page 554: ......


