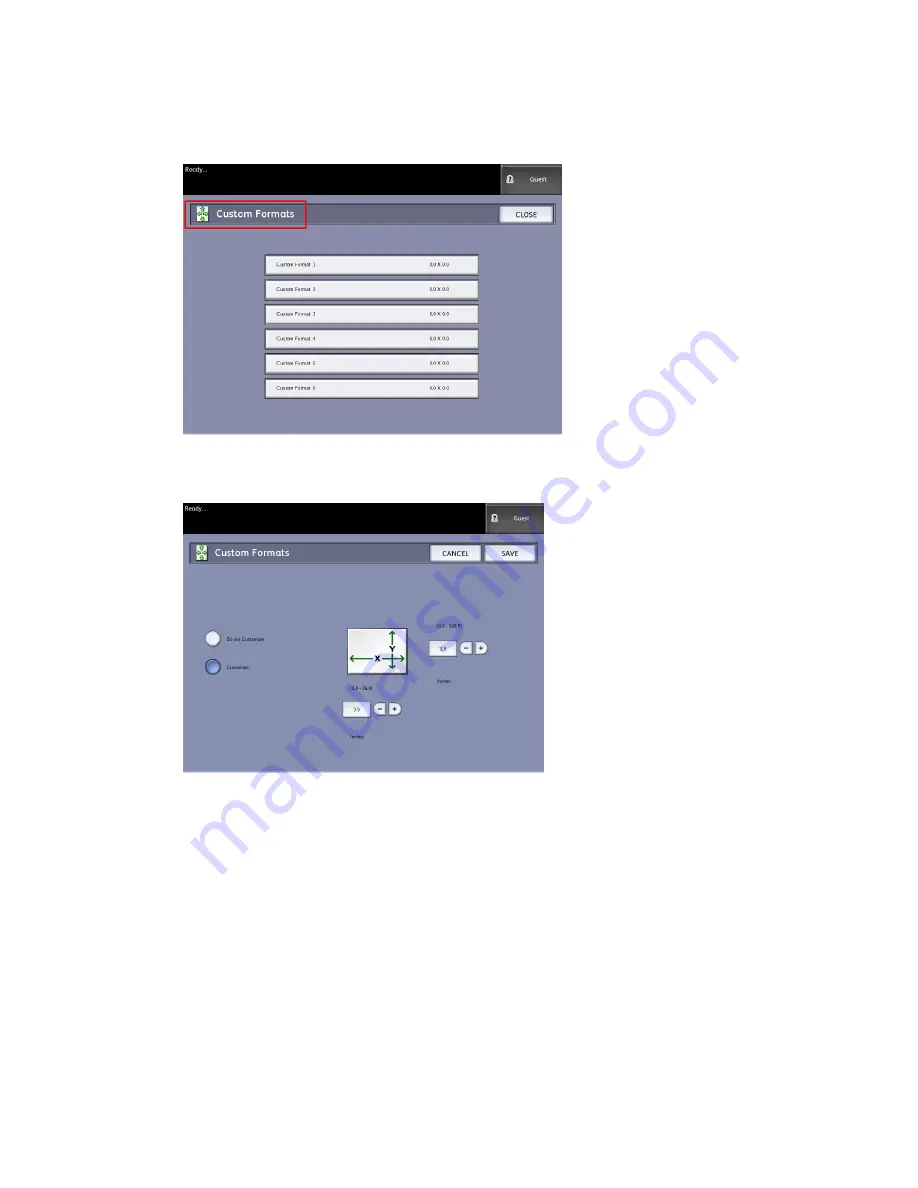
3. Select Configure Custom Output Formats.
The Custom Formats screen displays.
4. Select one of the unused Custom Output Format choices to configure.
The second Custom Formats screen displays.
5. Select Customize if you wish to define a customized output media size.
NOTE
The permissible size range for each custom size appears within the parentheses.
6. Perform one of the following:
• Using the scroll buttons, enter the dimensions of the customized output format,
and then select Save.
• Using the numeric keypad, enter the dimensions of the customized output format,
then select Enter and then Save.
7. Repeat steps 4 through 6 to set up additional custom formats.
8. Select Close to return to the Copy Options menu.
9. Select Close to return to the Administration menu.
Xerox
®
Wide Format 6622 Solution
™
5-28
User Guide
System Administration
Summary of Contents for Wide Format 6622
Page 10: ...Xerox Wide Format 6622 Solution viii User Guide Table of Contents...
Page 108: ...Xerox Wide Format 6622 Solution 3 32 User Guide Scanning Documents...
Page 146: ...Xerox Wide Format 6622 Solution 5 30 User Guide System Administration...
Page 172: ...Xerox Wide Format 6622 Solution 7 14 User Guide User Modes...
Page 210: ...Xerox Wide Format 6622 Solution 9 30 User Guide Problem Solving...
Page 211: ......
Page 212: ......


