


X
erox
®
V
ersaLink
®
B625
Multif
unction
Printer
User
Guide
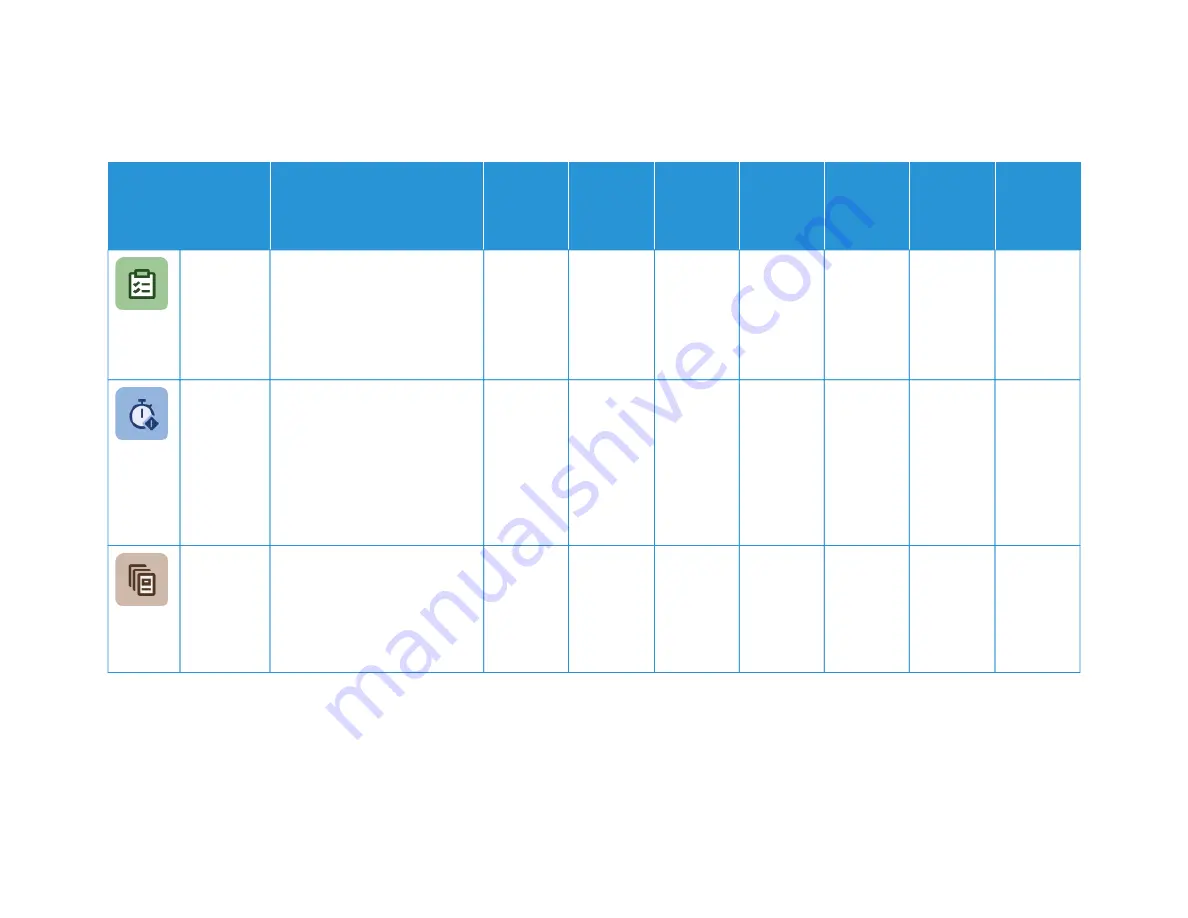
339
FFEEA
ATTU
URREE
D
DEESSC
CRRIIPPTTIIO
ON
N
C
CO
OPPYY
EEM
MA
AIILL
FFA
AXX
SSEERRV
VEERR
FFA
AXX
SSC
CA
AN
N TTO
O
W
WO
ORRKK--
FFLLO
OW
W
SSC
CA
AN
N--
N
NIIN
NG
G
IID
D C
CA
ARRD
D
C
CO
OPPYY
C
Coonnffiirrm
maa--
ttiioonn RReeppoorrtt
You can request a report to
confirm if your fax was received.
To receive a Confirmation Report
only if an error occurred during
transmission, choose Print on
Error Only.
•
SSttaarrttiinngg
RRaattee
Select the highest starting rate
for transmitting the fax, unless
the destination for the fax you
are sending has special
requirements. Forced (4800 bps)
is the recommended setting for
lines that can have transmission
interference.
•
C
Coovveerr
SShheeeett
You can use the Cover Sheet
option to add an introduction
page to the beginning of your
fax. You can add a short
comment to the cover sheet,
and To and From details.
•
Apps
Summary of Contents for VersaLink B625
Page 1: ...VERSION 1 0 MARCH 2023 702P08795 Xerox VersaLink B625 Multifunction Printer User Guide...
Page 68: ...68 Xerox VersaLink B625 Multifunction Printer User Guide Getting Started...
Page 156: ...156 Xerox VersaLink B625 Multifunction Printer User Guide Xerox Apps...
Page 188: ...188 Xerox VersaLink B625 Multifunction Printer User Guide Printing...
Page 248: ...248 Xerox VersaLink B625 Multifunction Printer User Guide Maintenance...
Page 304: ...304 Xerox VersaLink B625 Multifunction Printer User Guide Specifications...
Page 326: ...326 Xerox VersaLink B625 Multifunction Printer User Guide Recycling and Disposal...
Page 328: ...Apps Features 328 Xerox VersaLink B625 Multifunction Printer User Guide Apps Features...
Page 341: ......
Page 342: ......


